The Beauty of Structural Drawings
1July 20, 2014 by Terry
I have a thing for industrial drawings…I don’t know what it is exactly but they attract my attention. It’s like they are “factual”art..Is that even a thing?…I’m not sure how to explain that. I’m sure they aren’t made with the intent of being pretty but to me they are…

Simple lines, no color…just interesting in a different sort of way. I like the masculinity of them. They are technical and educational, they give you a different appreciation and understanding of different structures.
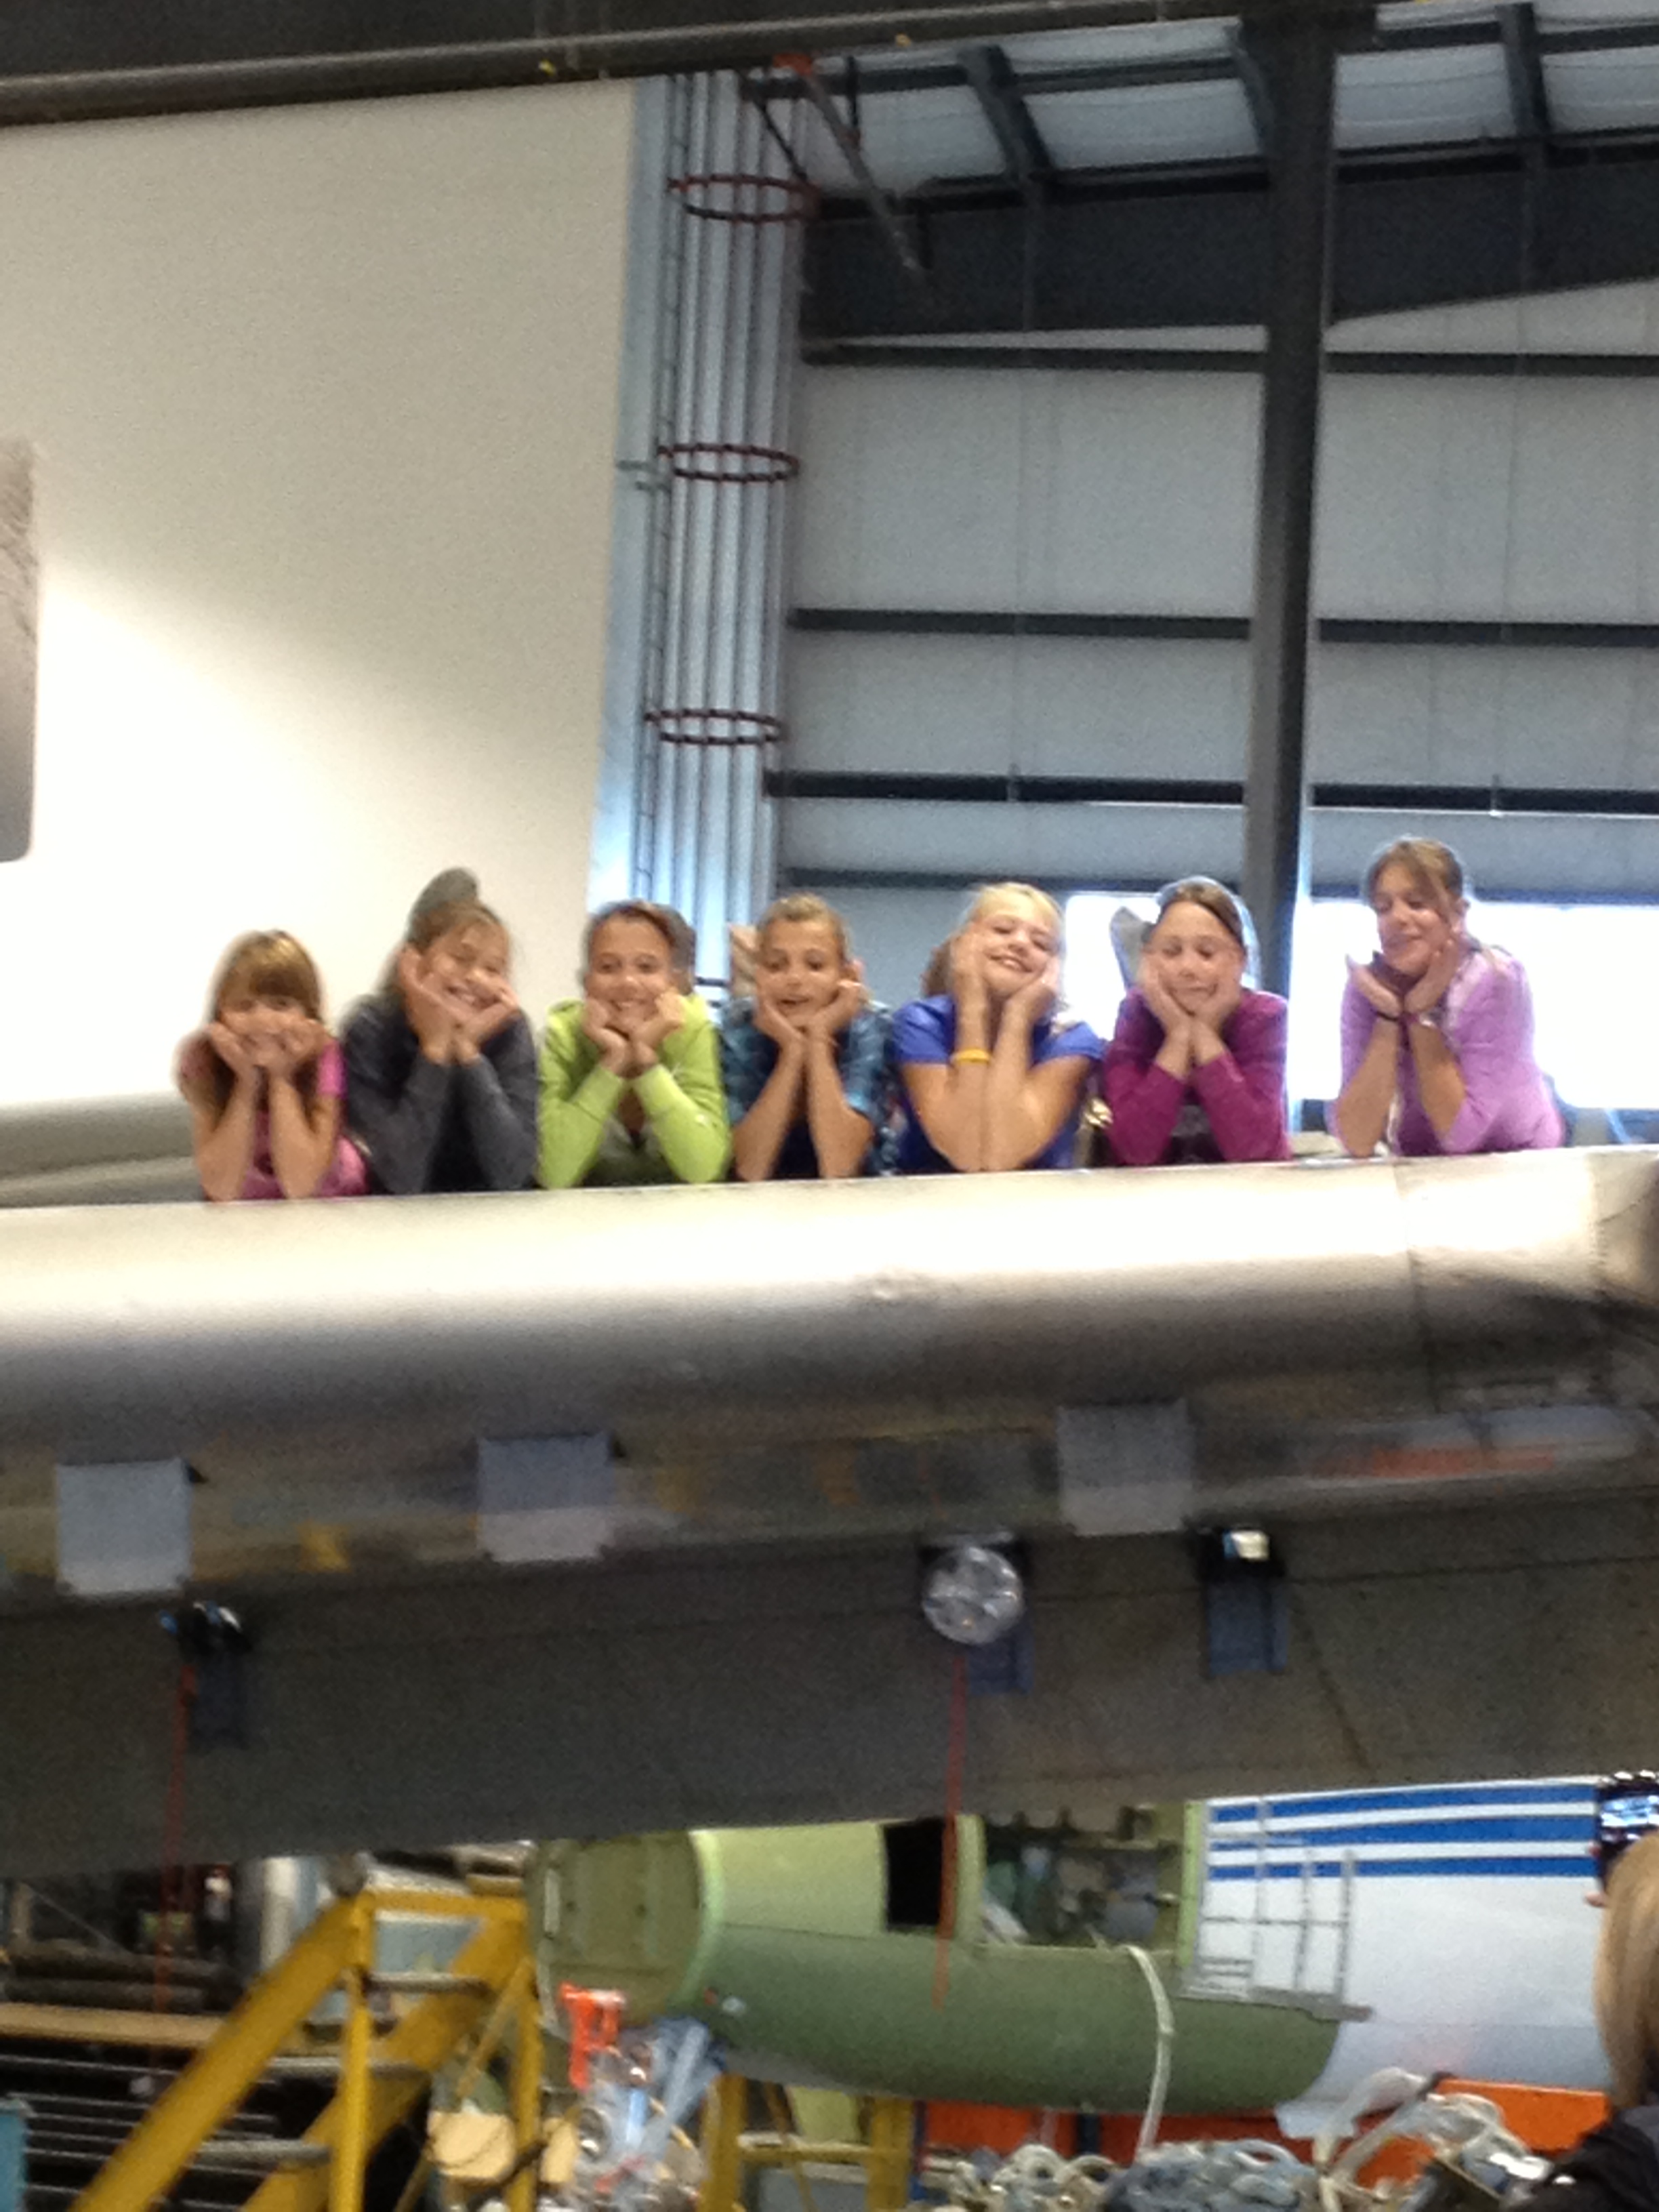
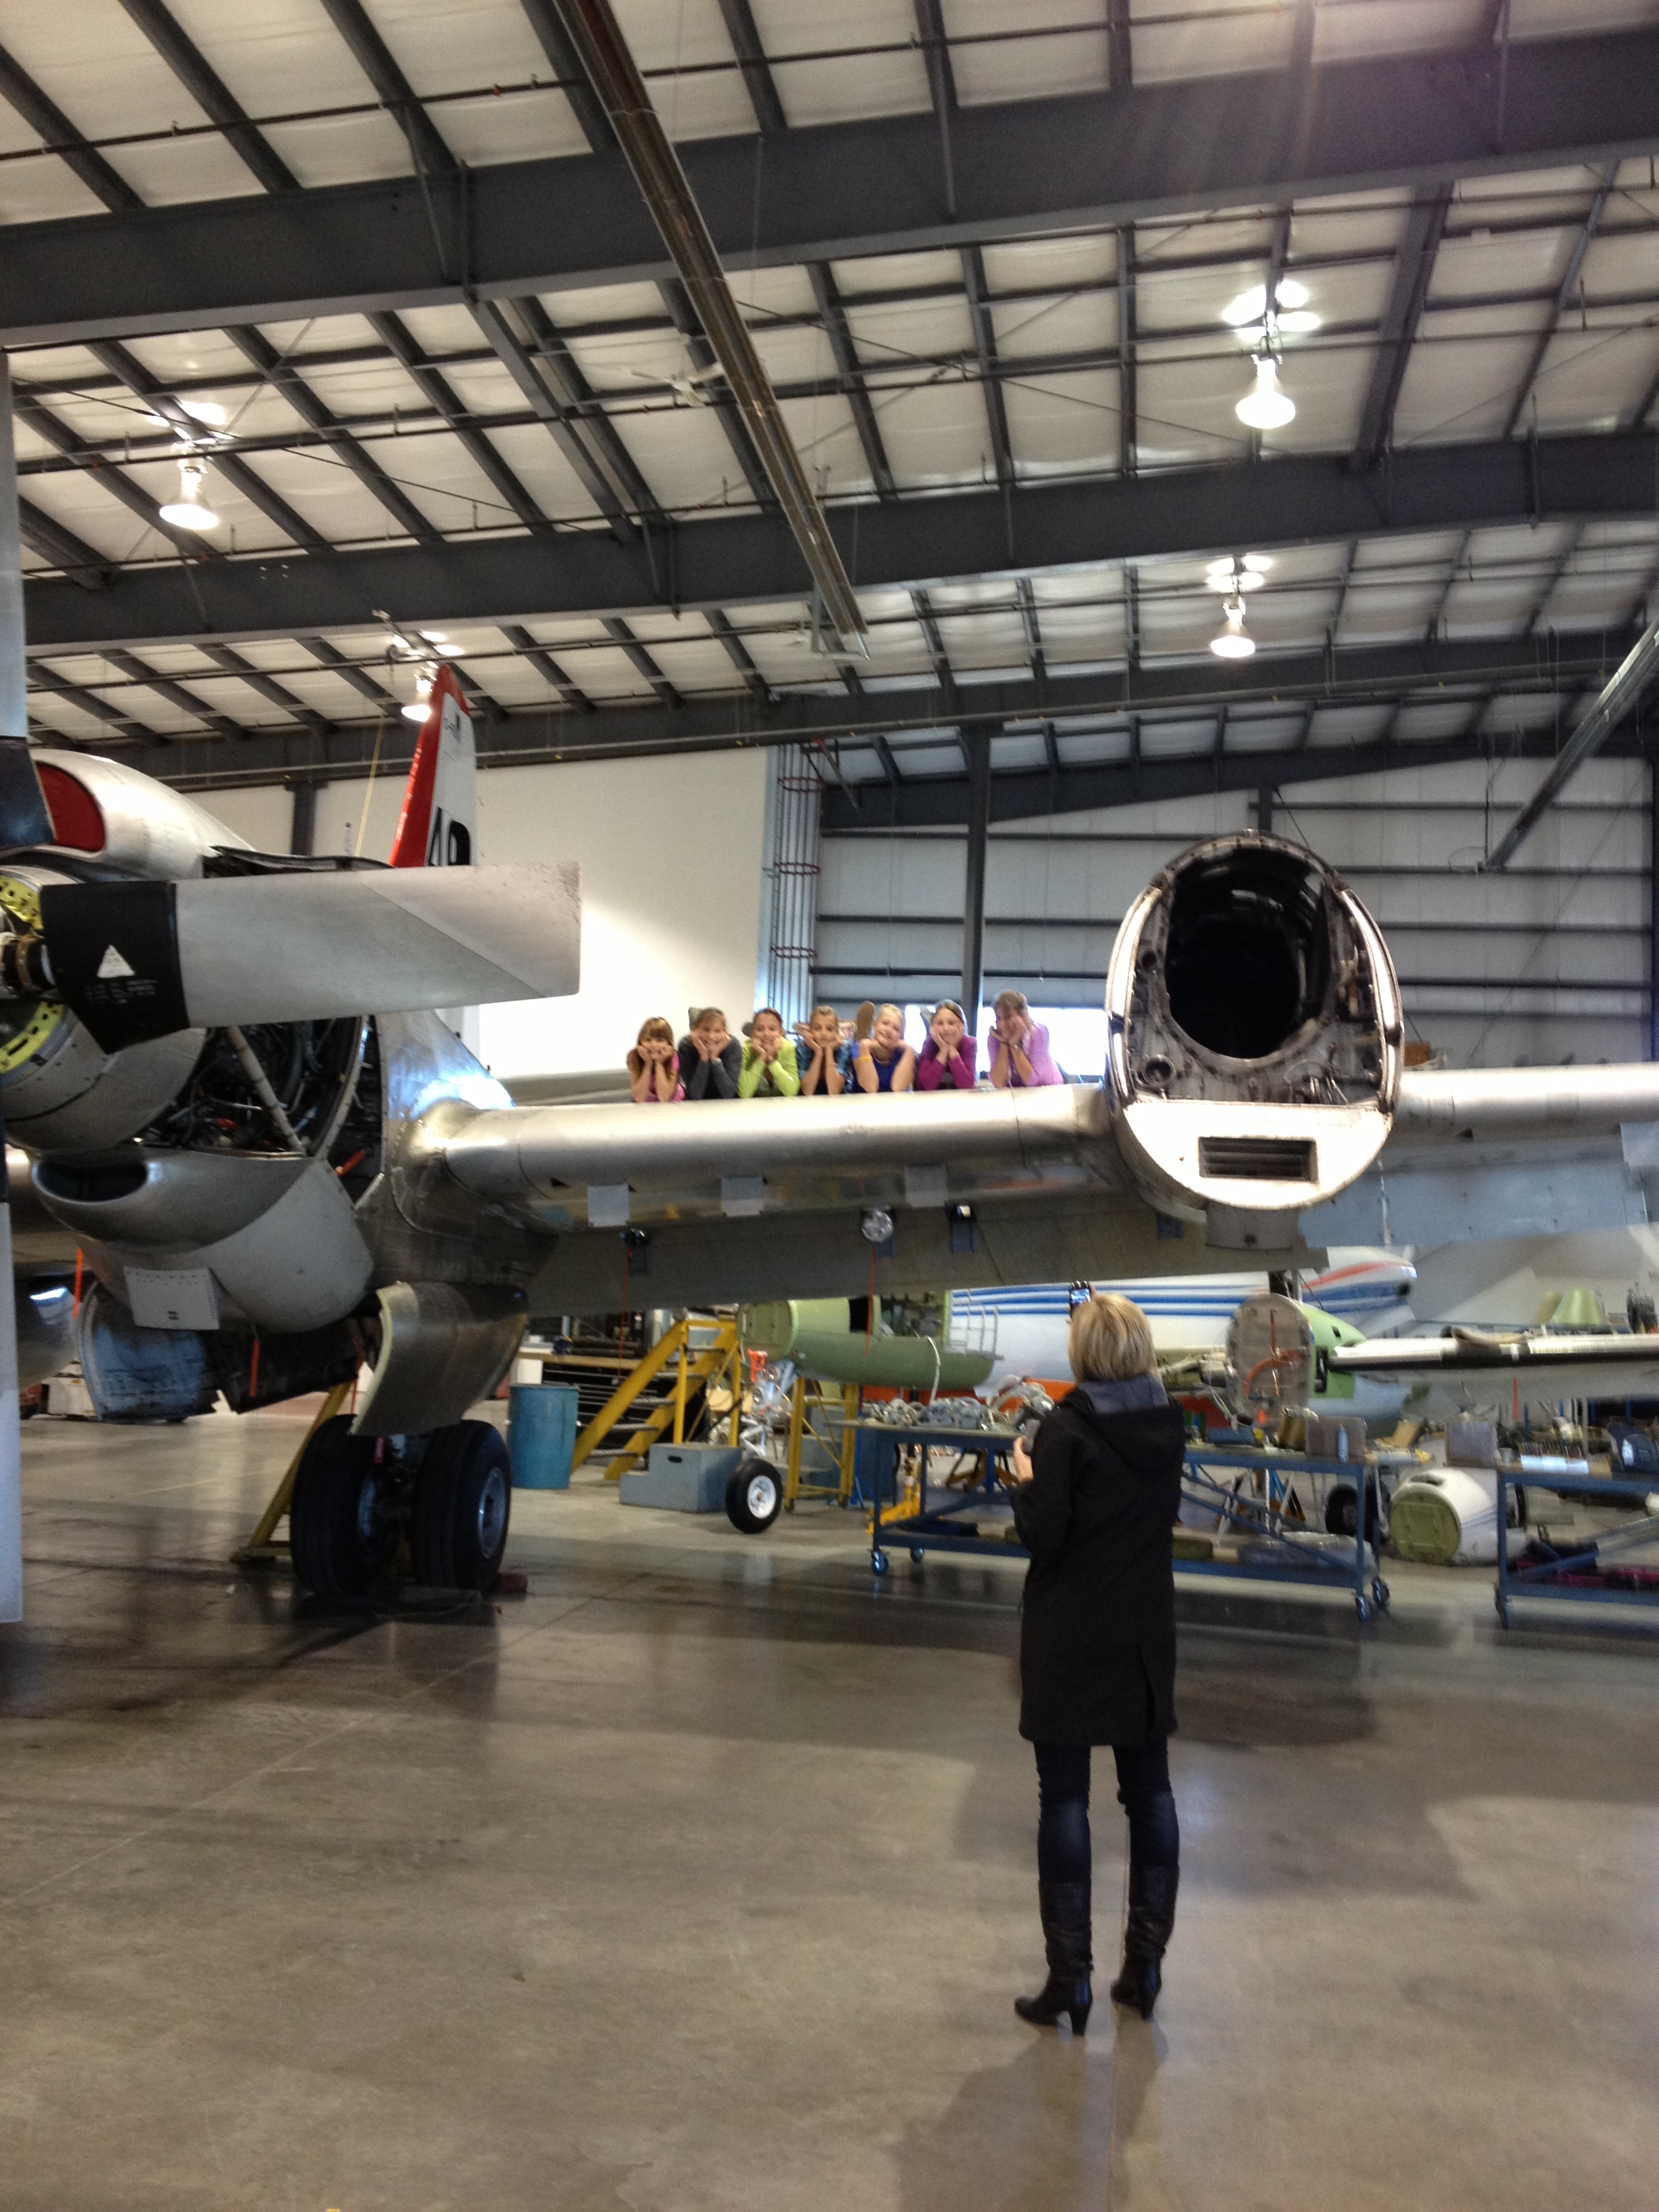
So…Our family is an Aviation family, naturally we love anything to do with aviation as that is what we live 90% of the time. Our children have been raised around large aircraft and even have their birthday parties out at the airport in the hangar. We decorate the airplane with balloons and streamers and the kids enjoy taking their friends for tours inside the big planes.
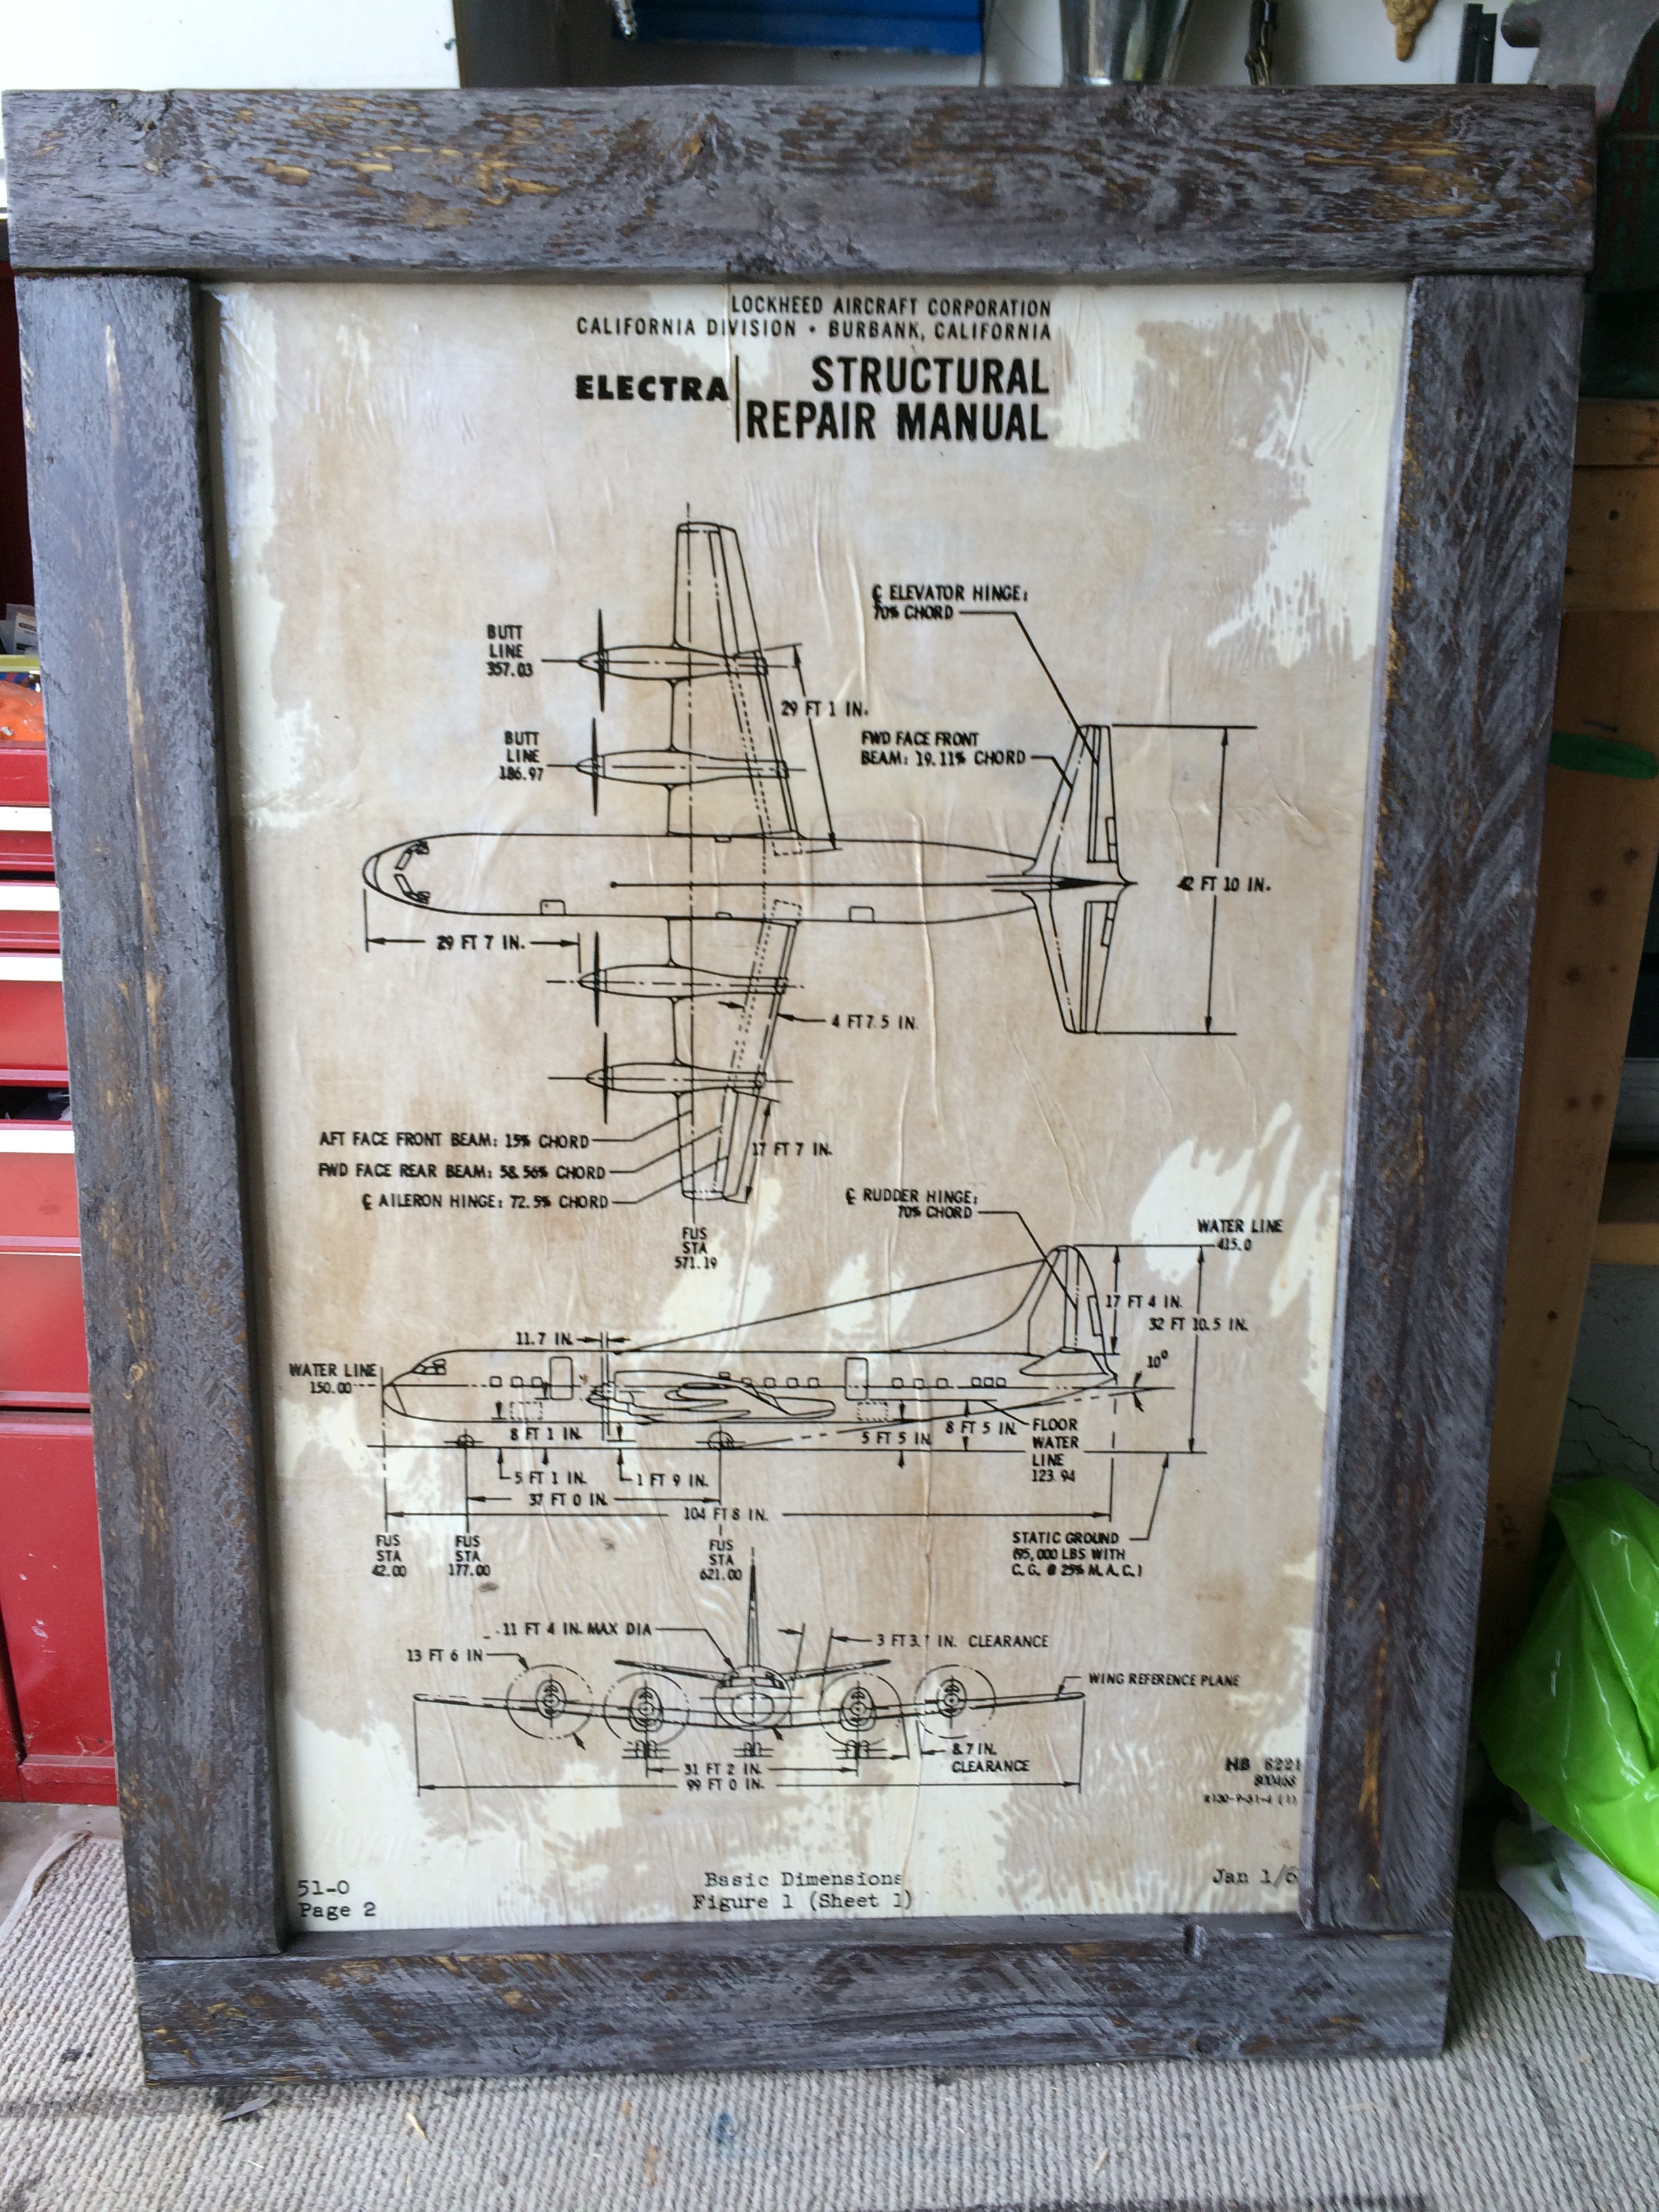
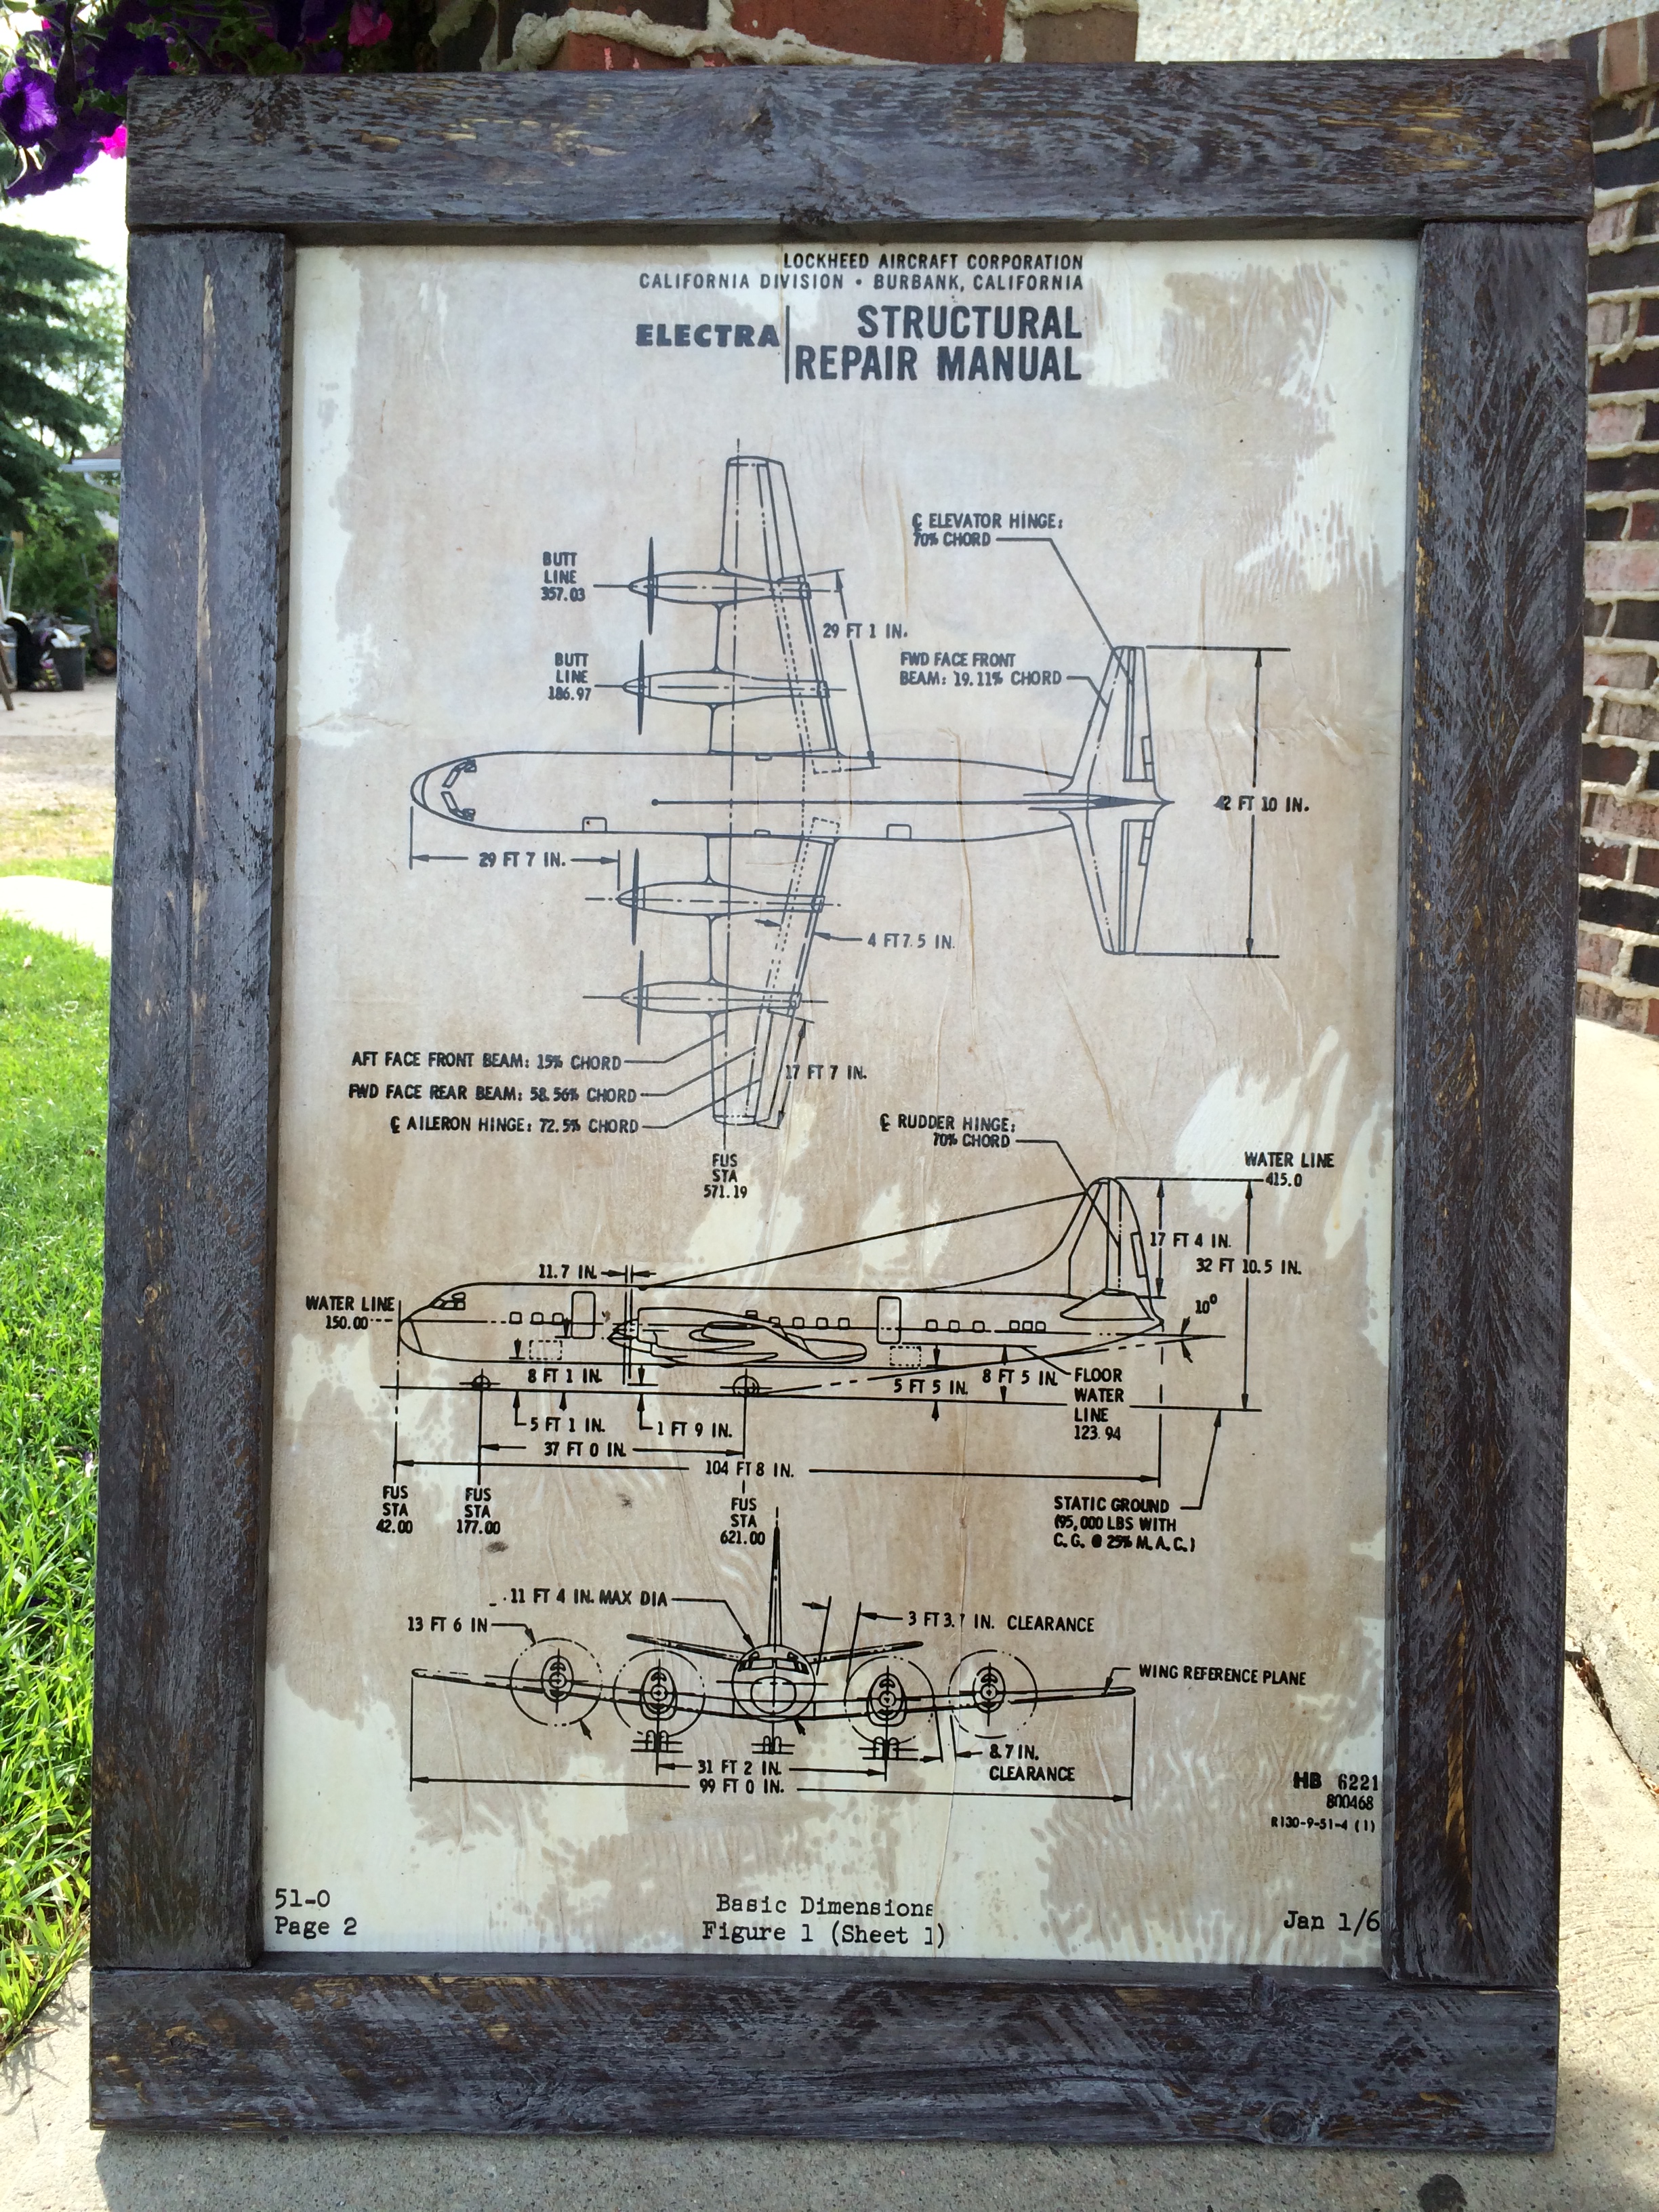
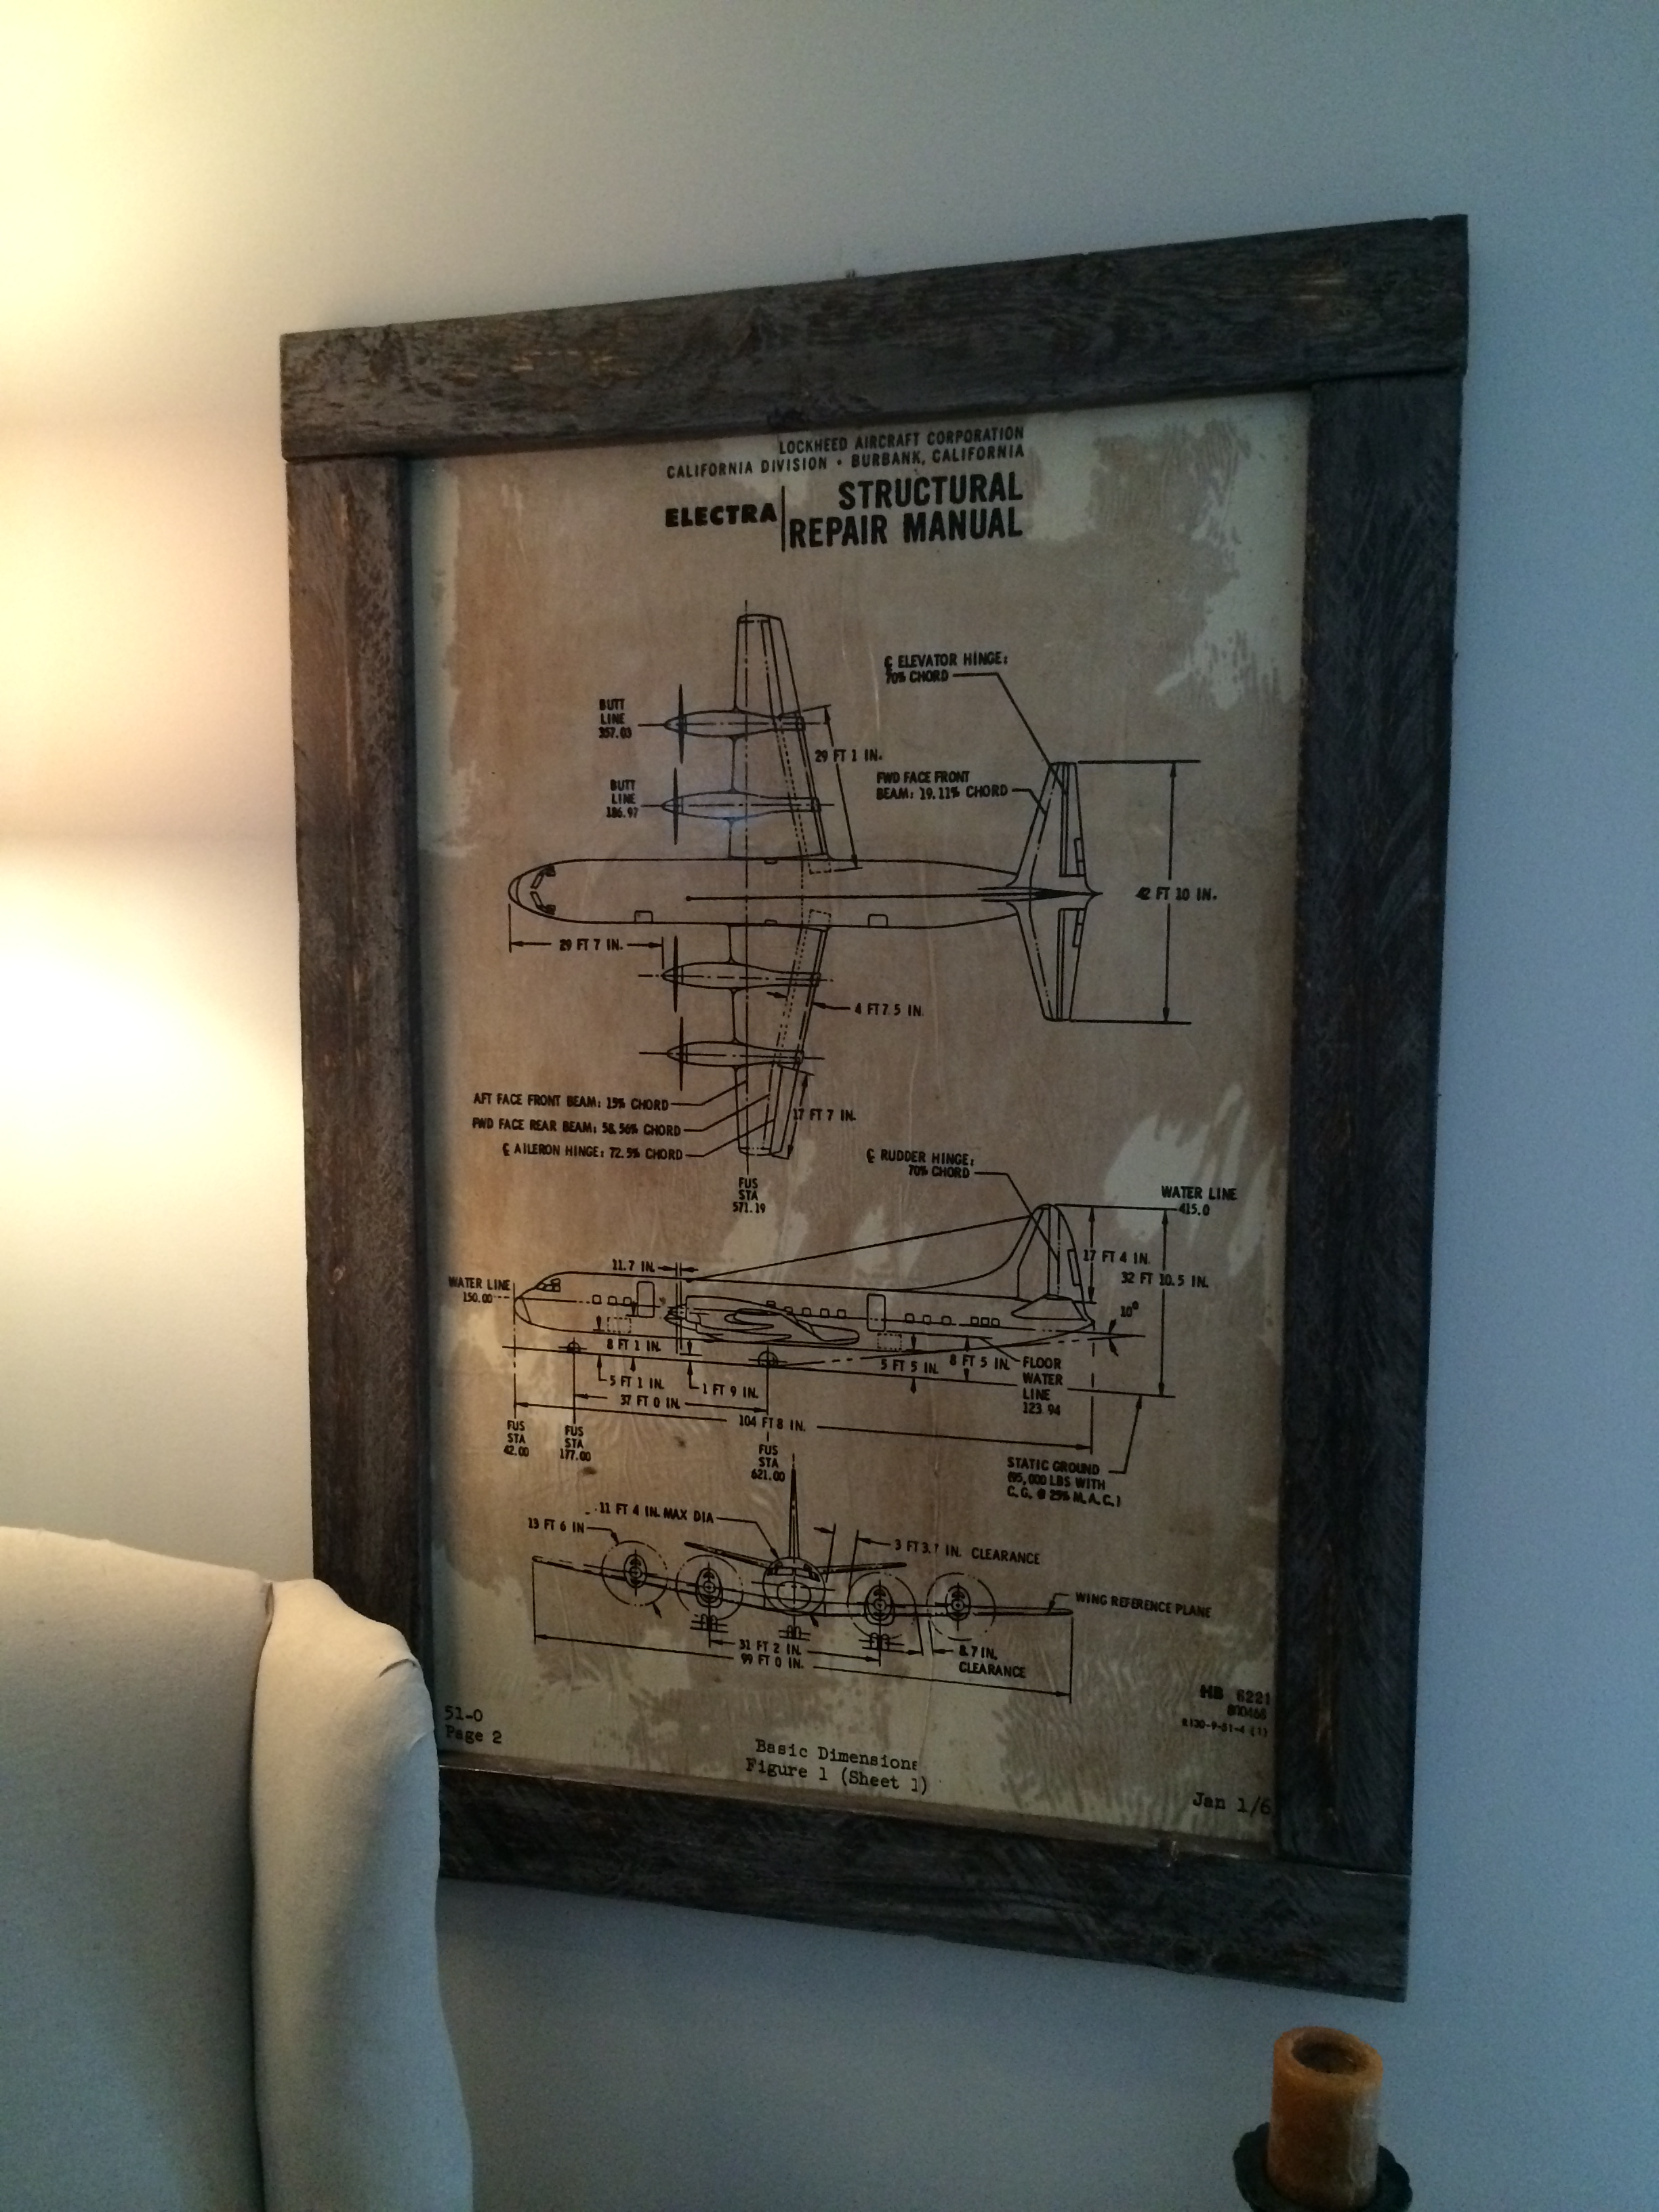
Anyways..Loooong story short…I wanted to make my own structural blueprint wall art. I managed to find some drawings I liked and well…I love how they turned out!!
They’re huge! This is how I started:
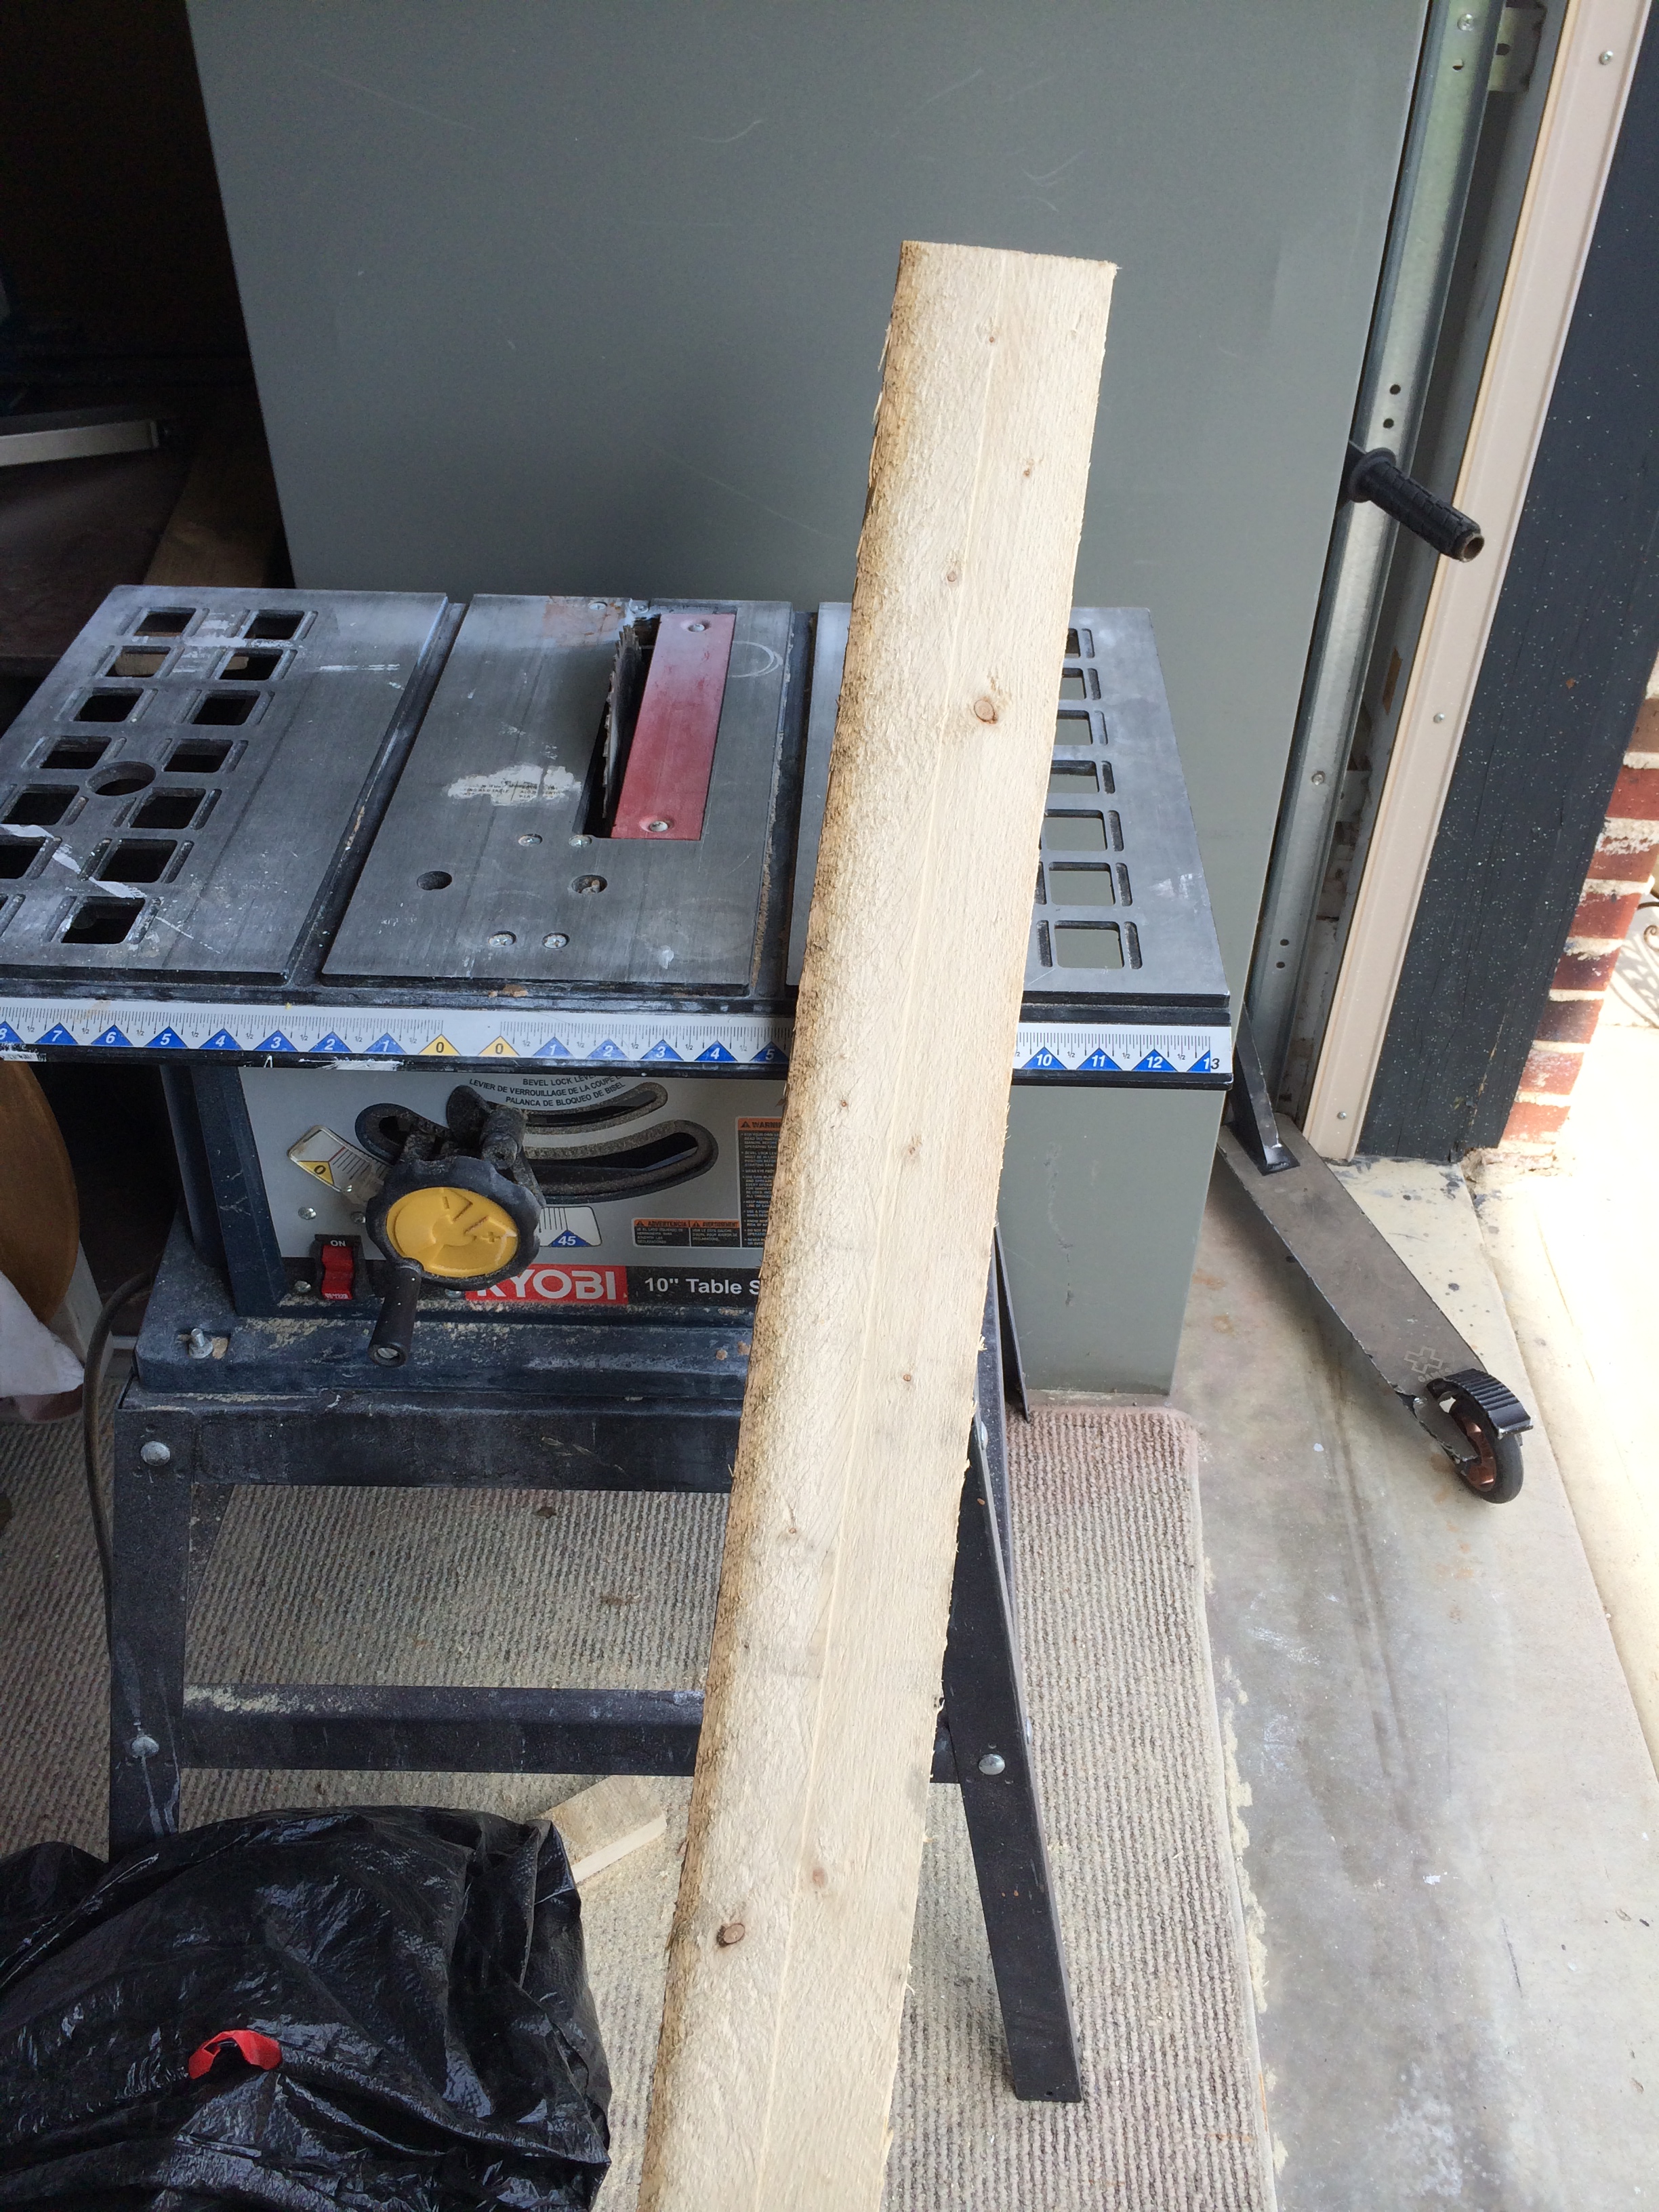
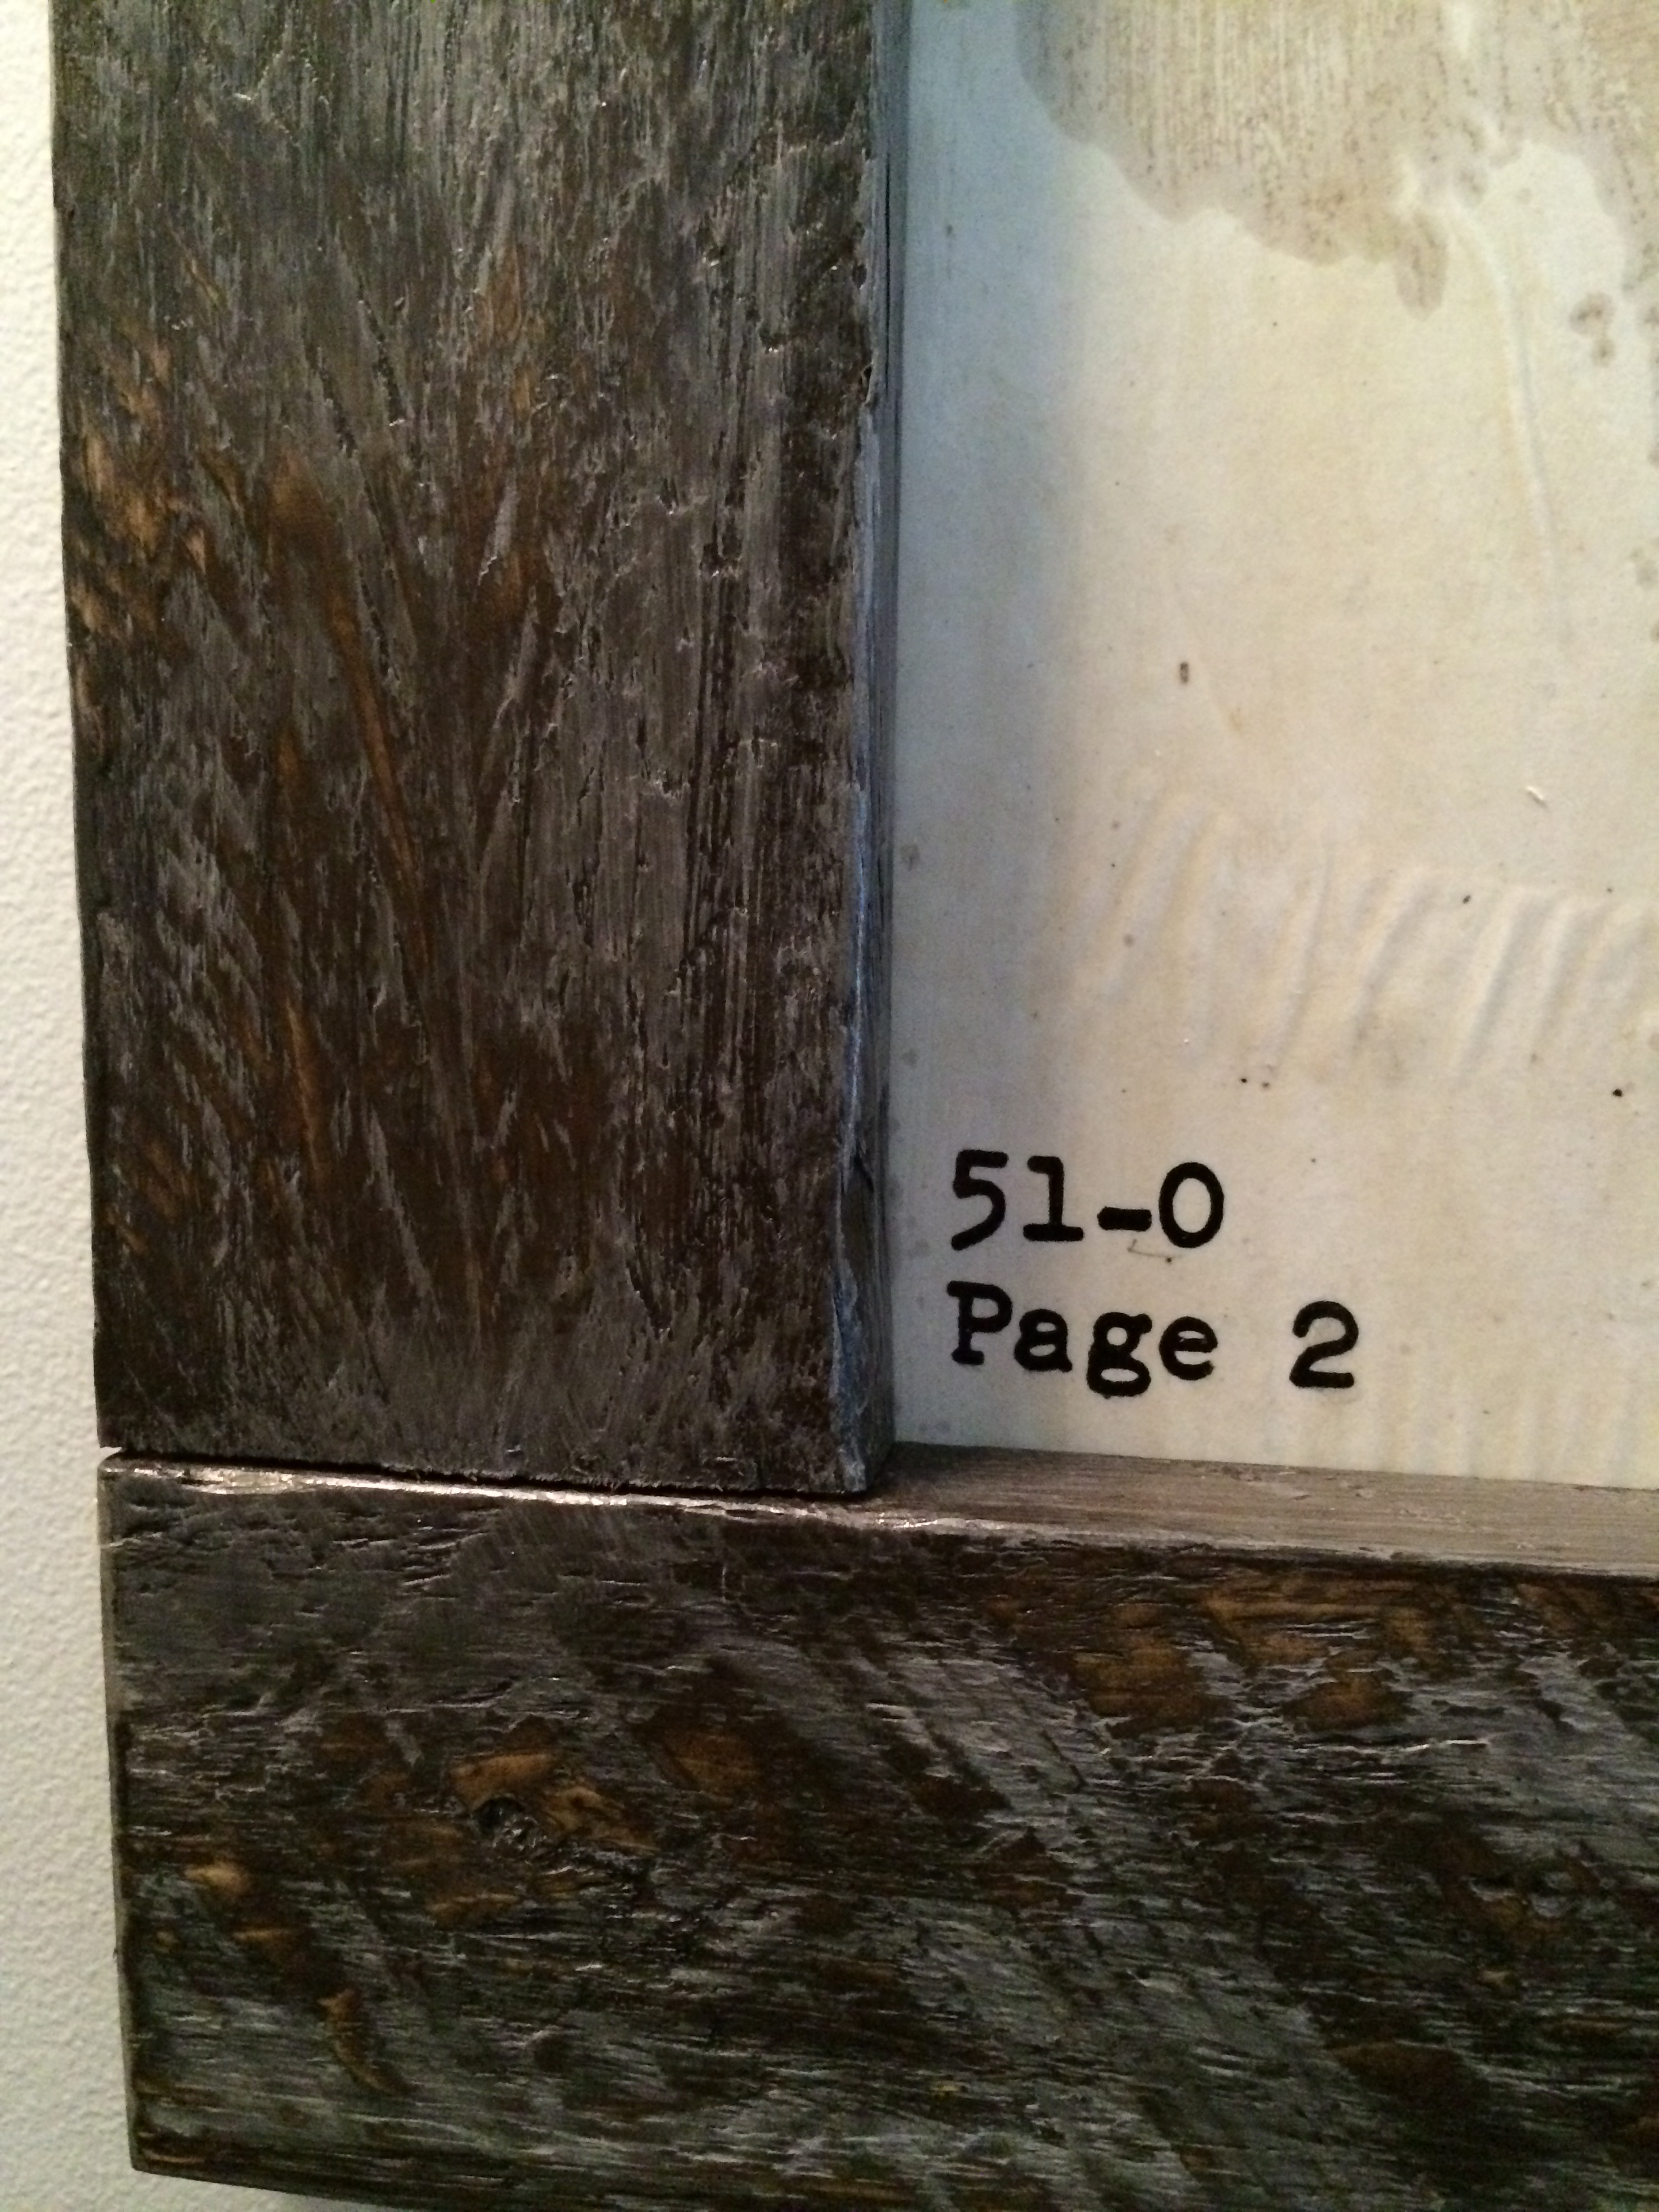
Drawings, backer board, an exacto knife, and mod podge…
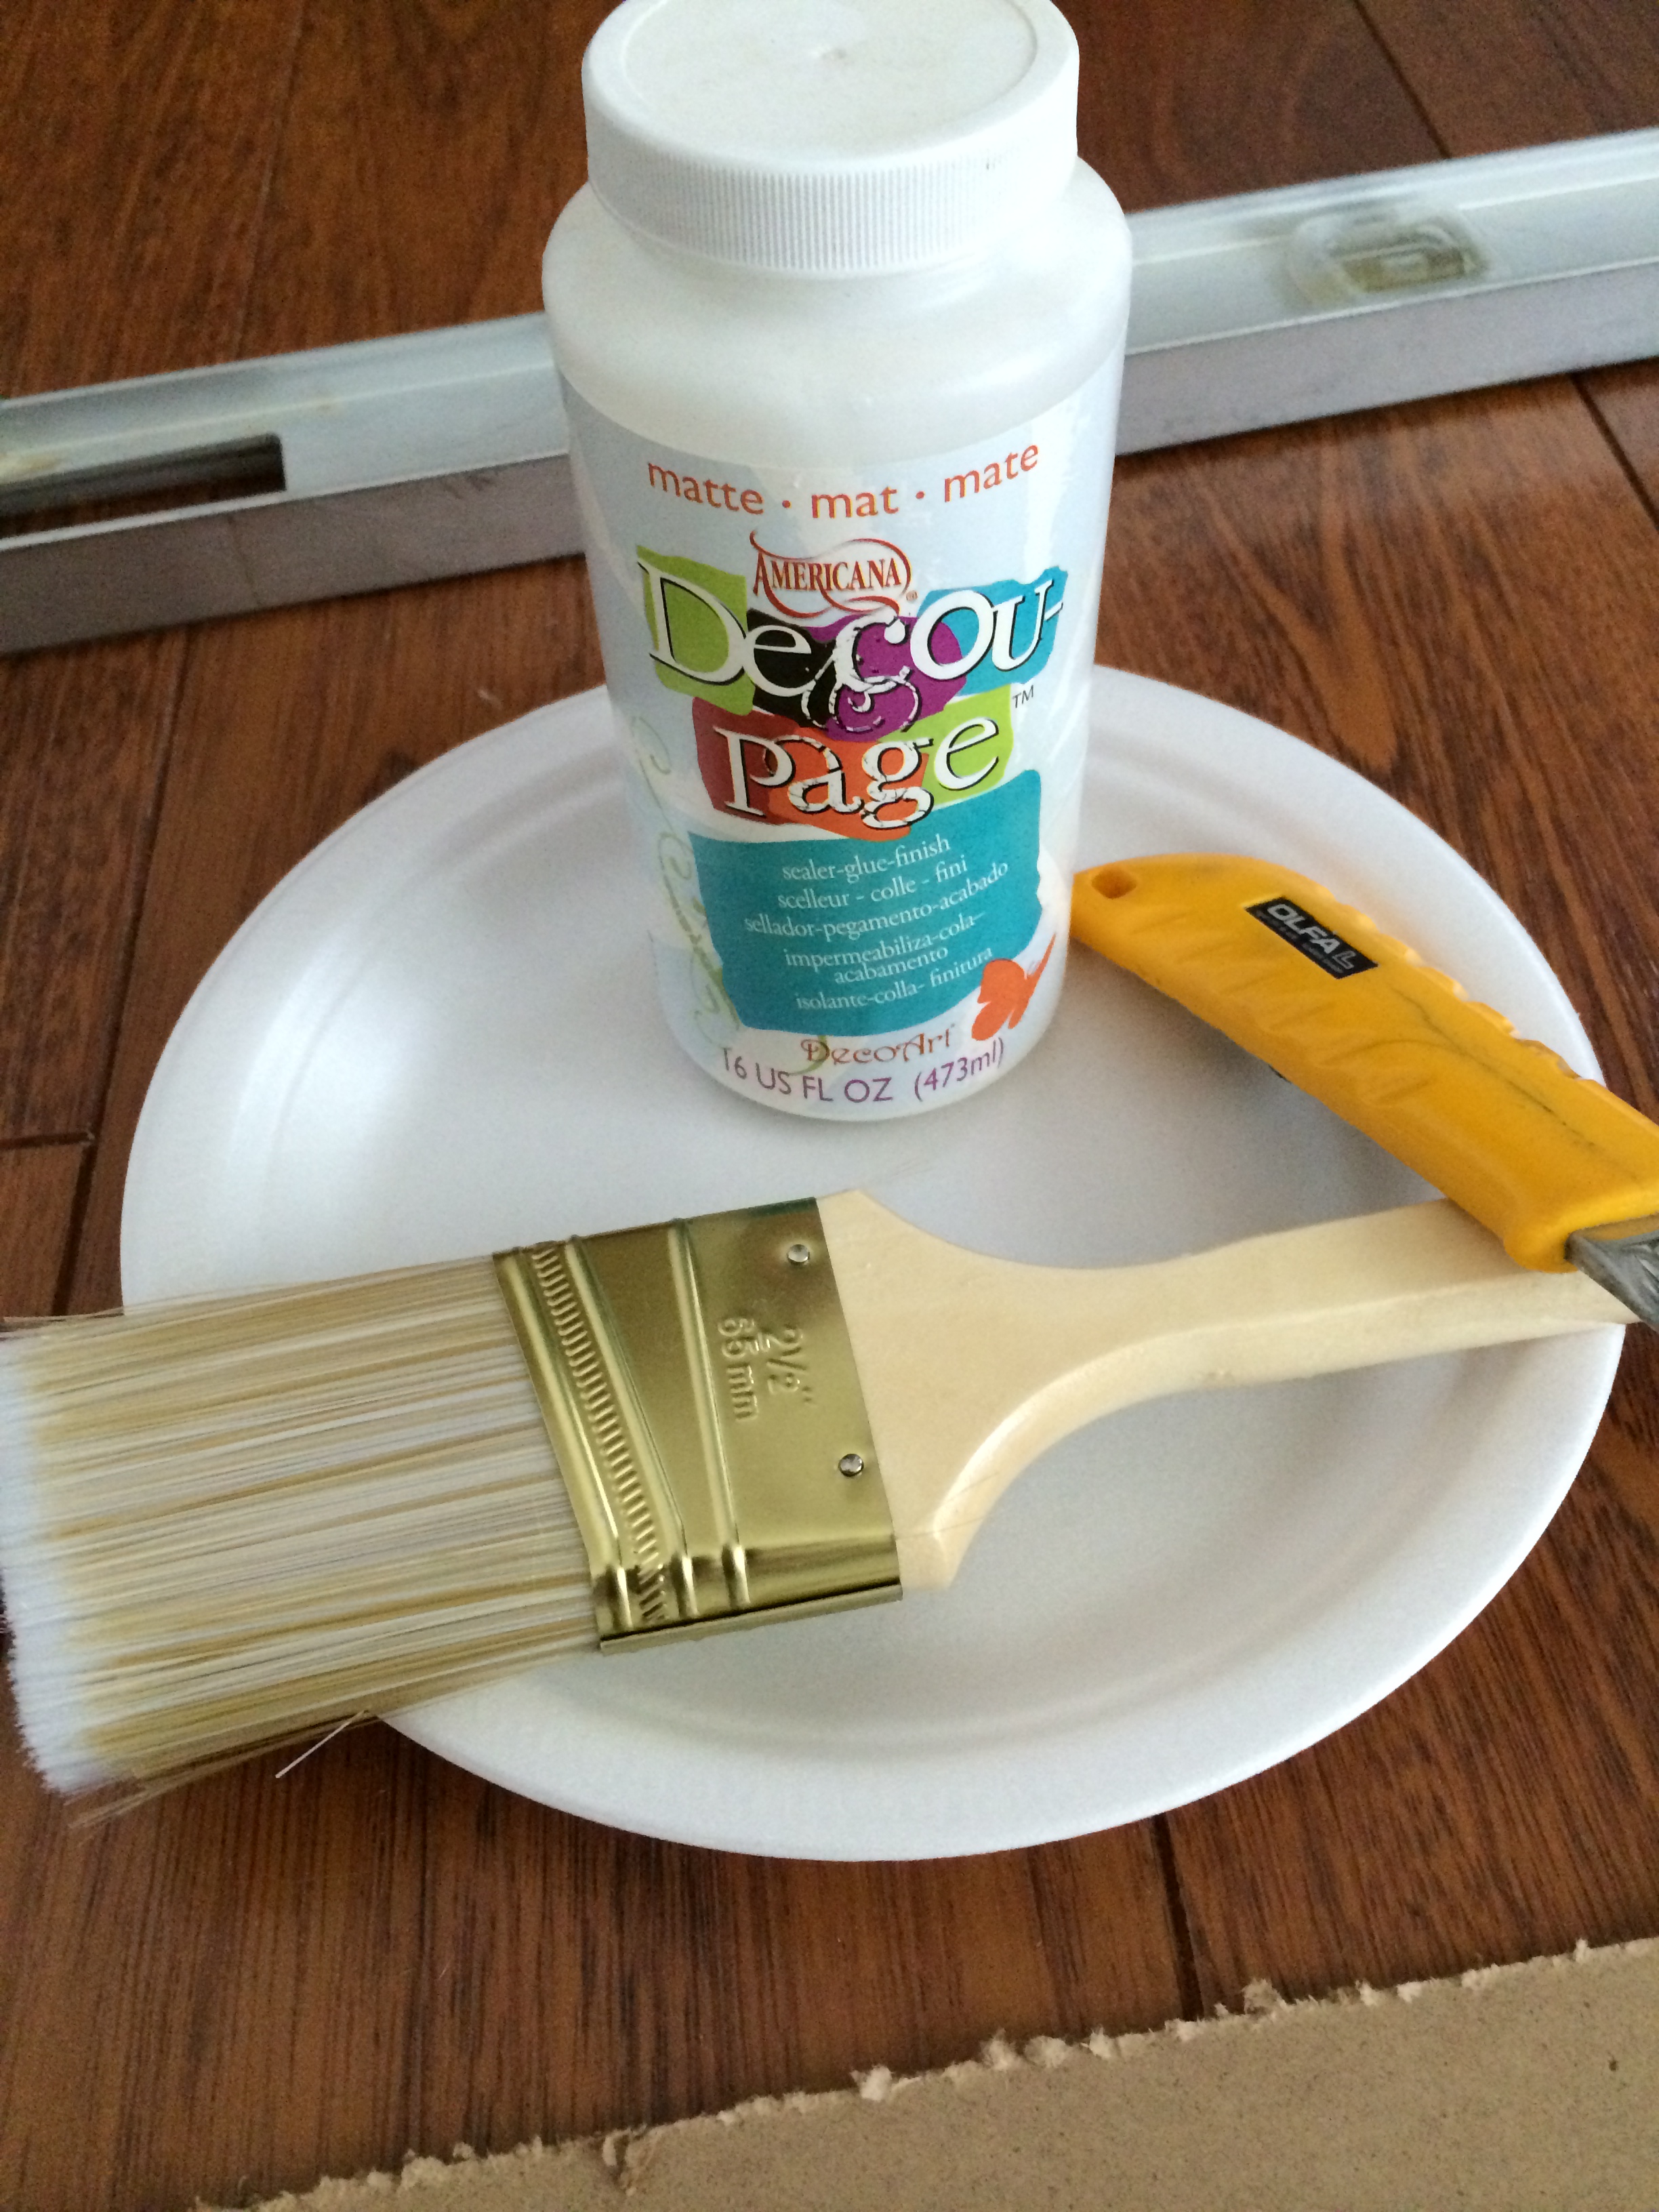
 Placed the image over the backer board and slowly painted the backside of my image with the modpodge. I didn’t fret if I got wrinkles in the paper as I wanted a imperfect and aged look to the paper. I didn’t get every inch of the paper with the modpodge either. Then I cut the backer board to fit the image with my table saw. I found it easier to do after mounting the paper (mostly because I was too lazy to measure and draw lines…) :0)
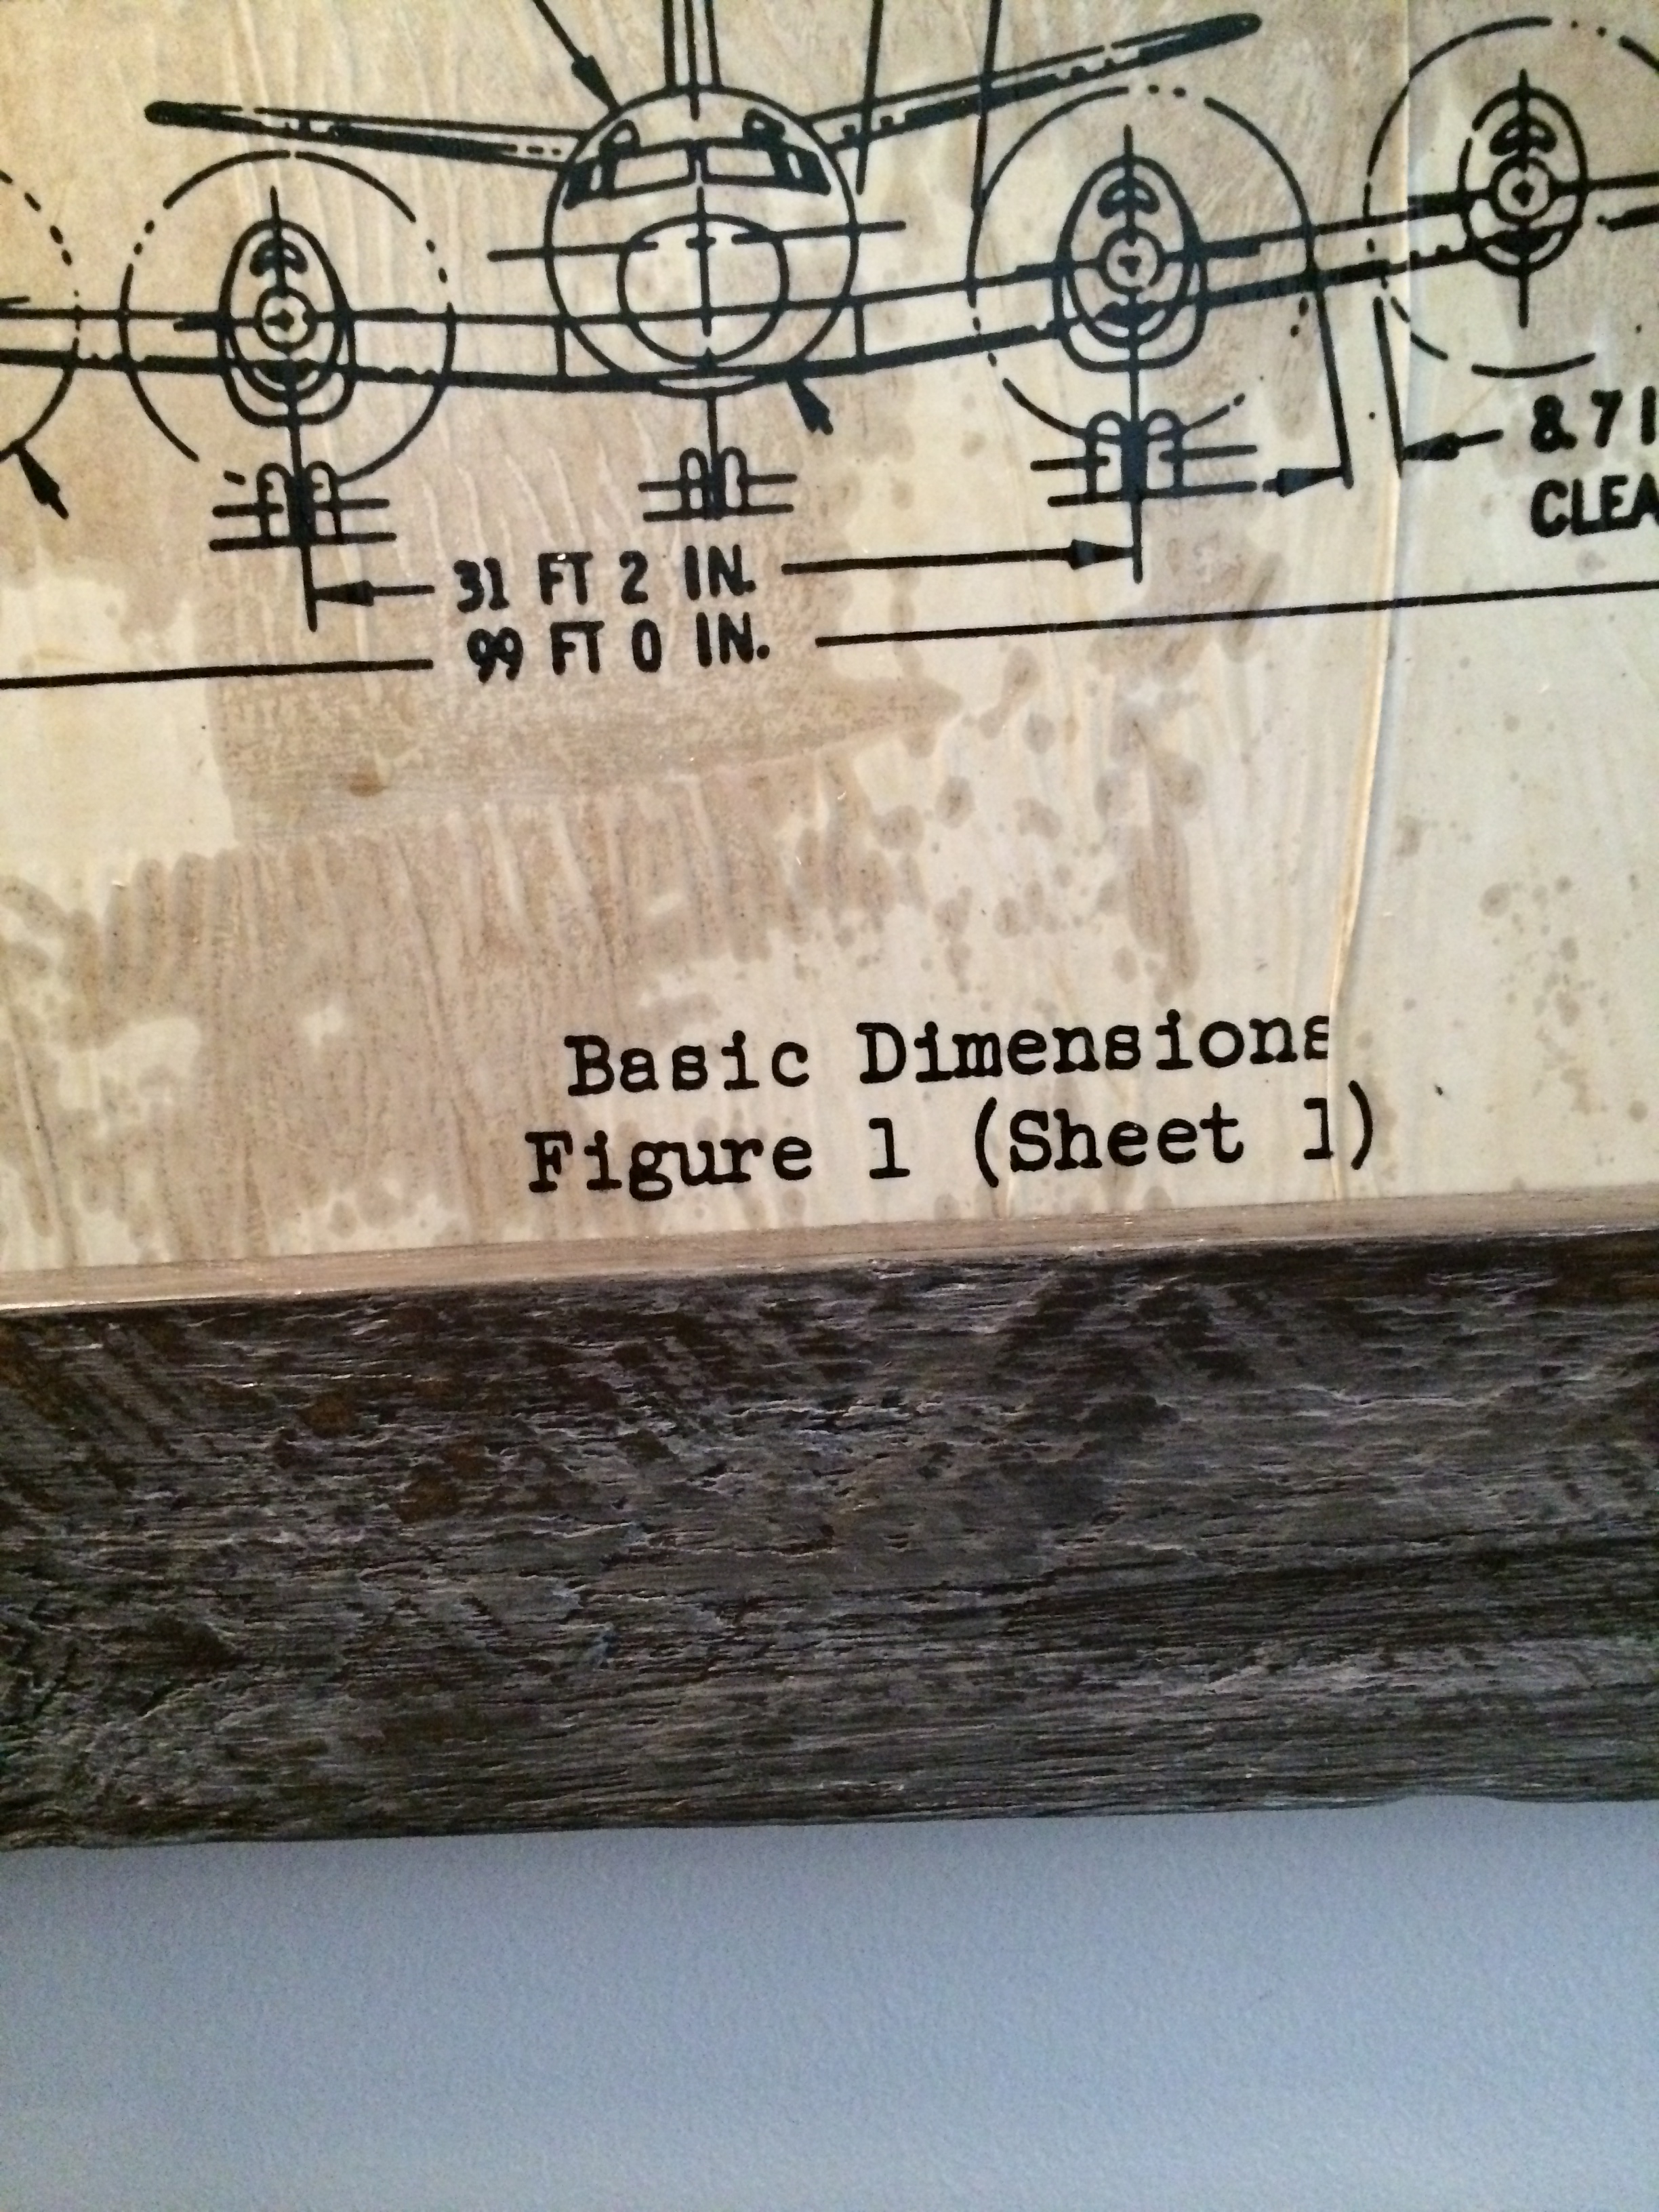
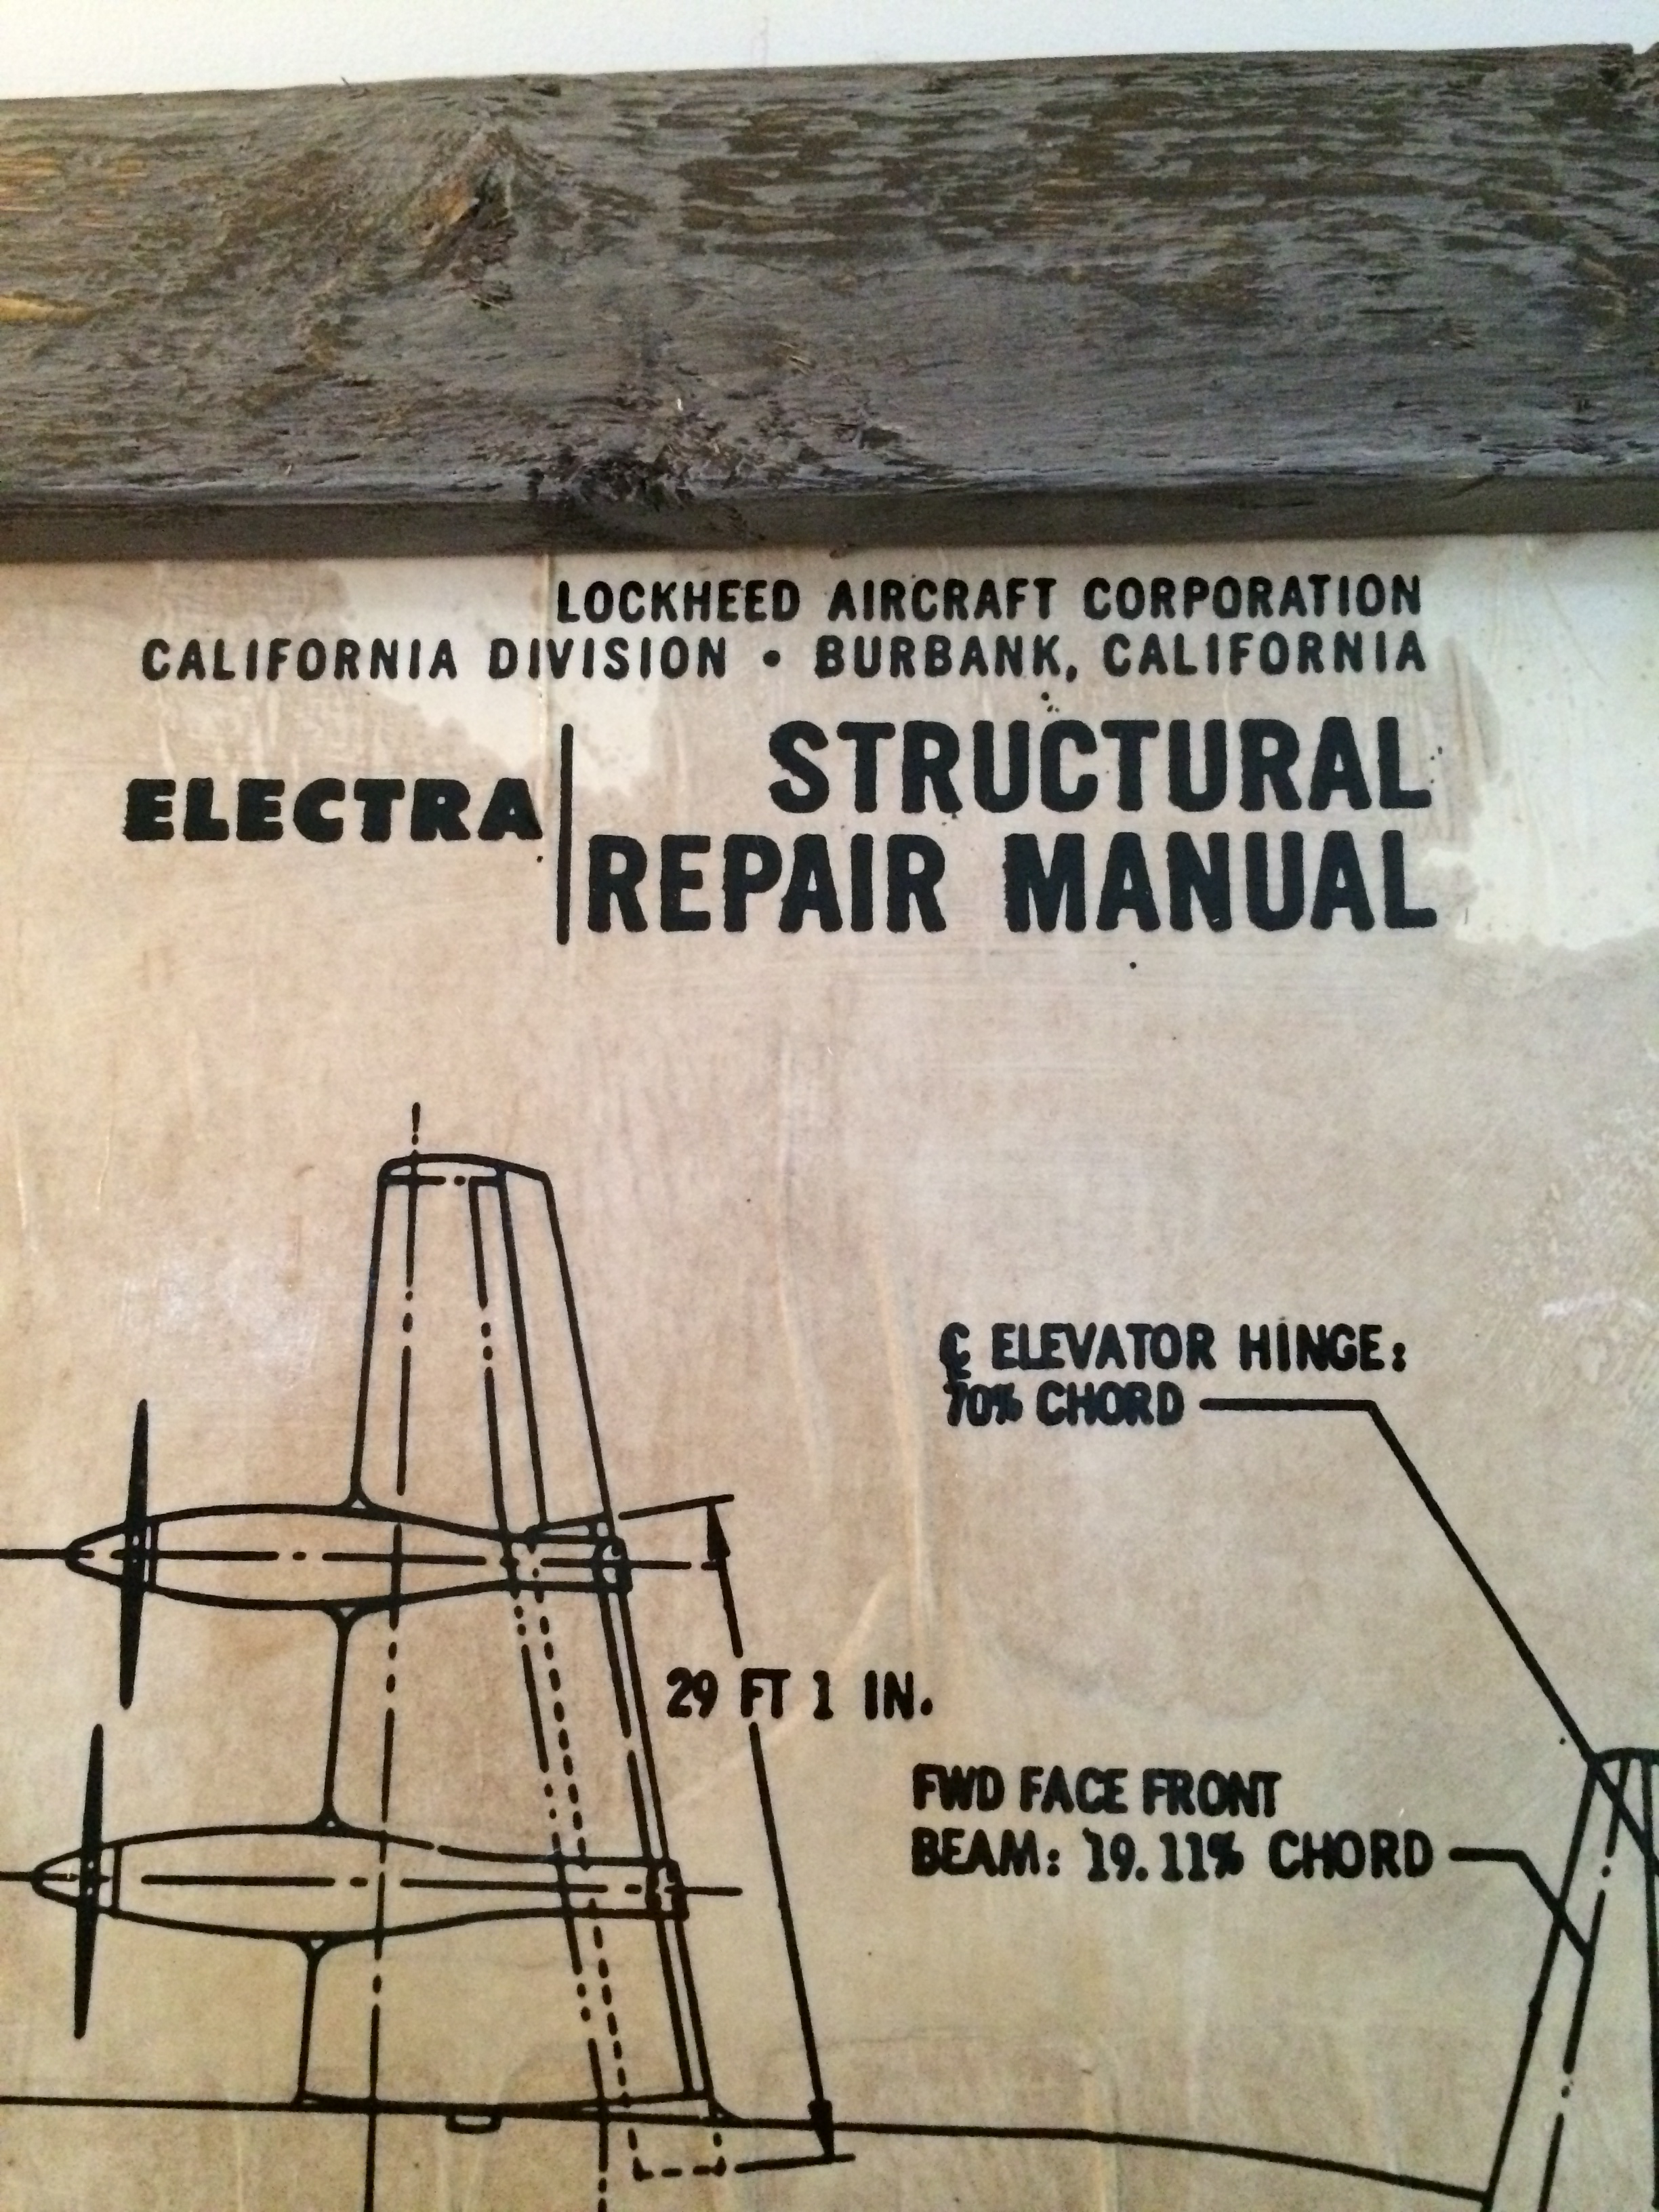
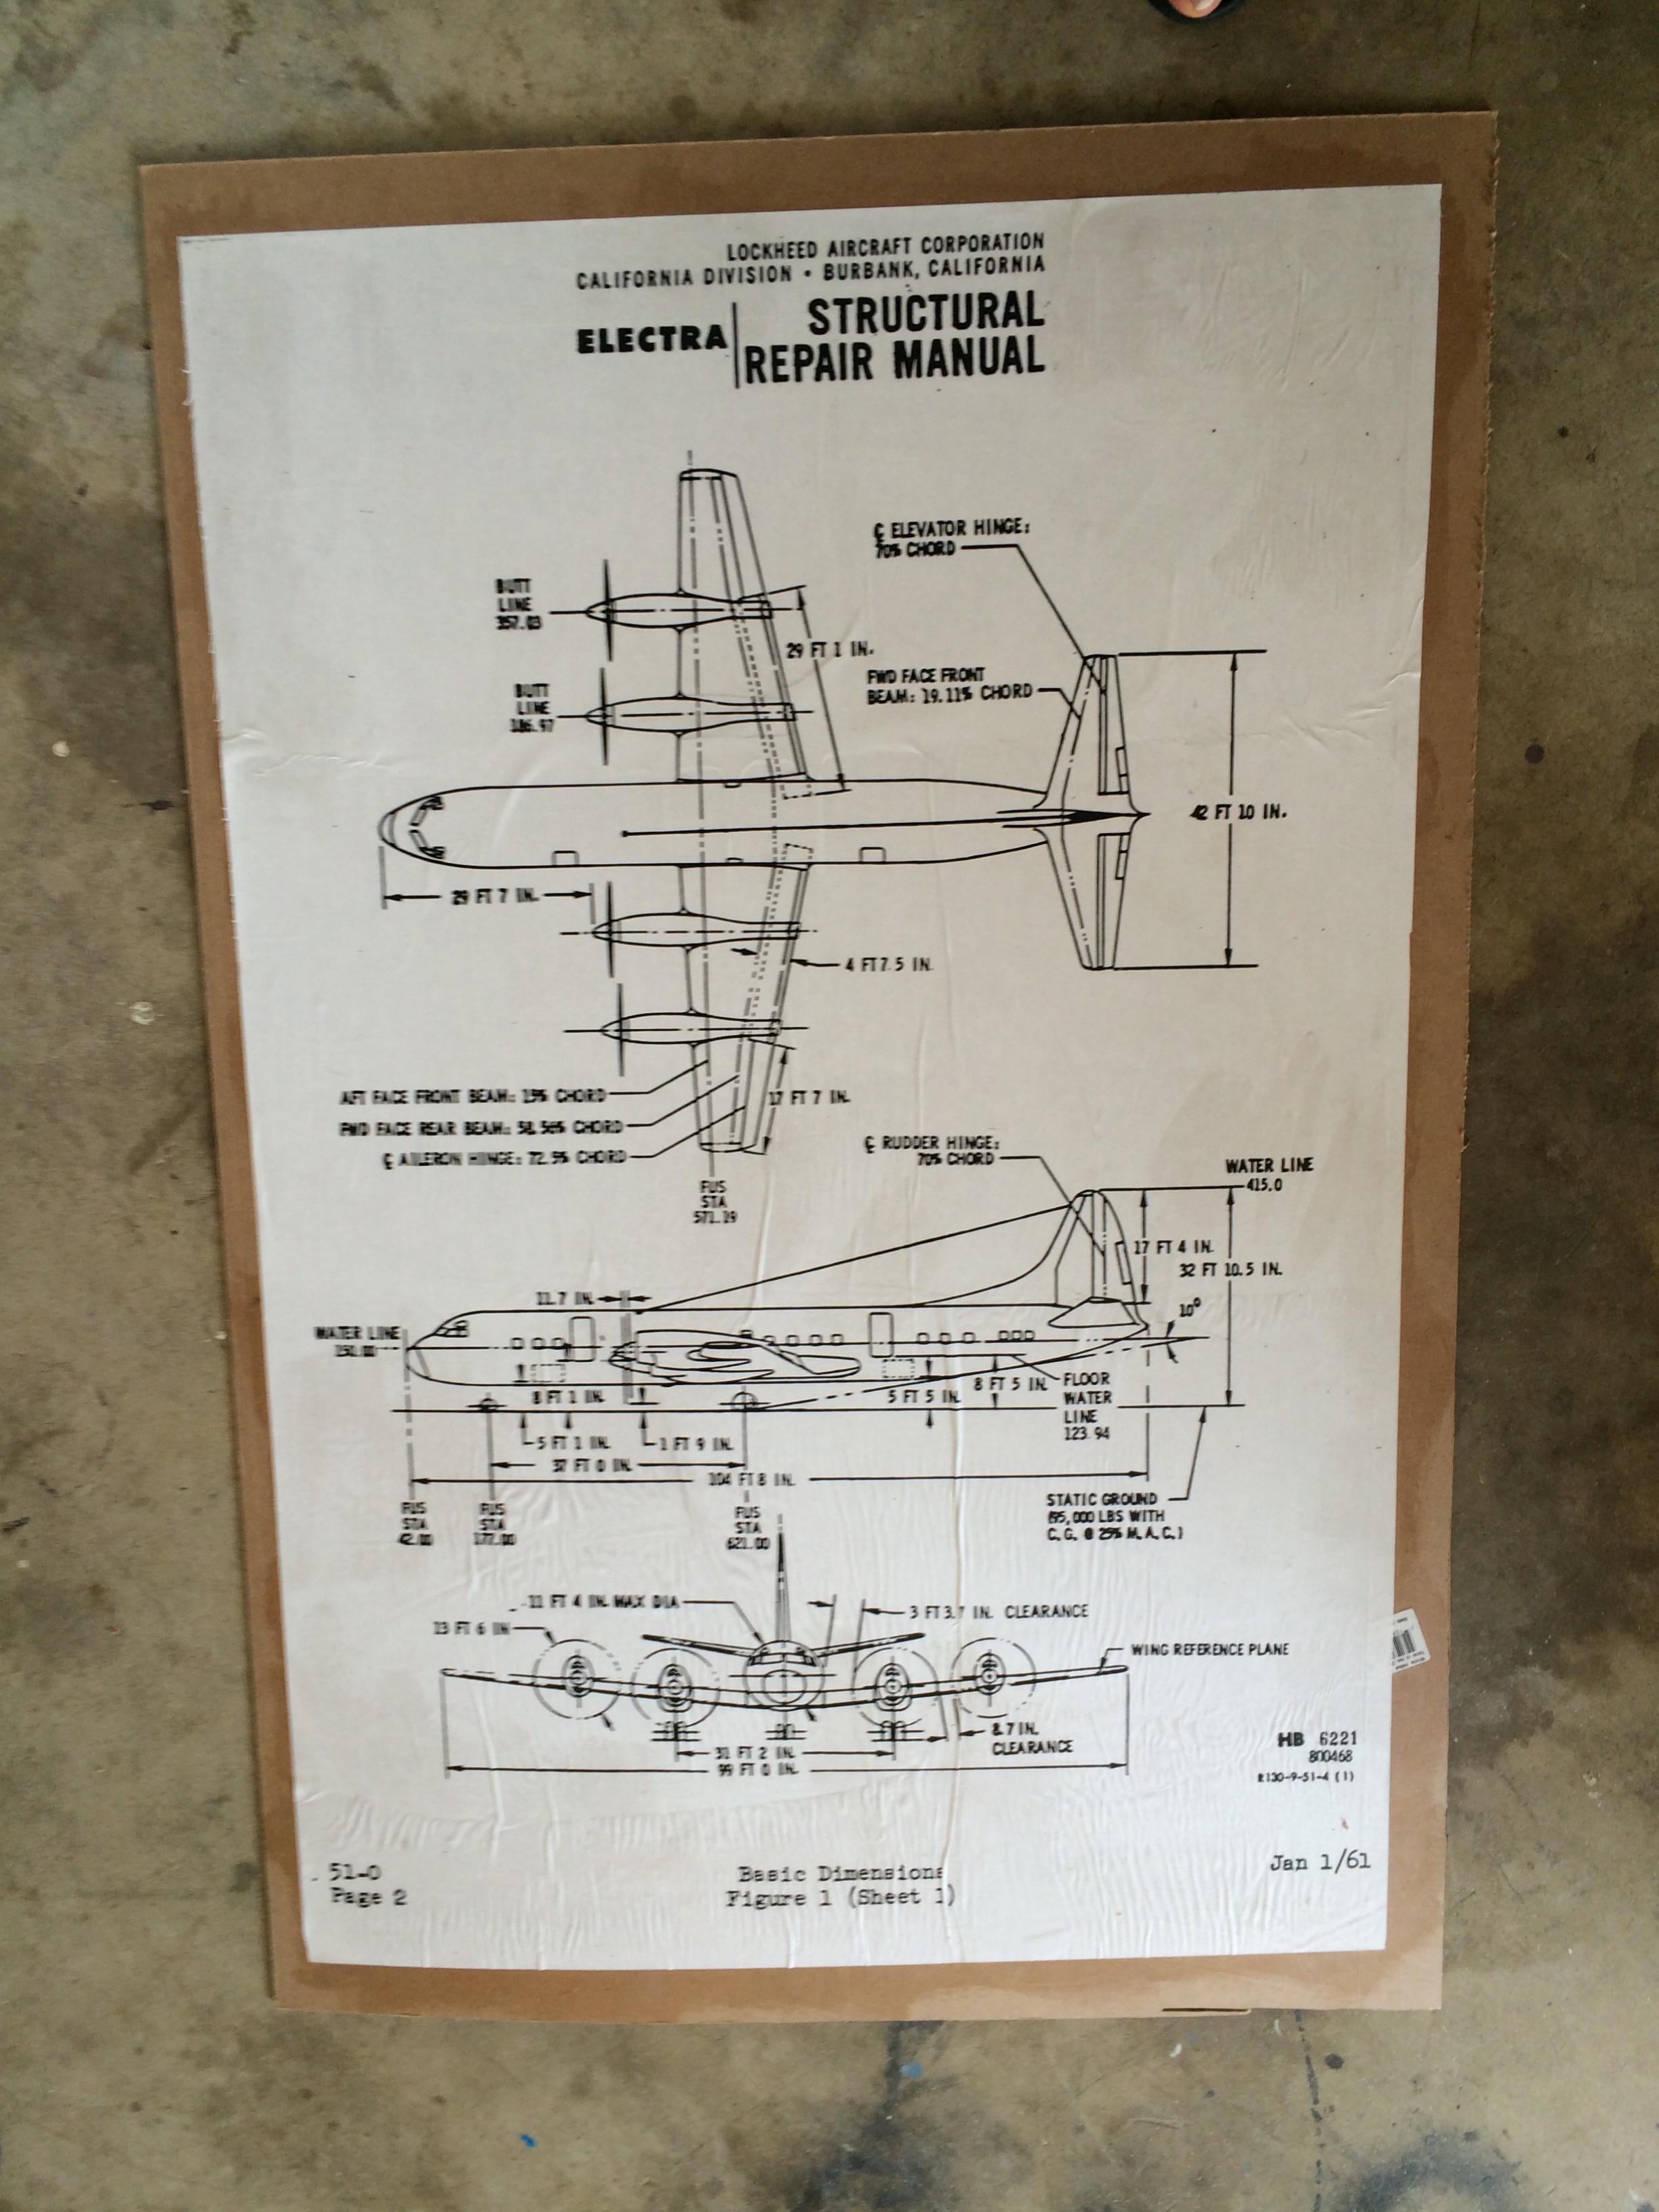 Next I painted the whole thing with Varathane…this had a bit of a clear yellowish tint to it and gave the paper the desired aged paper look. It also sealed it and takes away the need to place glass over the image as it becomes wipeable with the coating on it. I gave it 2 generous coats.
While that was drying I started to work on making the frame for it. I had gone to the local lumber yard and purchased some rough cut 1 x 4 pieces of lumber. I chose rough cut as it has the rustic look I wanted and it costs less. Why pay more for a perfect piece of wood just to dent it up?
I cut to size…I measured this time… :0)
Then I sanded away all slivers and smoothed the rough edges a bit with my palm sander. I then painted them all with some Milk Paint watered down to a stain consistency in the color Curio. Being rough wood it absorbed just like stain. When it dried I went over it with some watered down chalk paint in a white color called Uncle Sam. I then gave it a light sanding so that the Curio color showed through. Once I had the look I liked, I sealed the whole frame with Varathane. Sorry I haven’t any pictures of this whole frame making process…When I’m on a roll I don’t remember to stop and take pictures!
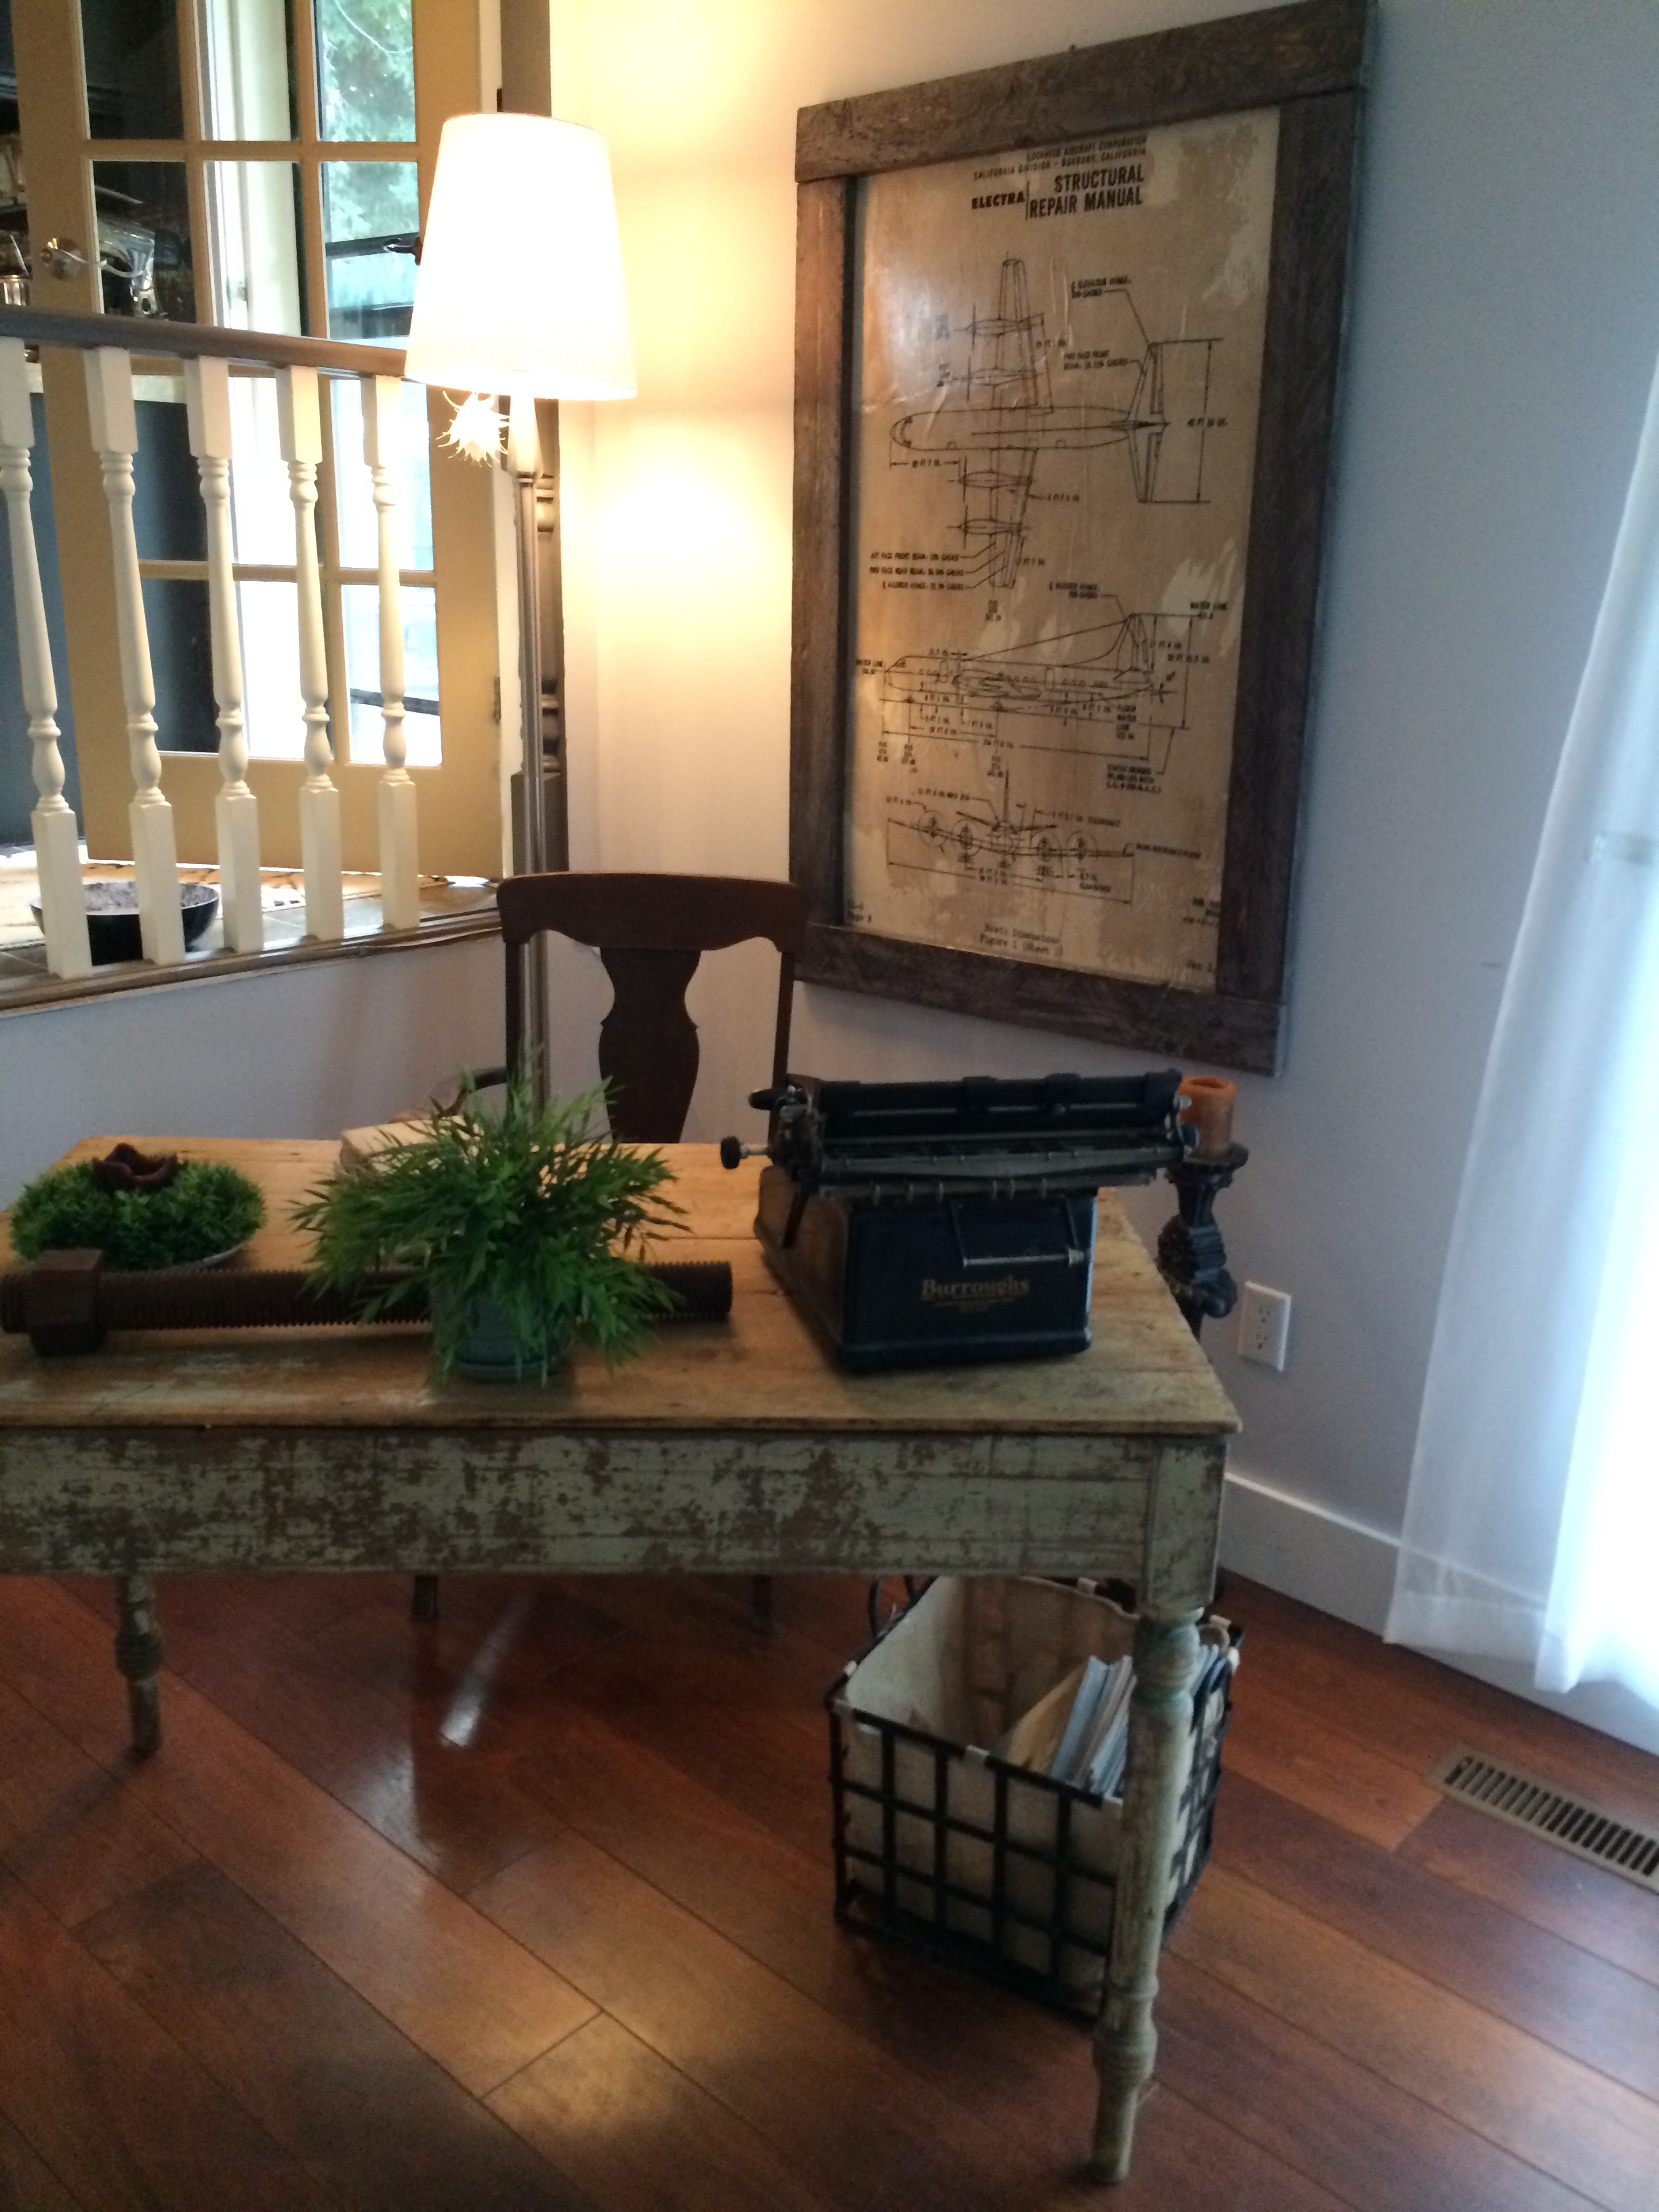
I then mounted the backer board with the picture on it to the back of the frame I made using small screws all around the edges. I love the way it turned out…I put this one for sale in my booth but I will definitely will make one for my boy’s room. This one was a little on the large size for their room…it is 3 x 4 feet of awesomeness!
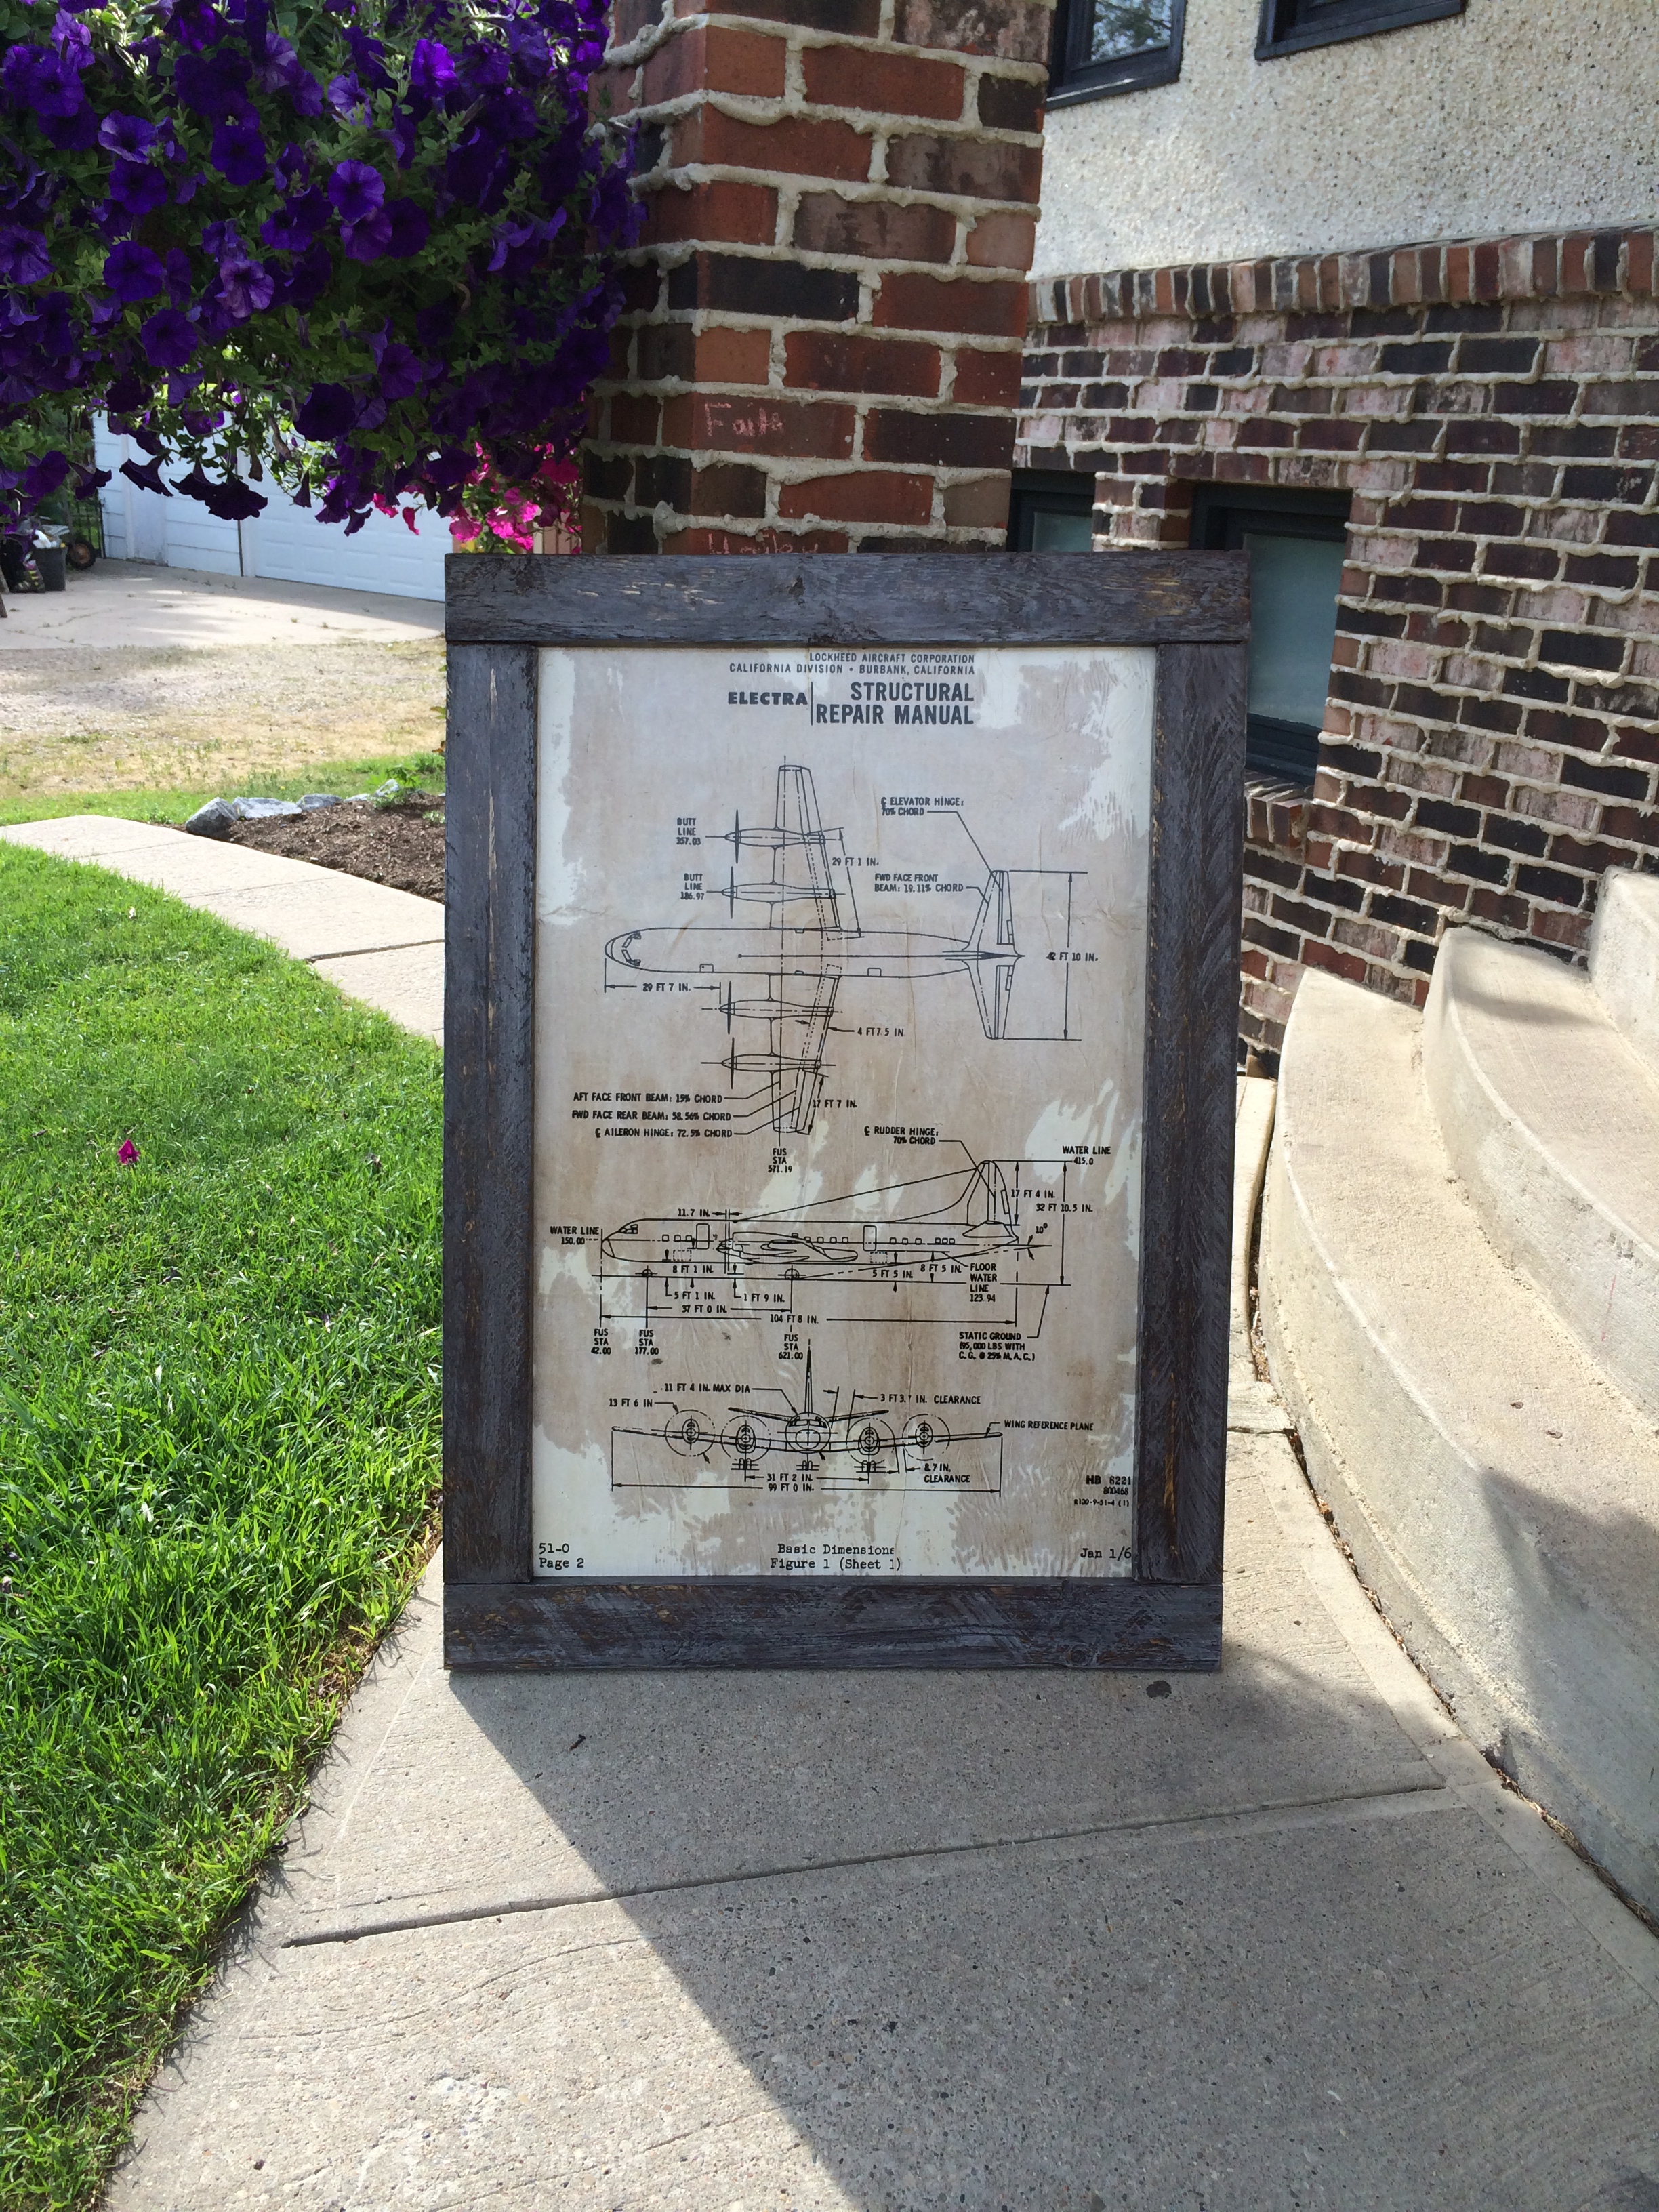
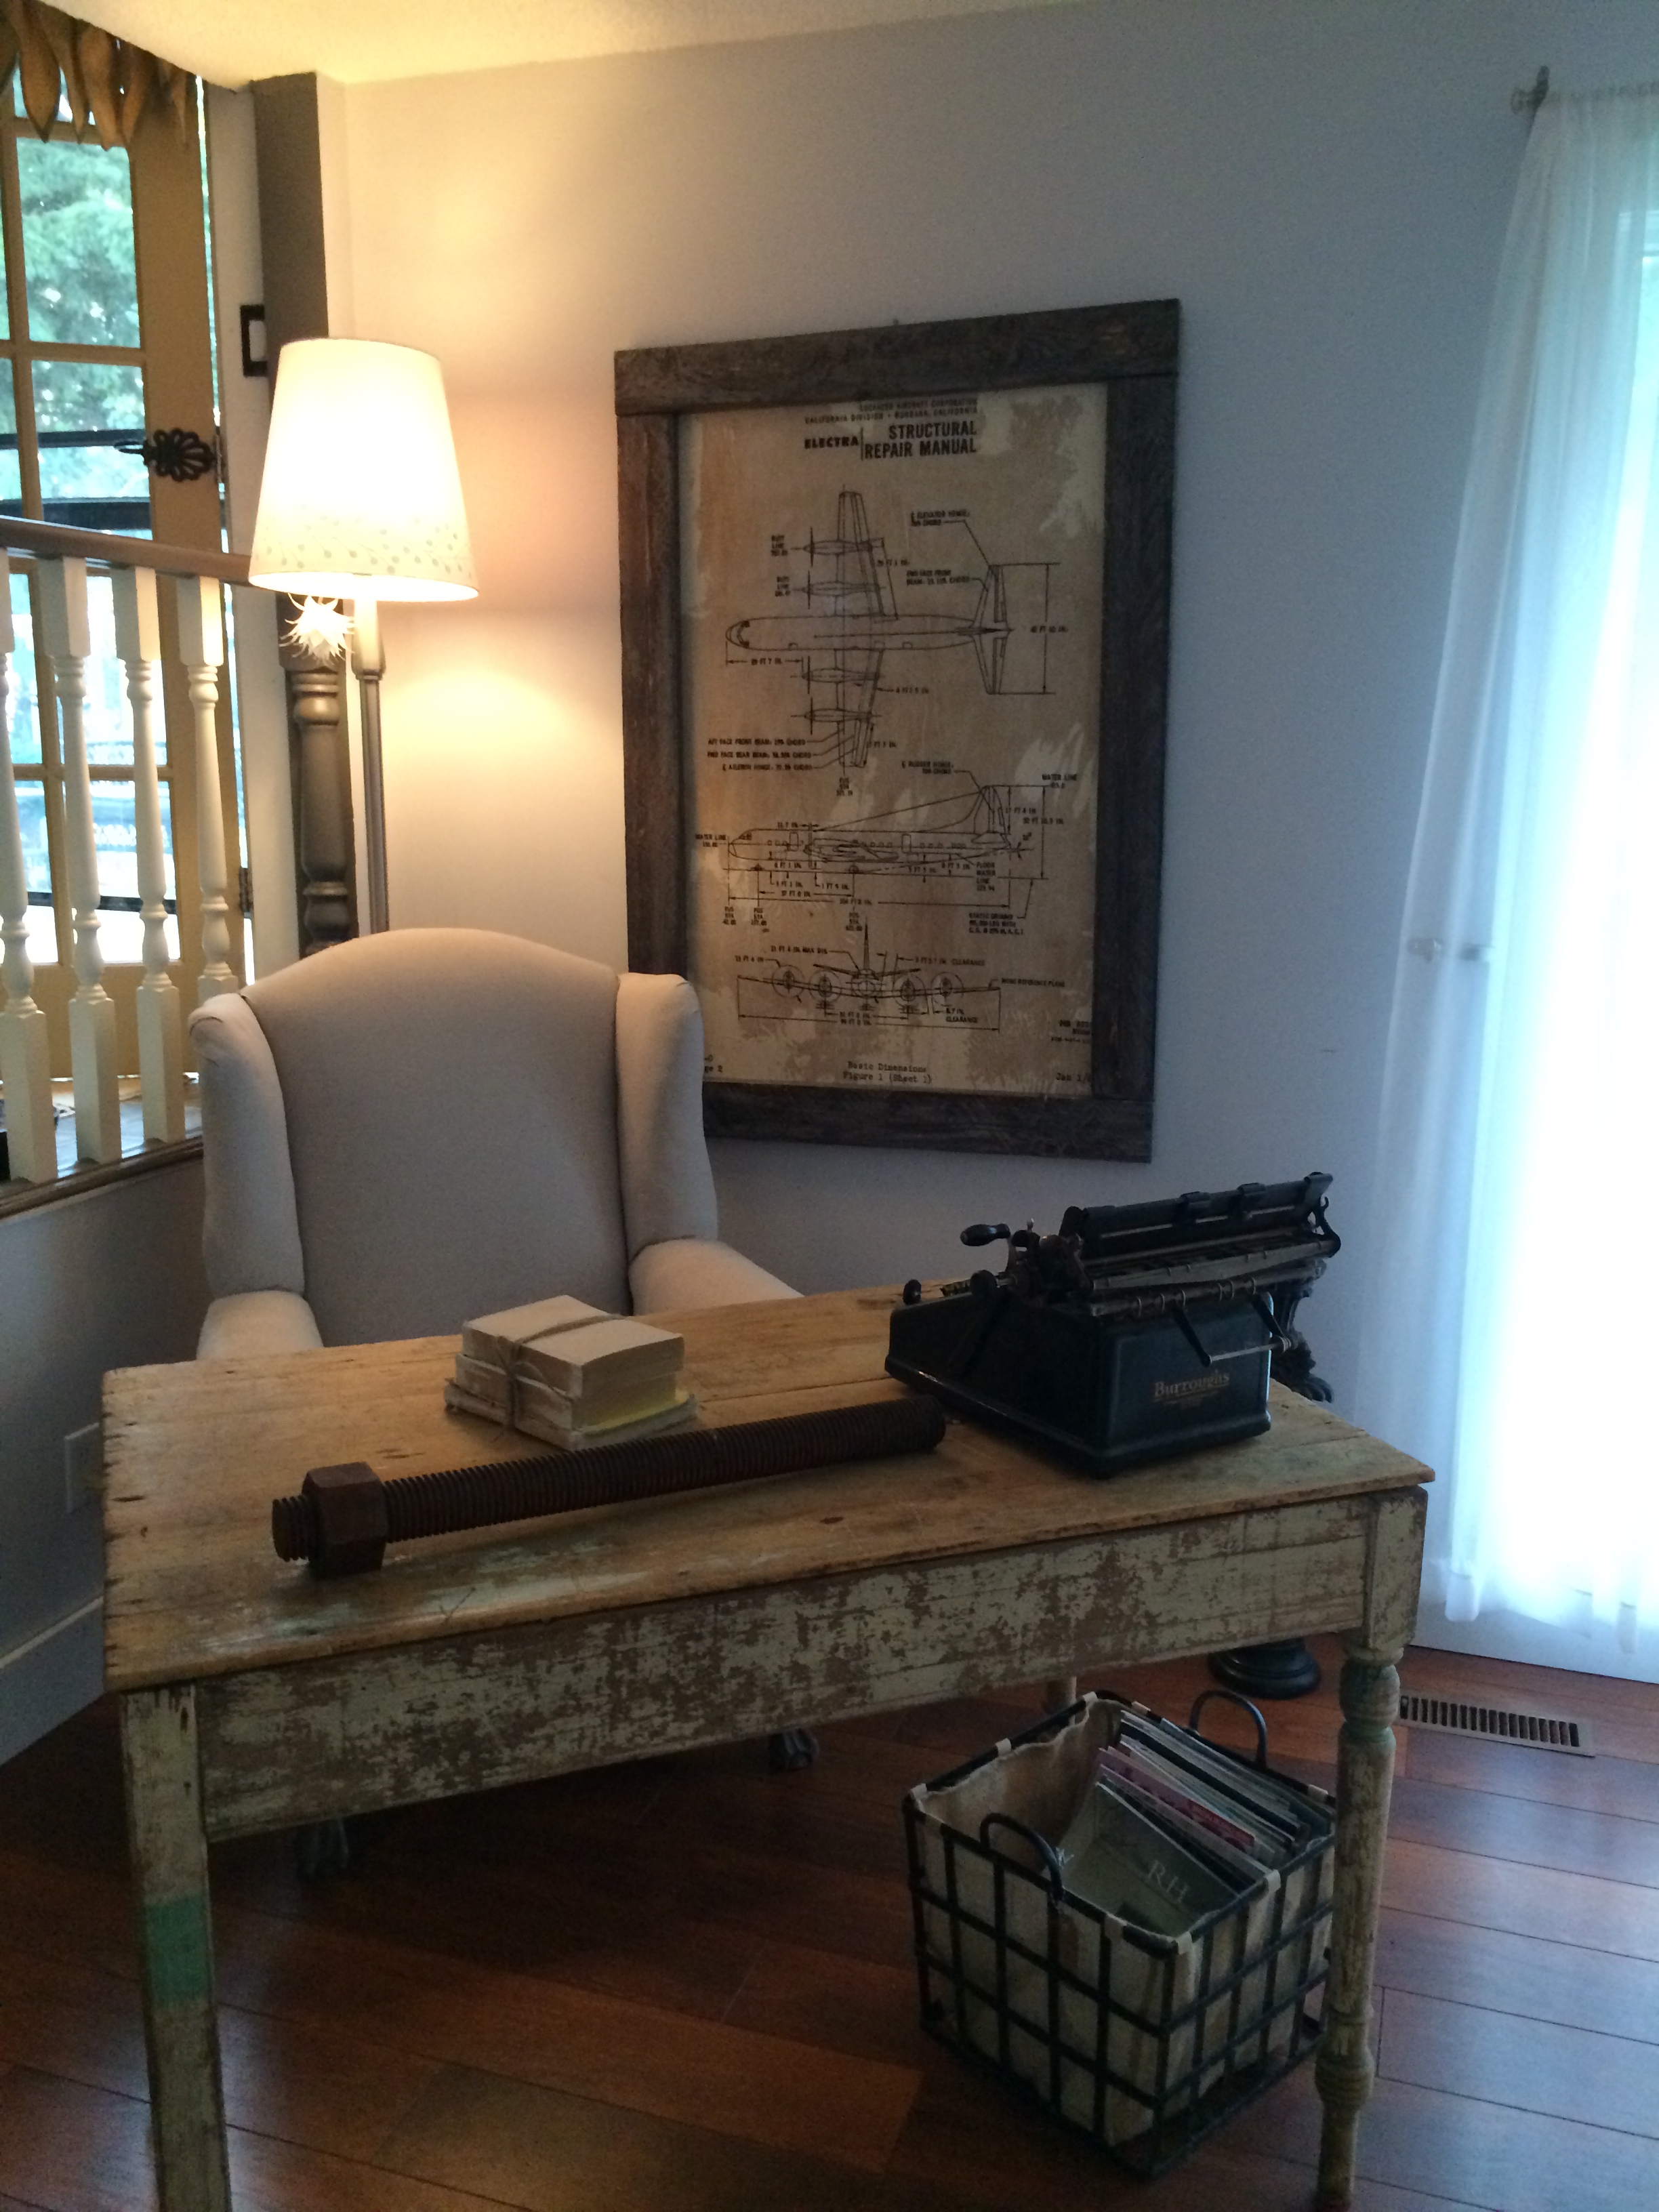 Here it is staged in our computer desk area in our house…sorry for the dark pictures..I’m “grounded” from borrowing my daughter’s really nice camera… apparently I left fingerprints on the lens last time I borrowed it??? Oops!

 Another super easy project with great results…and you don’t have to spend a lot to do it!
If you visit me often, I’d love for you to become a follower!
Take care!
Smiles!
Terry
P.S.
Behind the scenes of The Curator’s Collection…
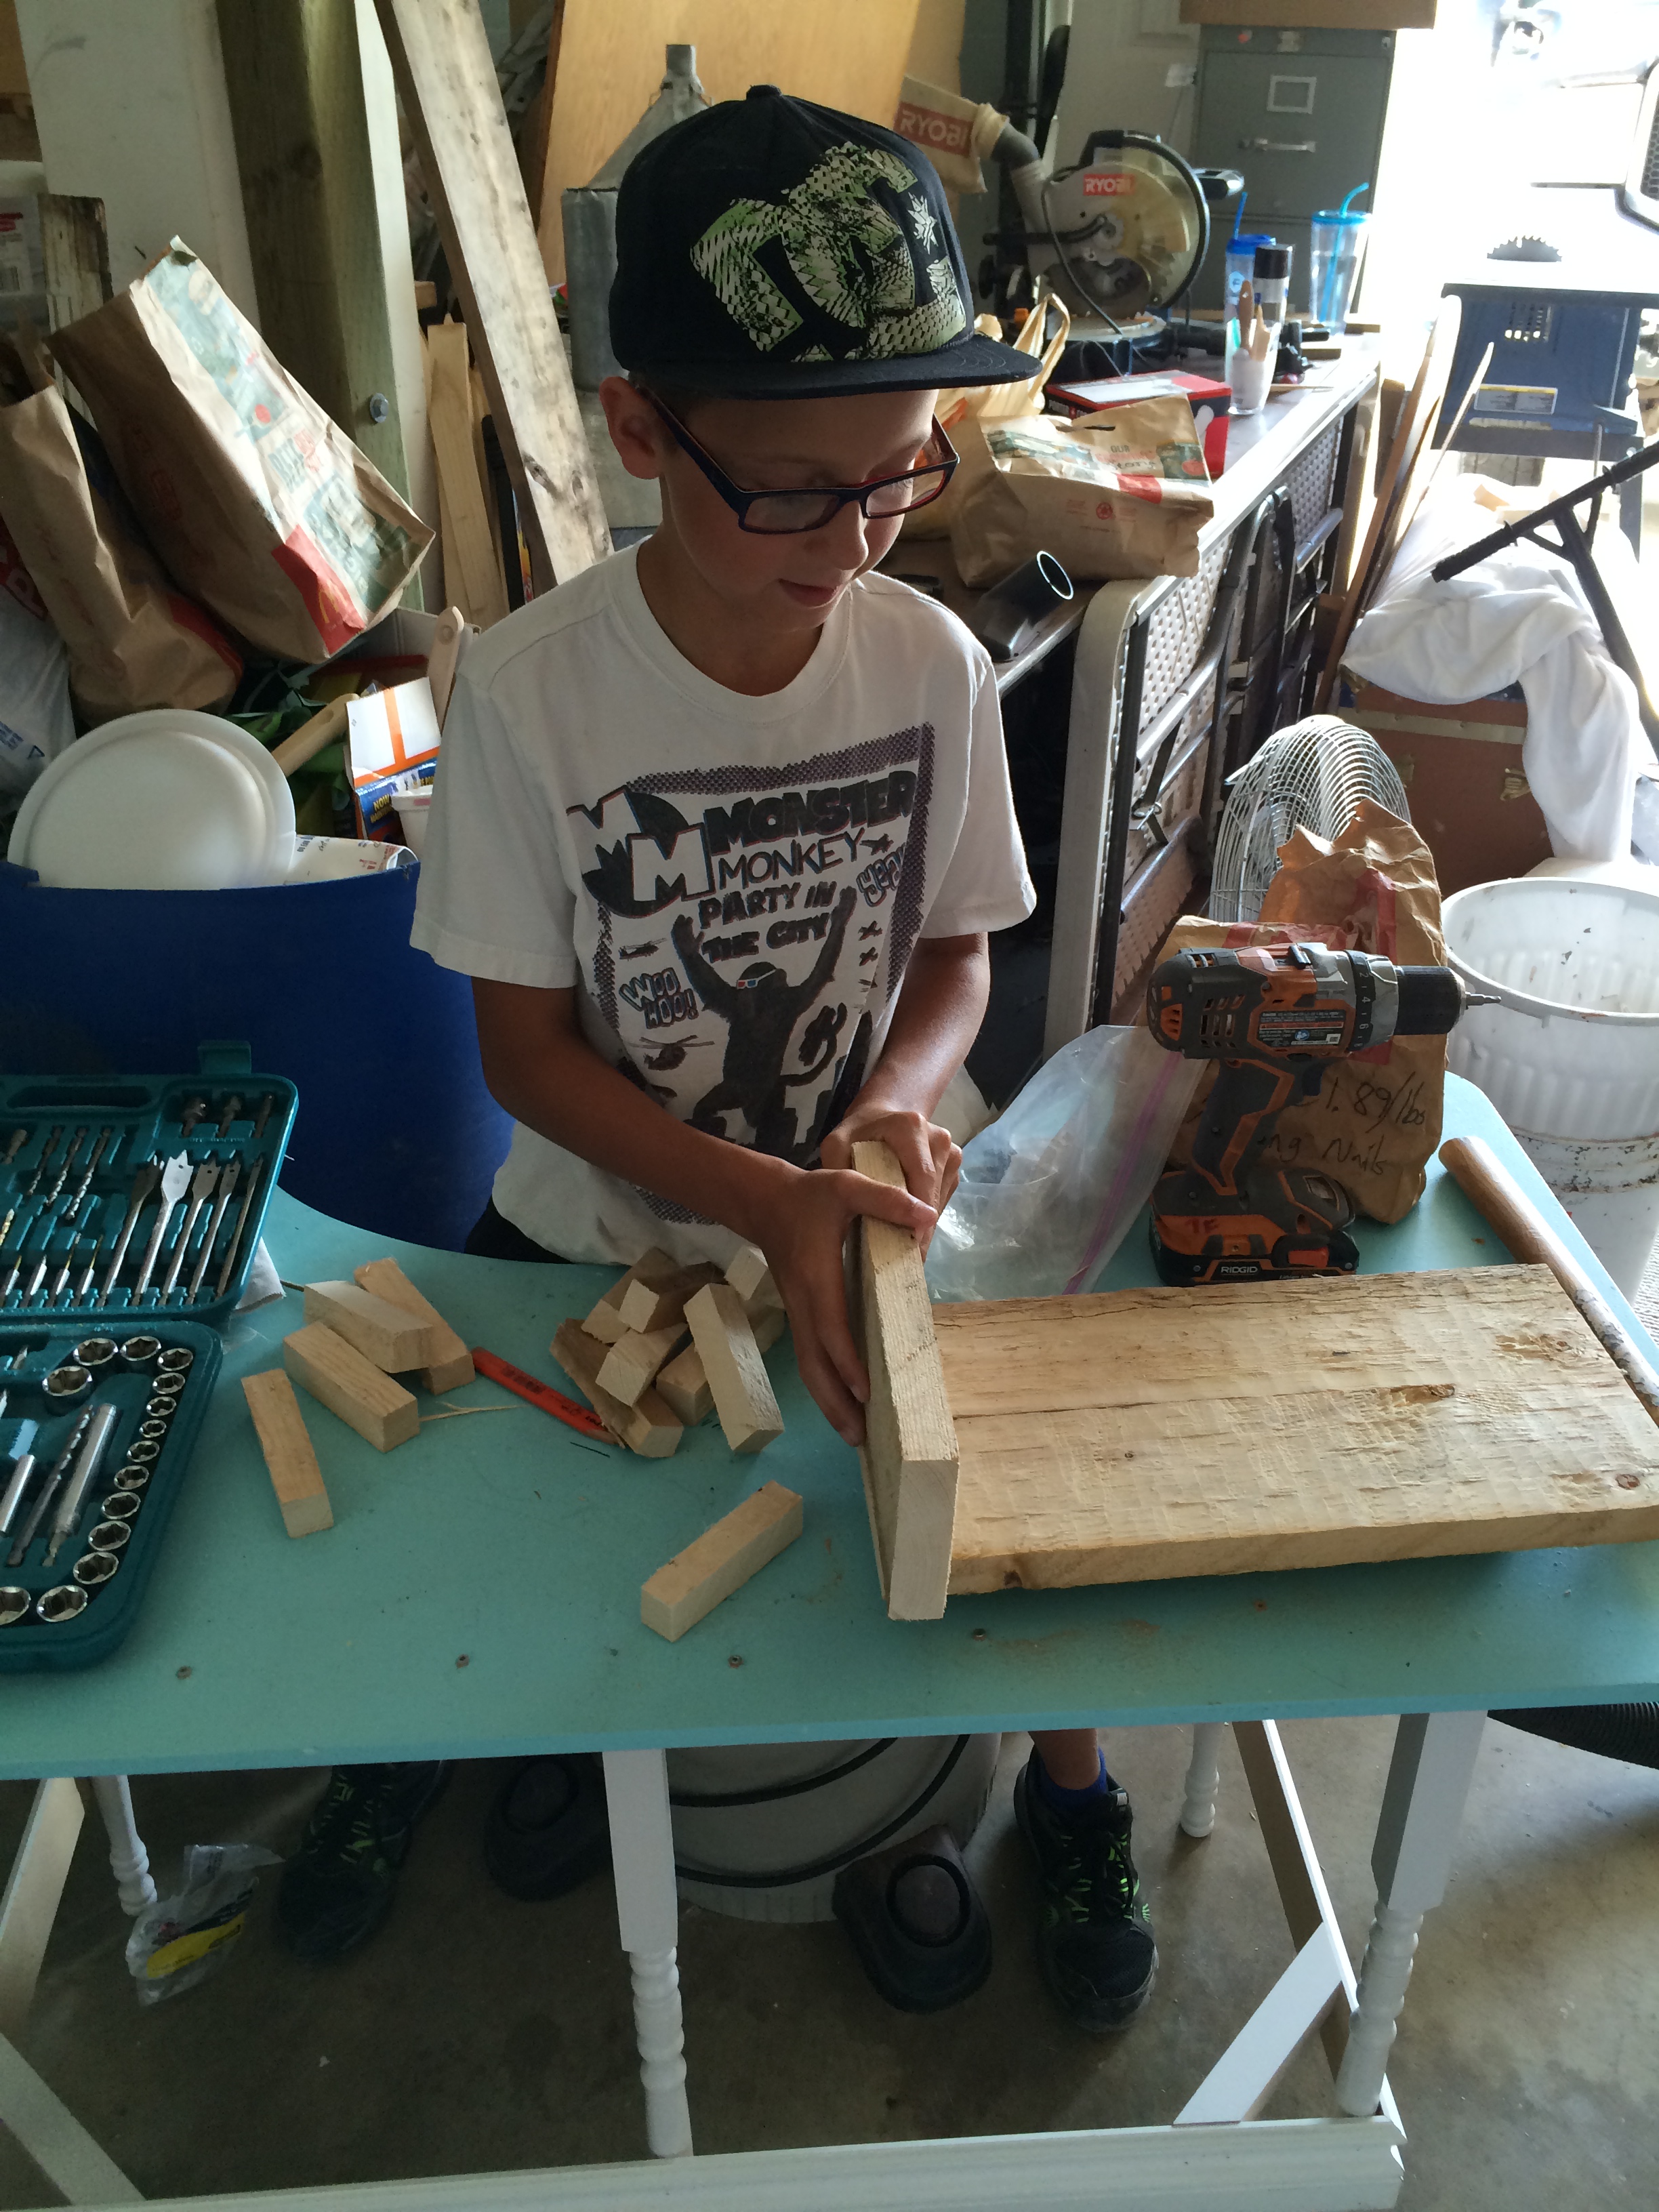
I’s not easy having tools and twin boys around when you’re trying to make something in the garage! There is a constant begging for me to let them help… Well I decided that during the making of this project, they could use my scrap wood, my cordless drills and screw drivers and some screws and nails to build whatever they wanted…
Take a look…

Wow! Clamps, screws…Drilling…serious projects!!!
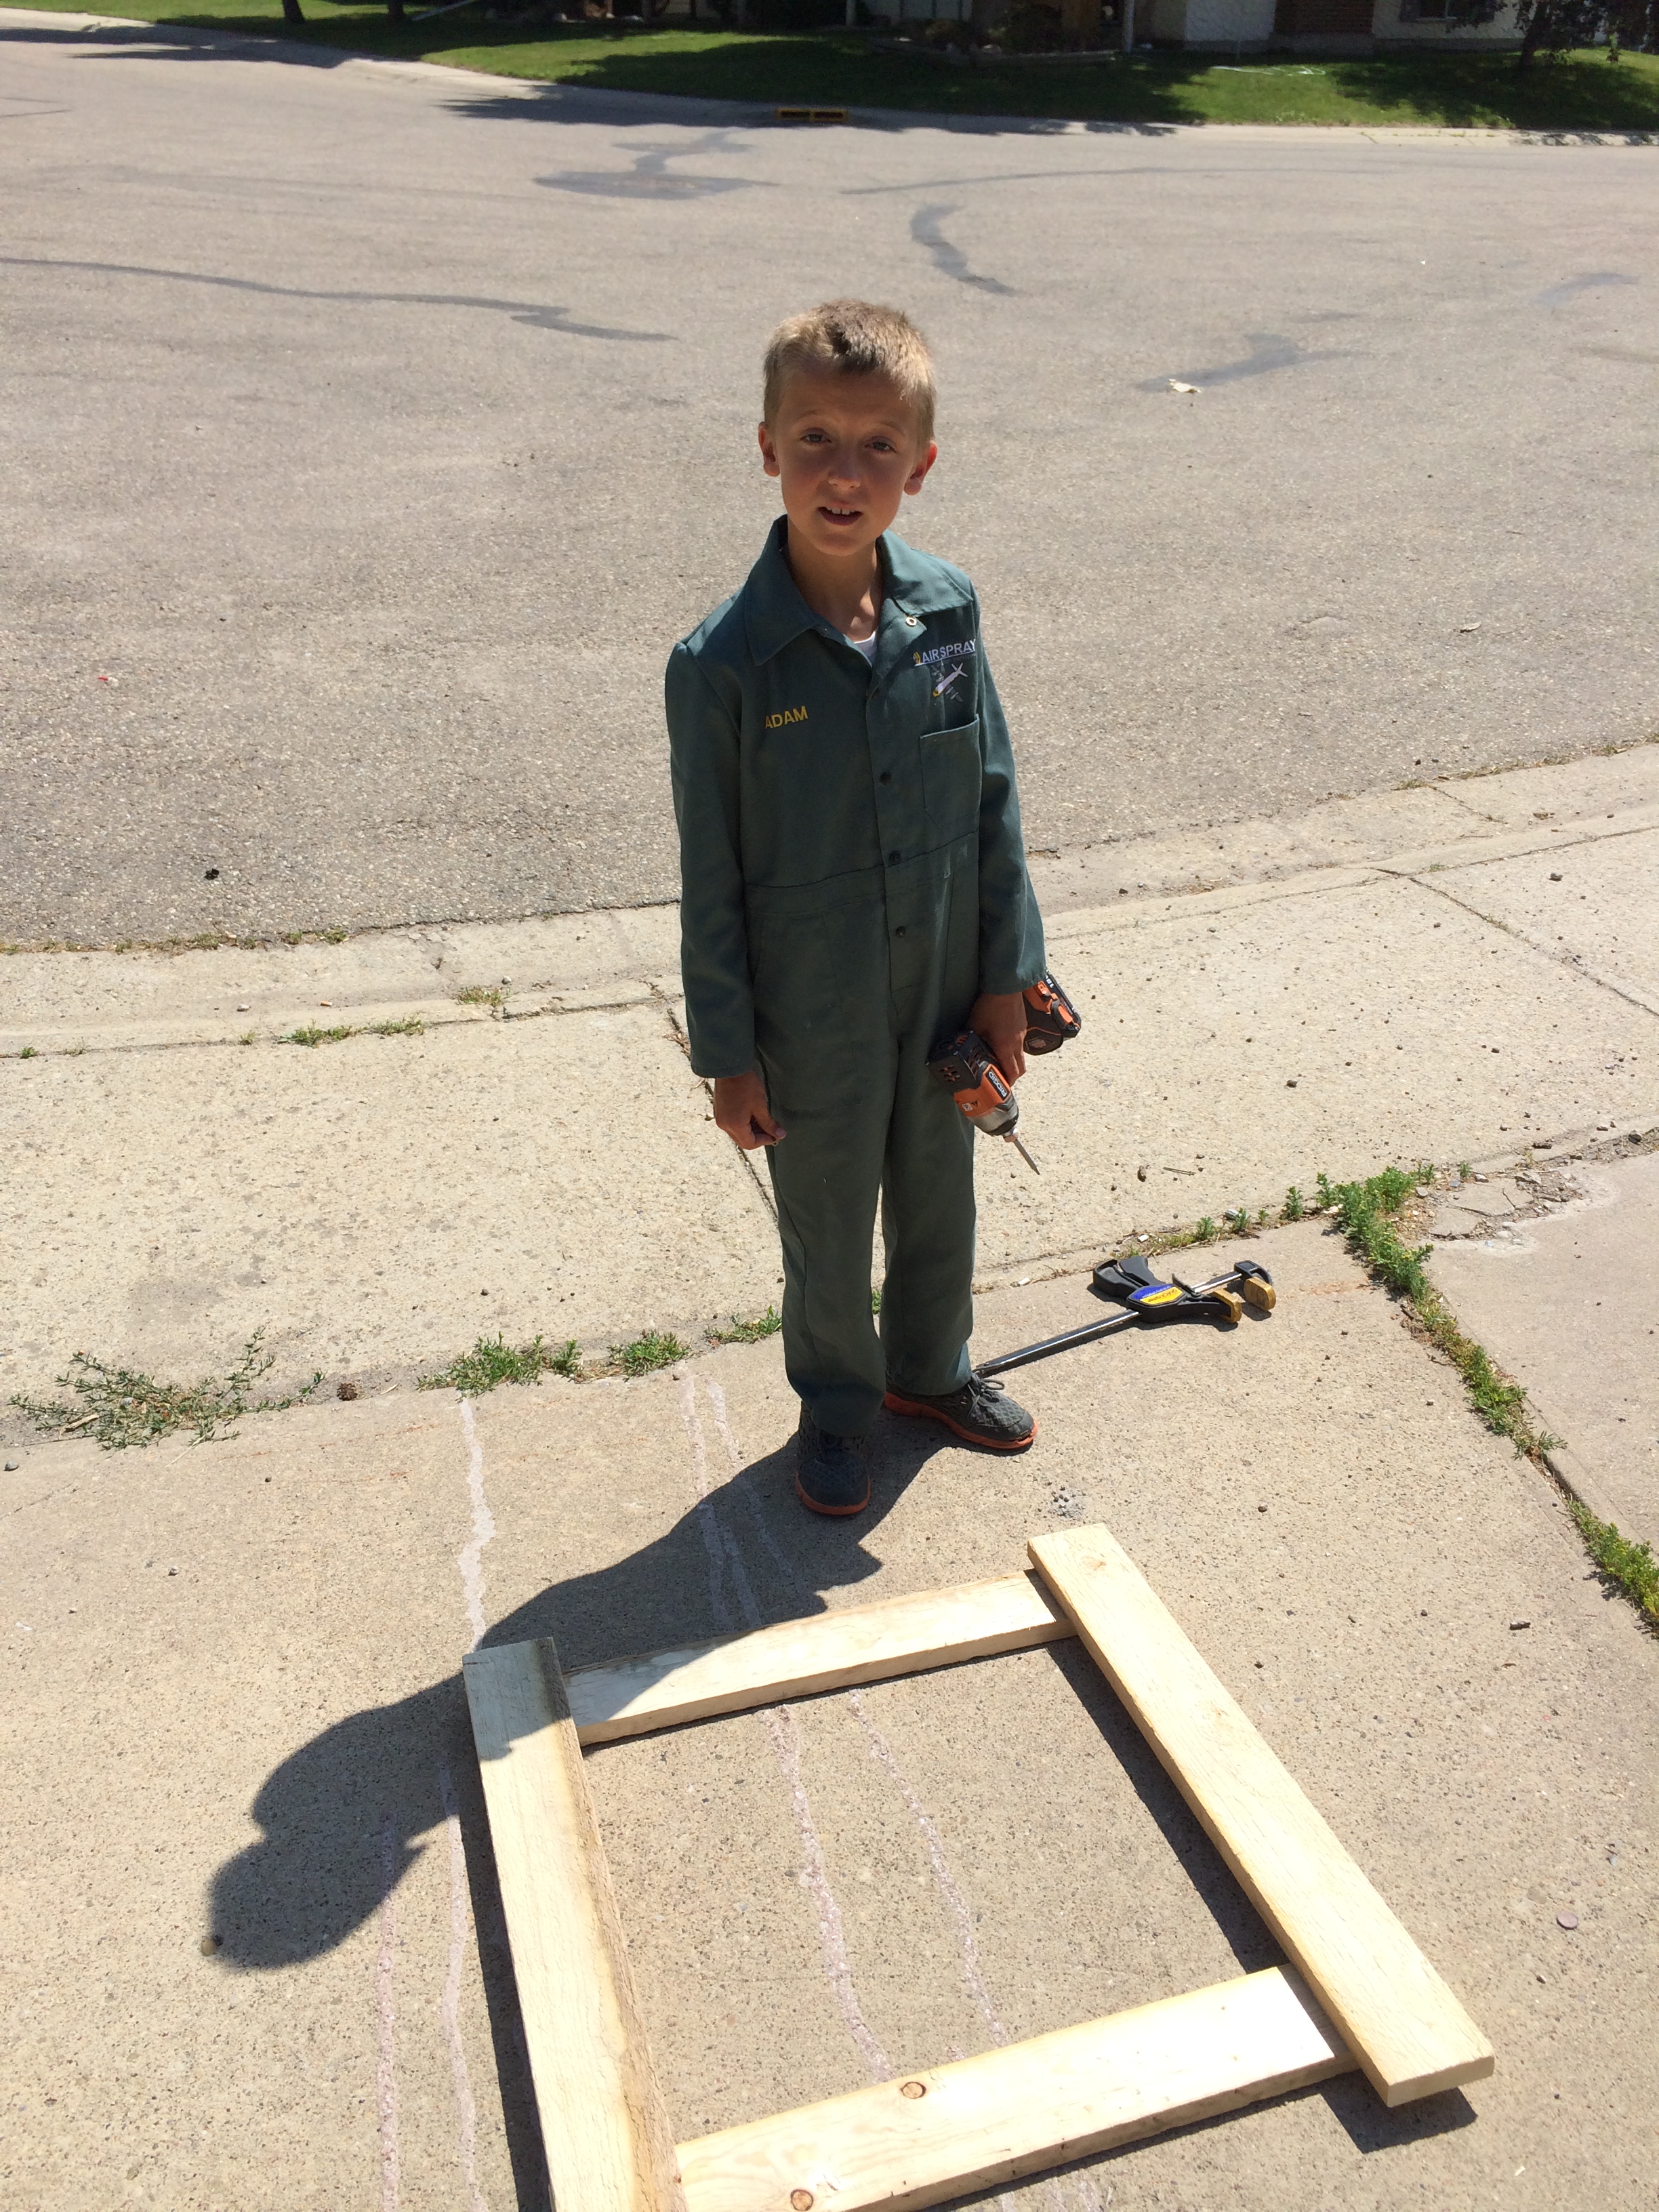 Check out those coveralls! That is one serious worker!
This project accidentally got screwed to the work table… :0) !!
 Even a girl got in on the action…
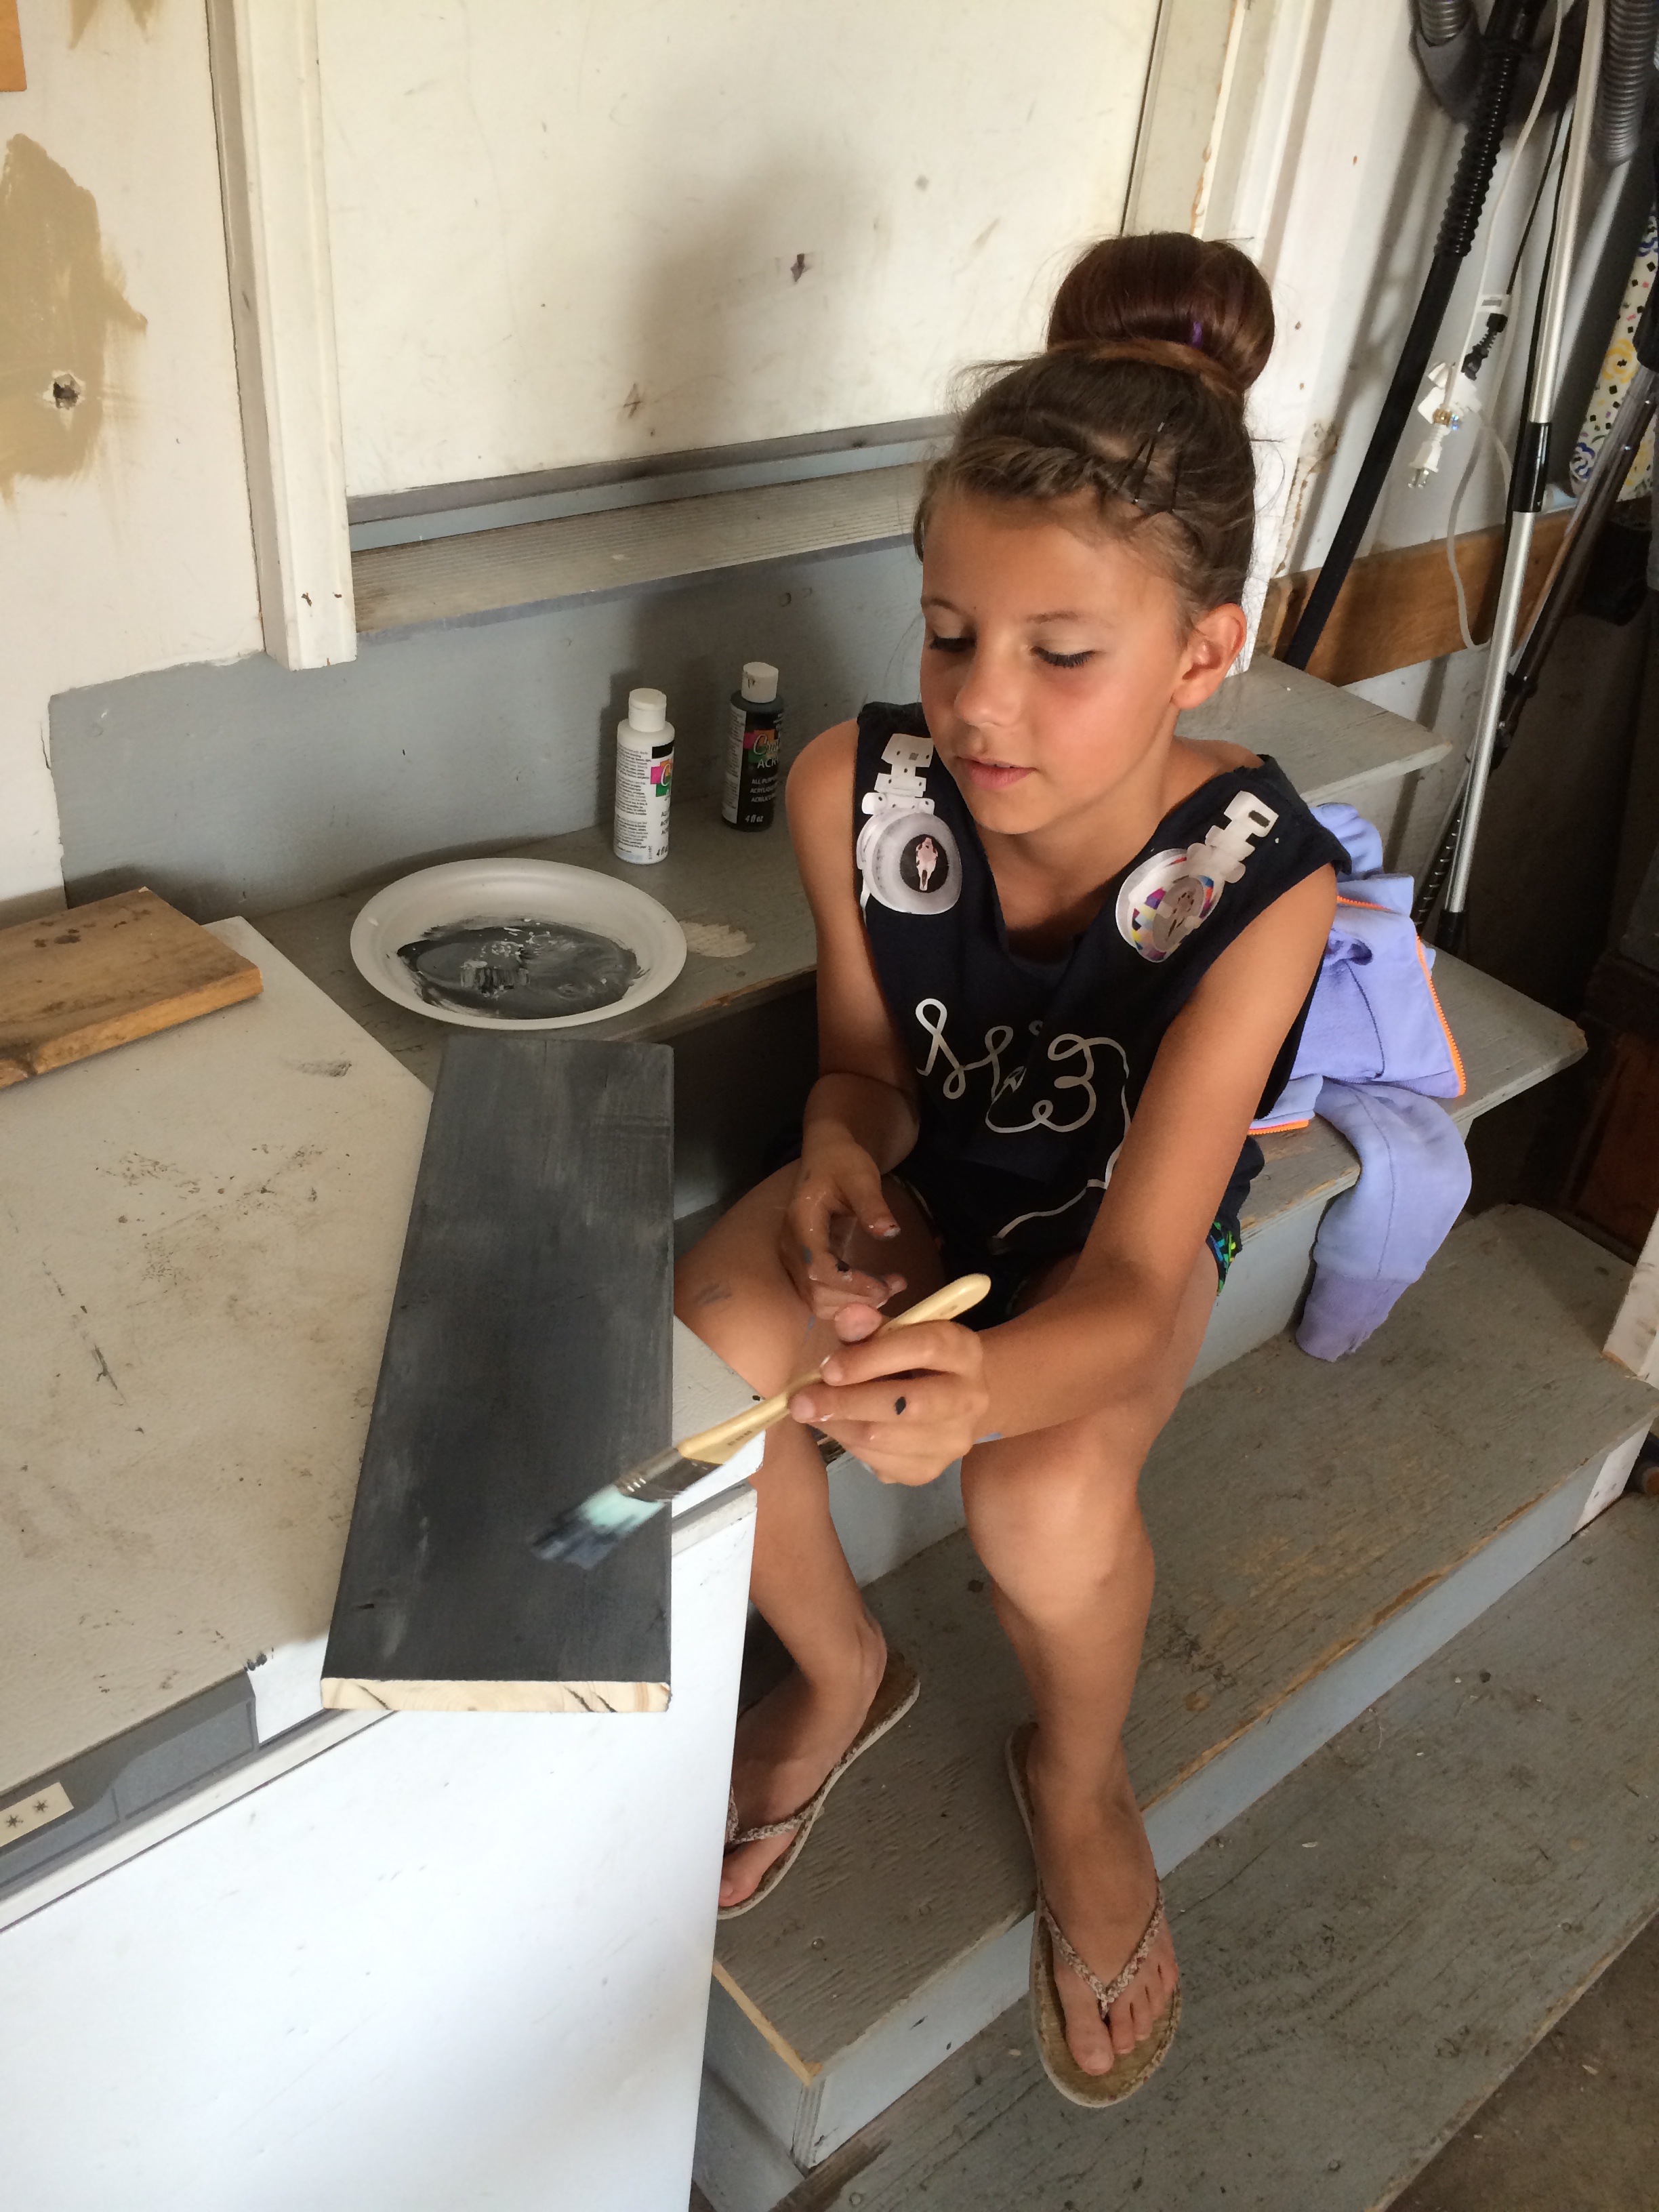 After adding some screws to her board and using some twine for a hanger, she ended up with a pretty nice necklace holder…
Ahhh…the creativity!
Have a nice weekend!
Smiles!
Linking up to:
TWIGG Studio’s Sunday Show off linky party
Pink when’s DIY Sunday Show case


I just came across your post by chance and I love this! I too have a thing for drawings like this. I don’t know what it is but I like them. My father, who I adored, passed away a few years ago and I have been holding on to some drawings he made of the inner workings of an ultralight he wanted to build. There are also some drawings of hovercrafts, cars, and boats. He had a great interest in anything that had a motor! I’ve been thinking of framing them but I really like how you did this. It would be preserved forever too. I was worried about it fading away in just a regular type framing. Thank you so much!!
LikeLike