DIY Rustic Sign With Fusion Transfer Gel
9November 11, 2015 by Terry
The other day I posted about helping my friend Manja out with her booth at the Home Renovation show. During our time together we discussed many things and she started me on a new addicion … Fusion transfer gel!!!
I have been wanting to try image transfers for a while now and after speaking with Manja about the “How To’s” she made me realise just how easy and fun it was!
Needless to say it inspired a project and well…. this is the product ….
 Some of you may remember the French cabinet I made over for a custom order where the lady didn’t quite love the backboard I covered with antique book pages. ( Click here to see that post )
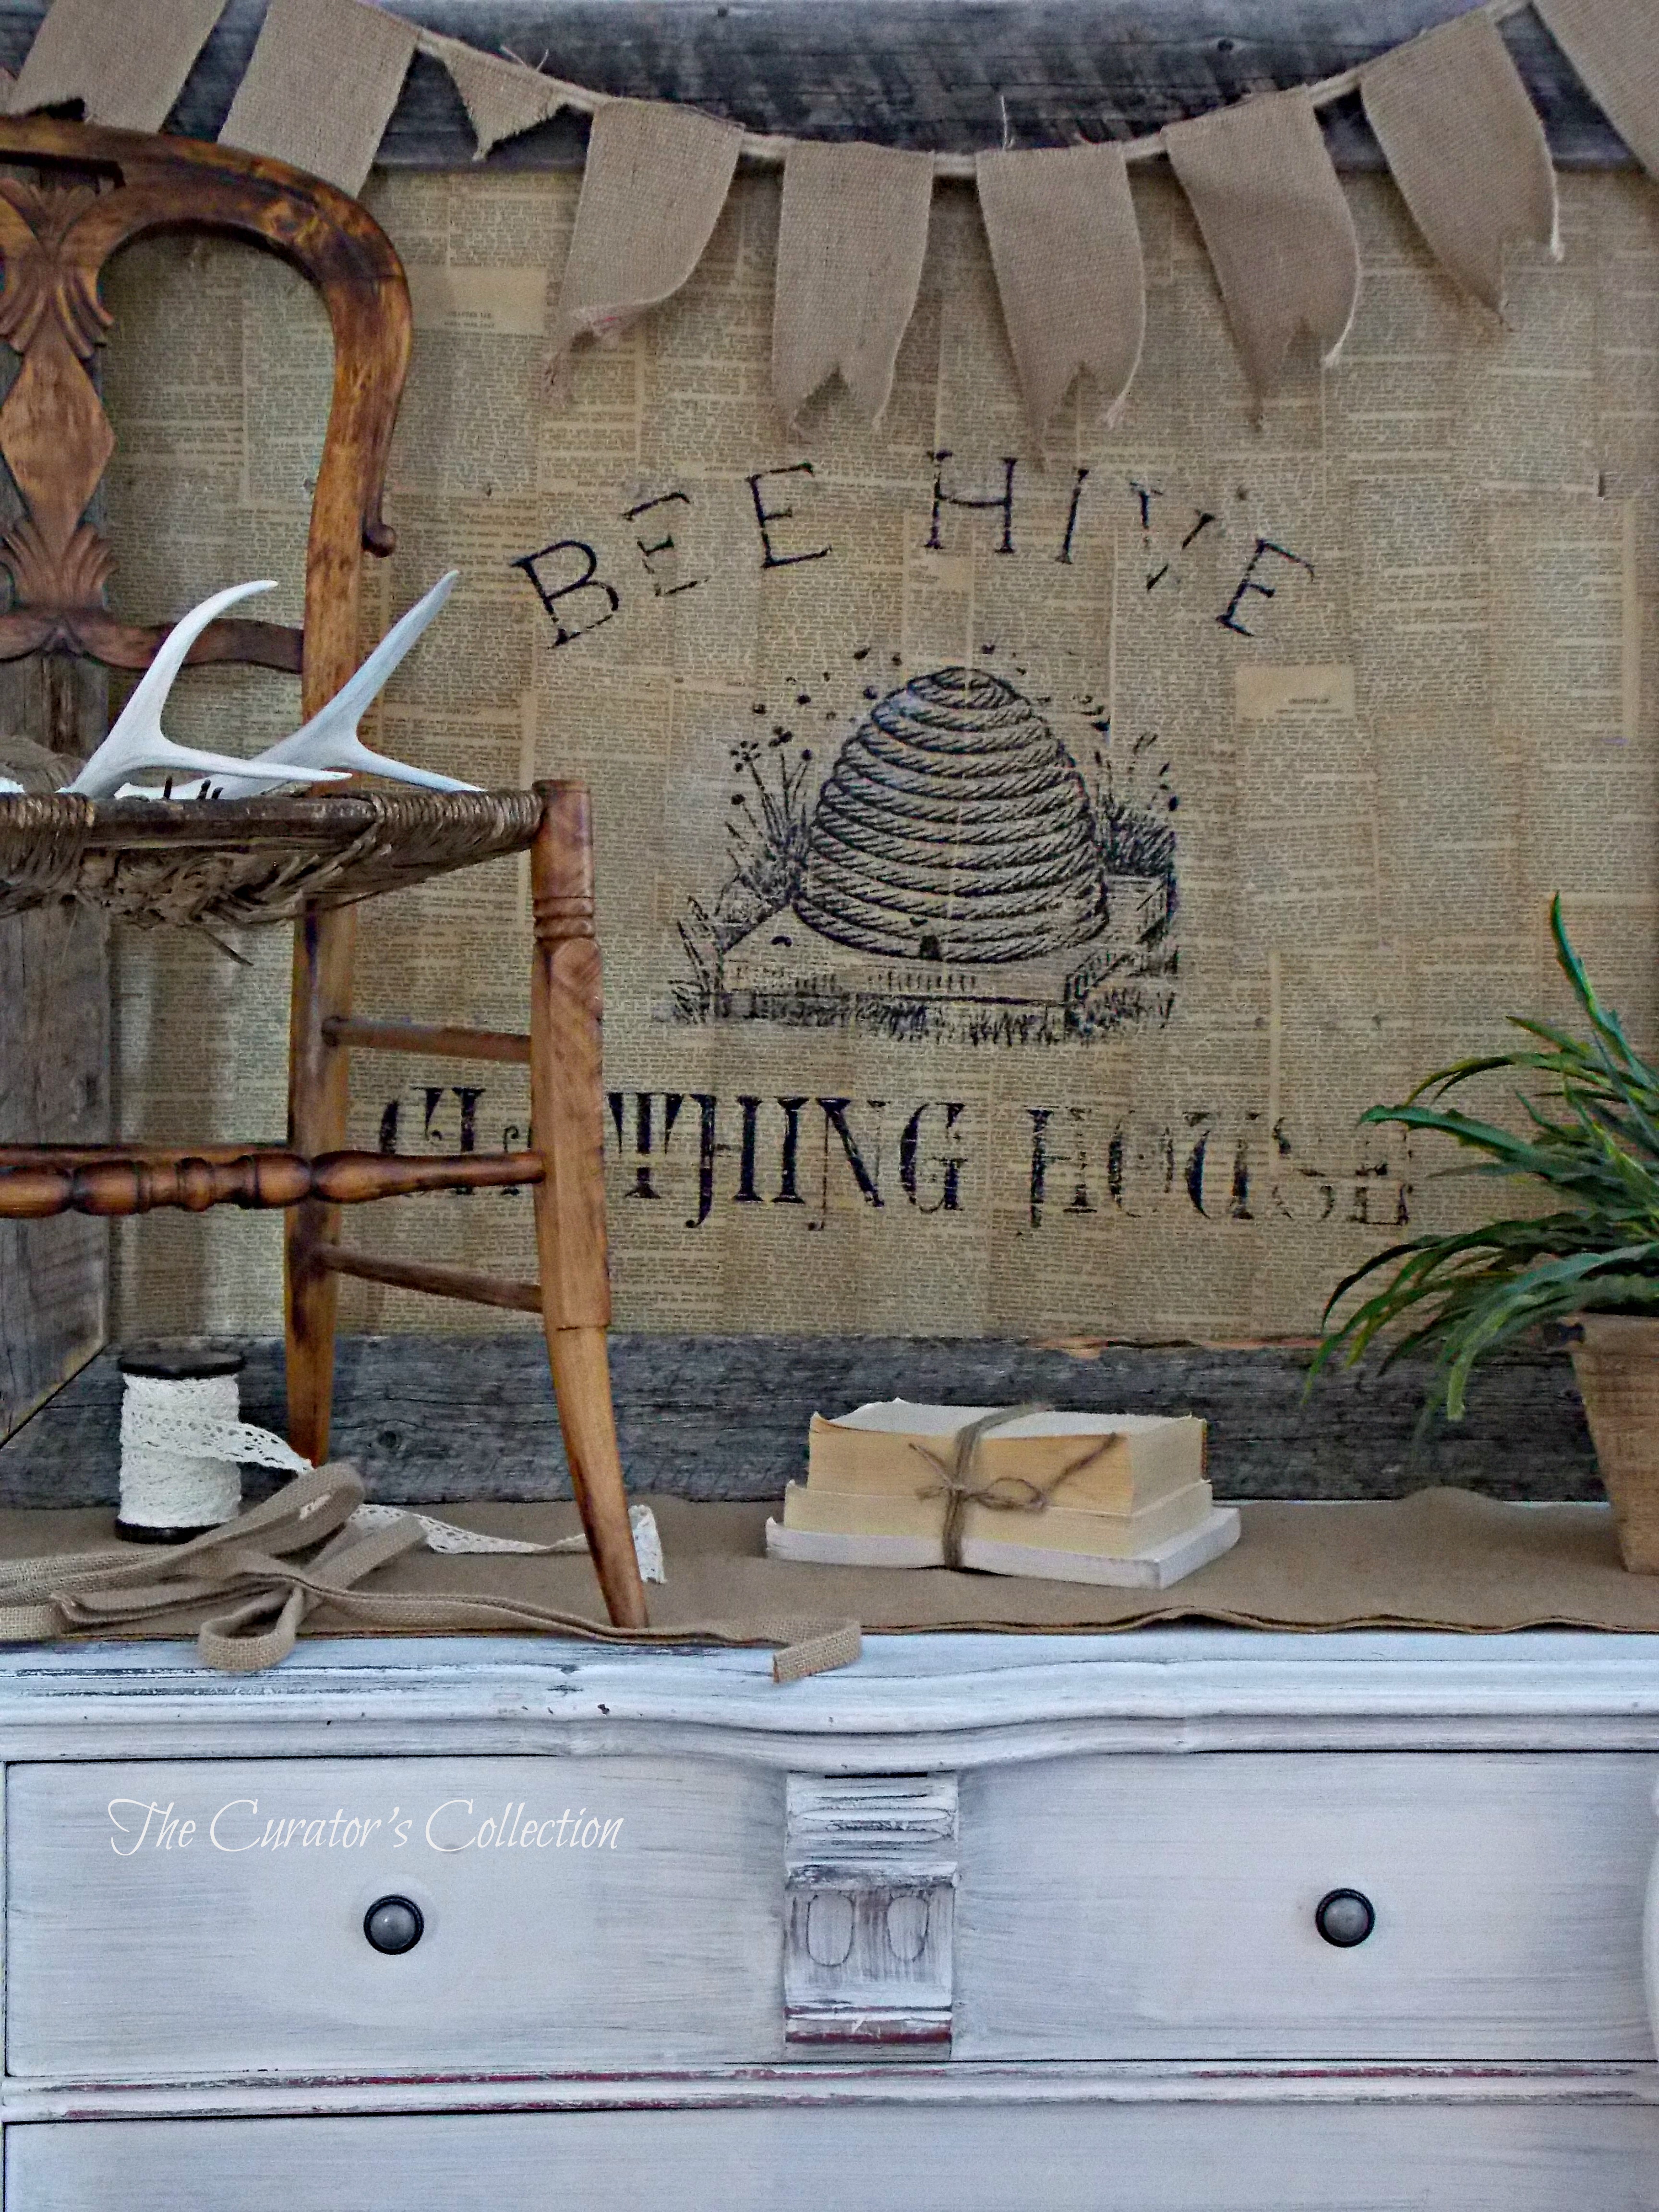
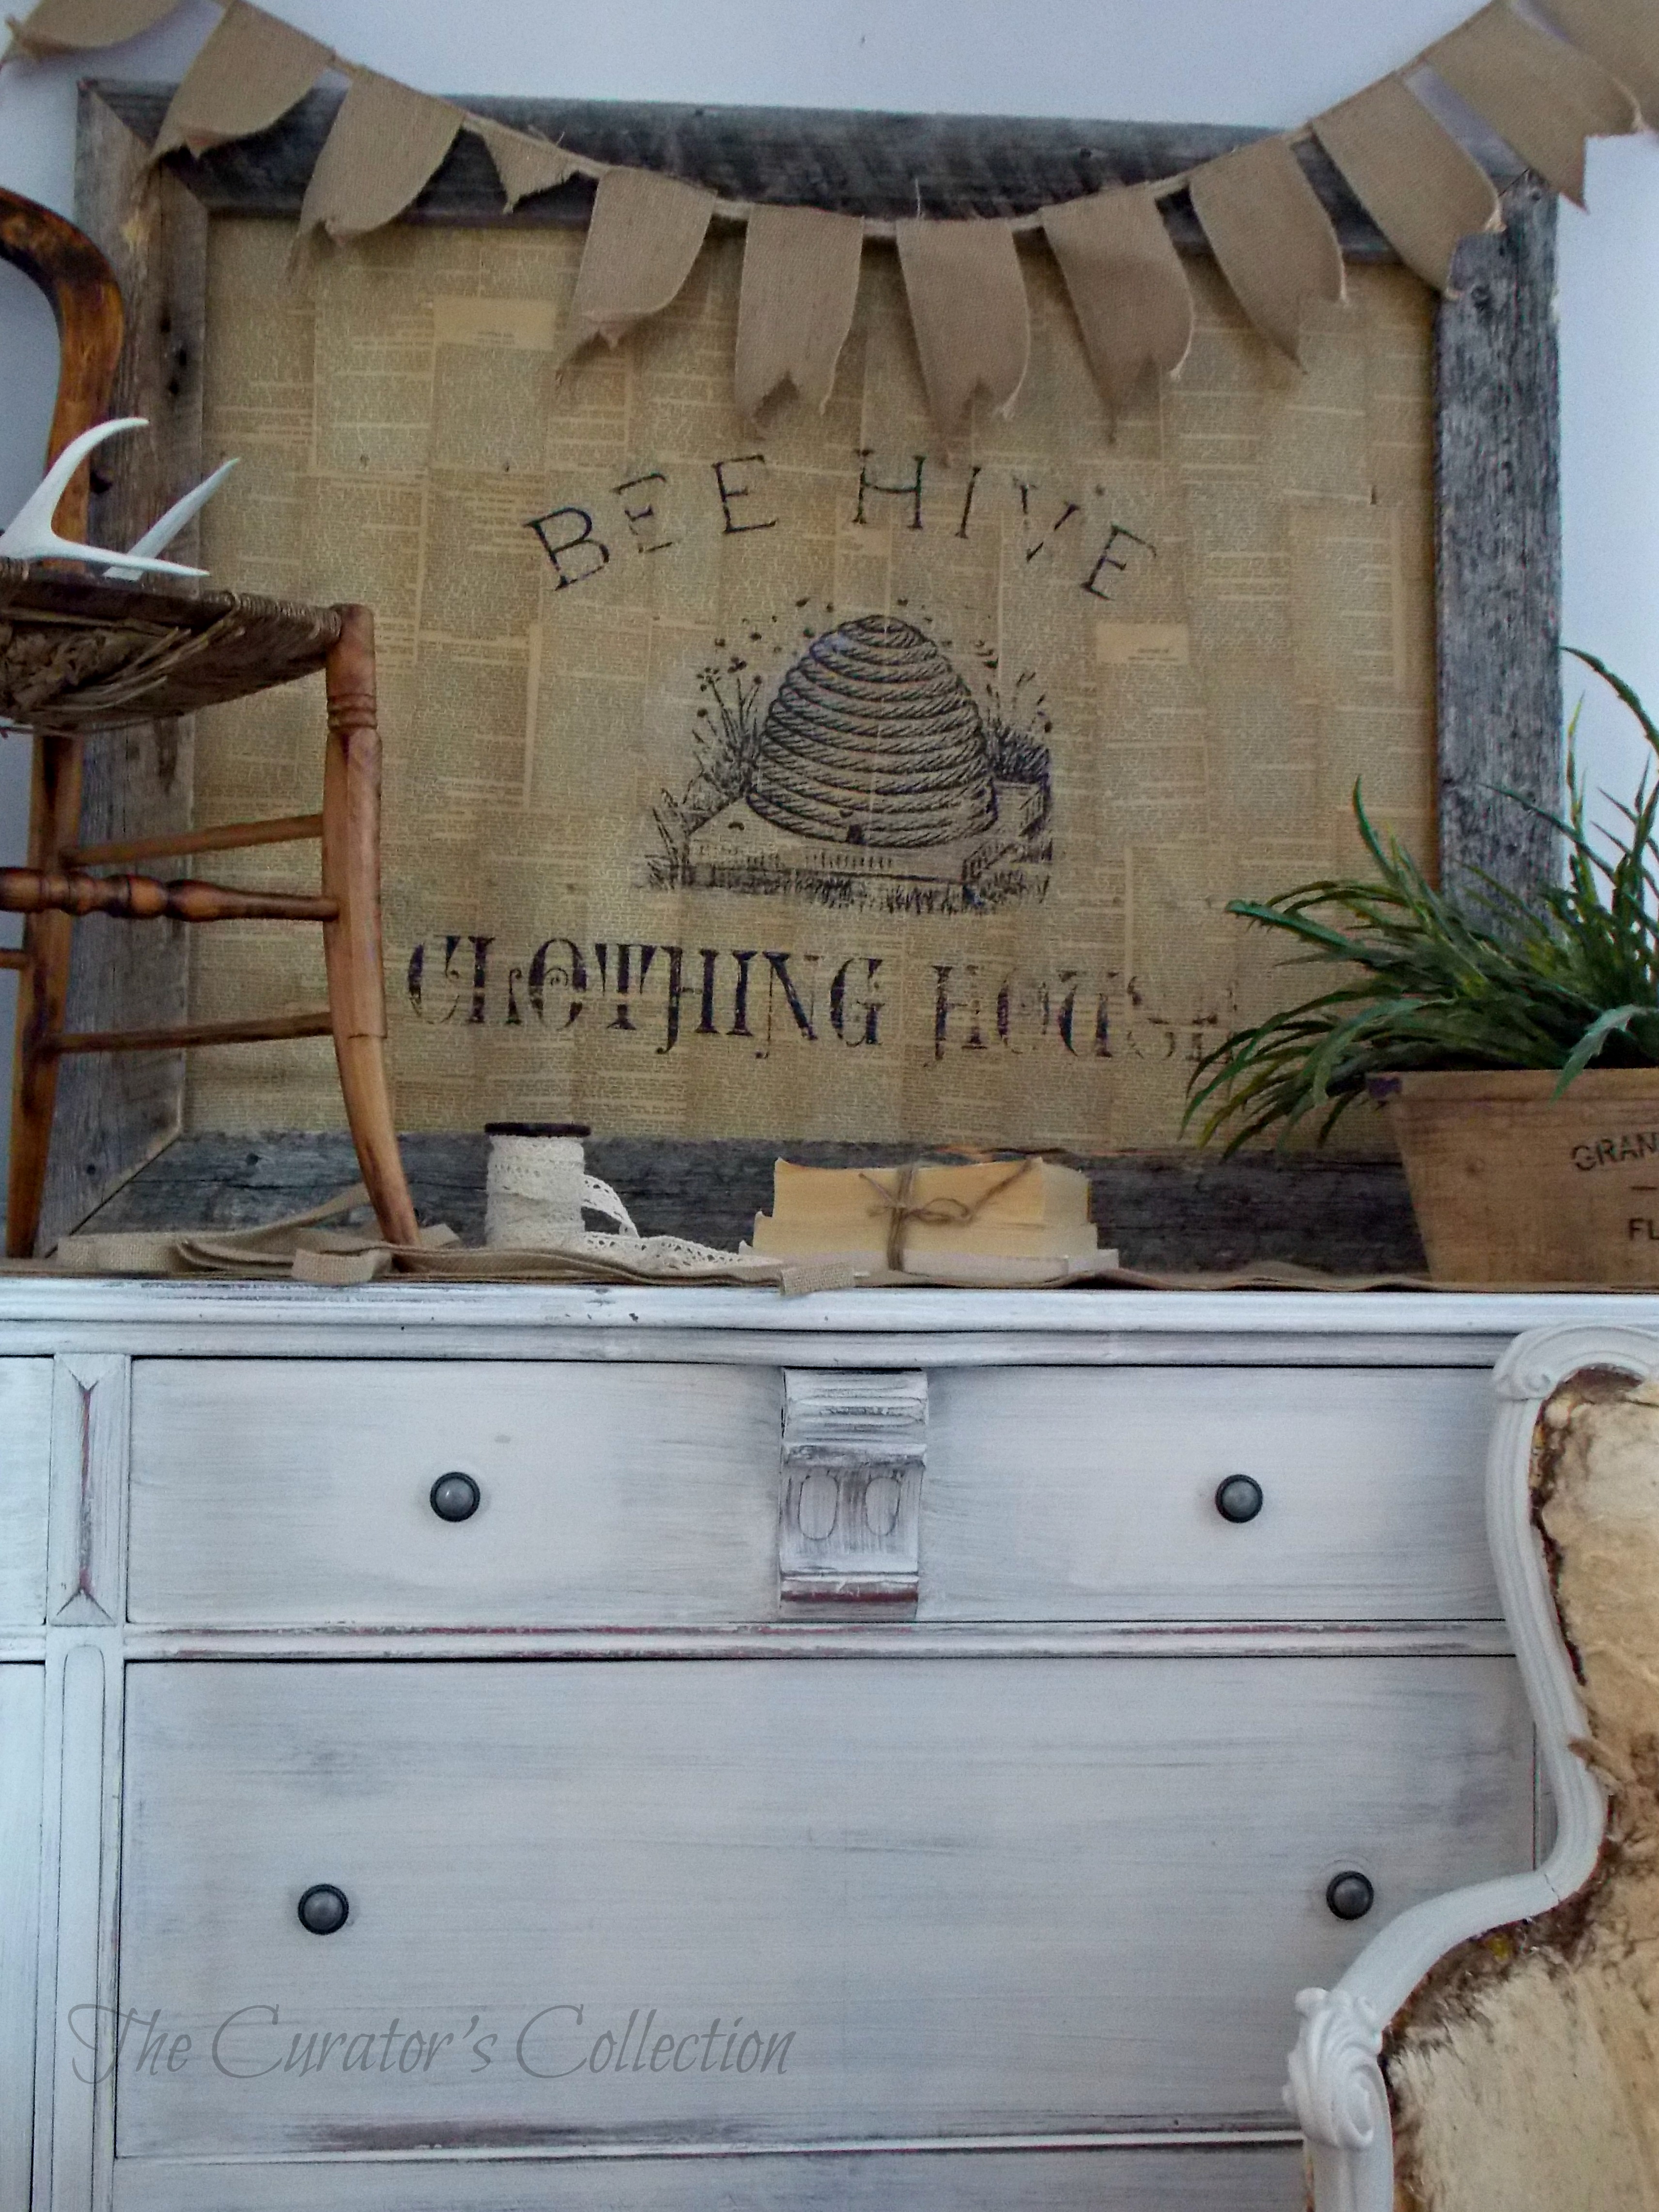
Well, I replaced the backboard with a new one and after a brilliant suggestion from my friend Pam, I ended up with this really pretty piece of wall art.
I started by cutting some old corral wood to create a rustic frame for the book page covered backboard. After attaching it to the backboard this is what it looked like.
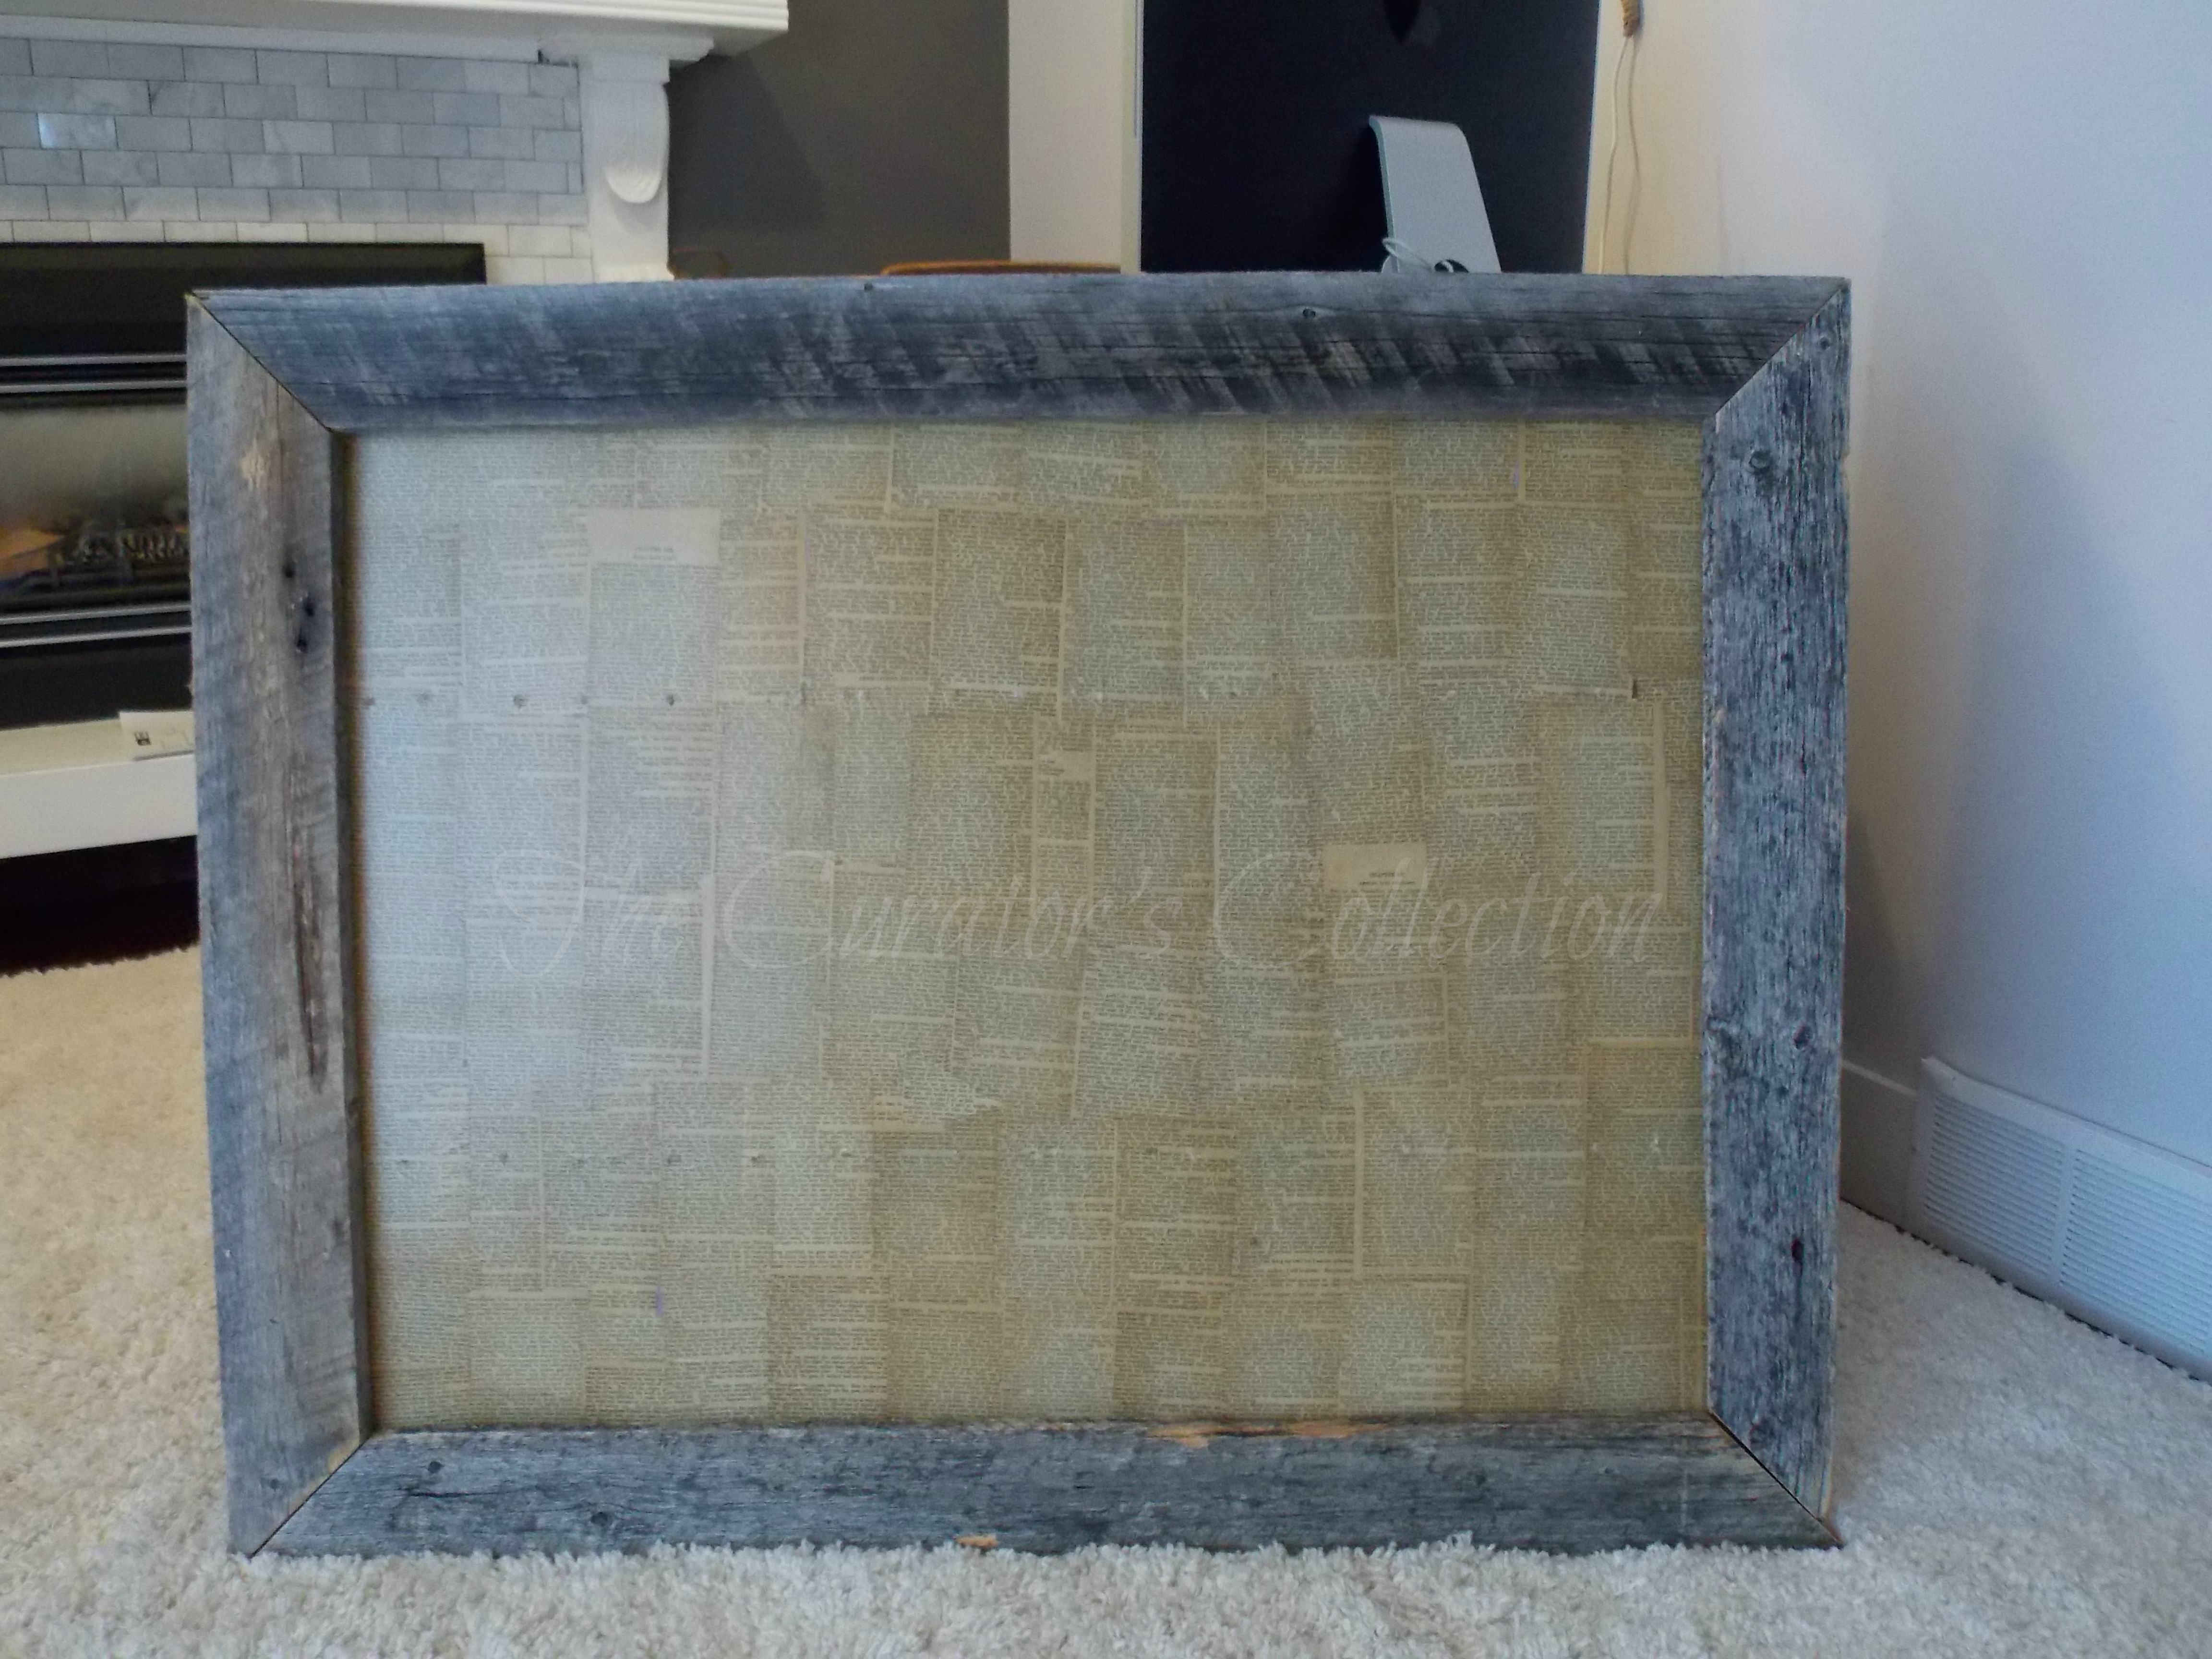
I liked it but it looked too plain and really rather pointless. I considered making it into a message board of sorts but it was soooooo large that I didn’t feel that was a fitting purpose for it.
Then I spent the day with Manja and discovered Fusion Transfer Gel and decided that this was the perfect thing to try it out on!
I browsed the internet looking for just the right image to transfer. Then I remembered the site The Graphics Fairy and ended up finding the perfect image to use. I love that site! There a hundreds of images that are so pretty that it makes for a tough time settling on just one!
After choosing my image, I enlarged it using the Block Posters.Com website. I also made sure that I reversed my chosen image first before uploading it to Block Posters.Com. This way the words would be readable once transferred.
This is what it looks like printed out, pieced together and trimmed.
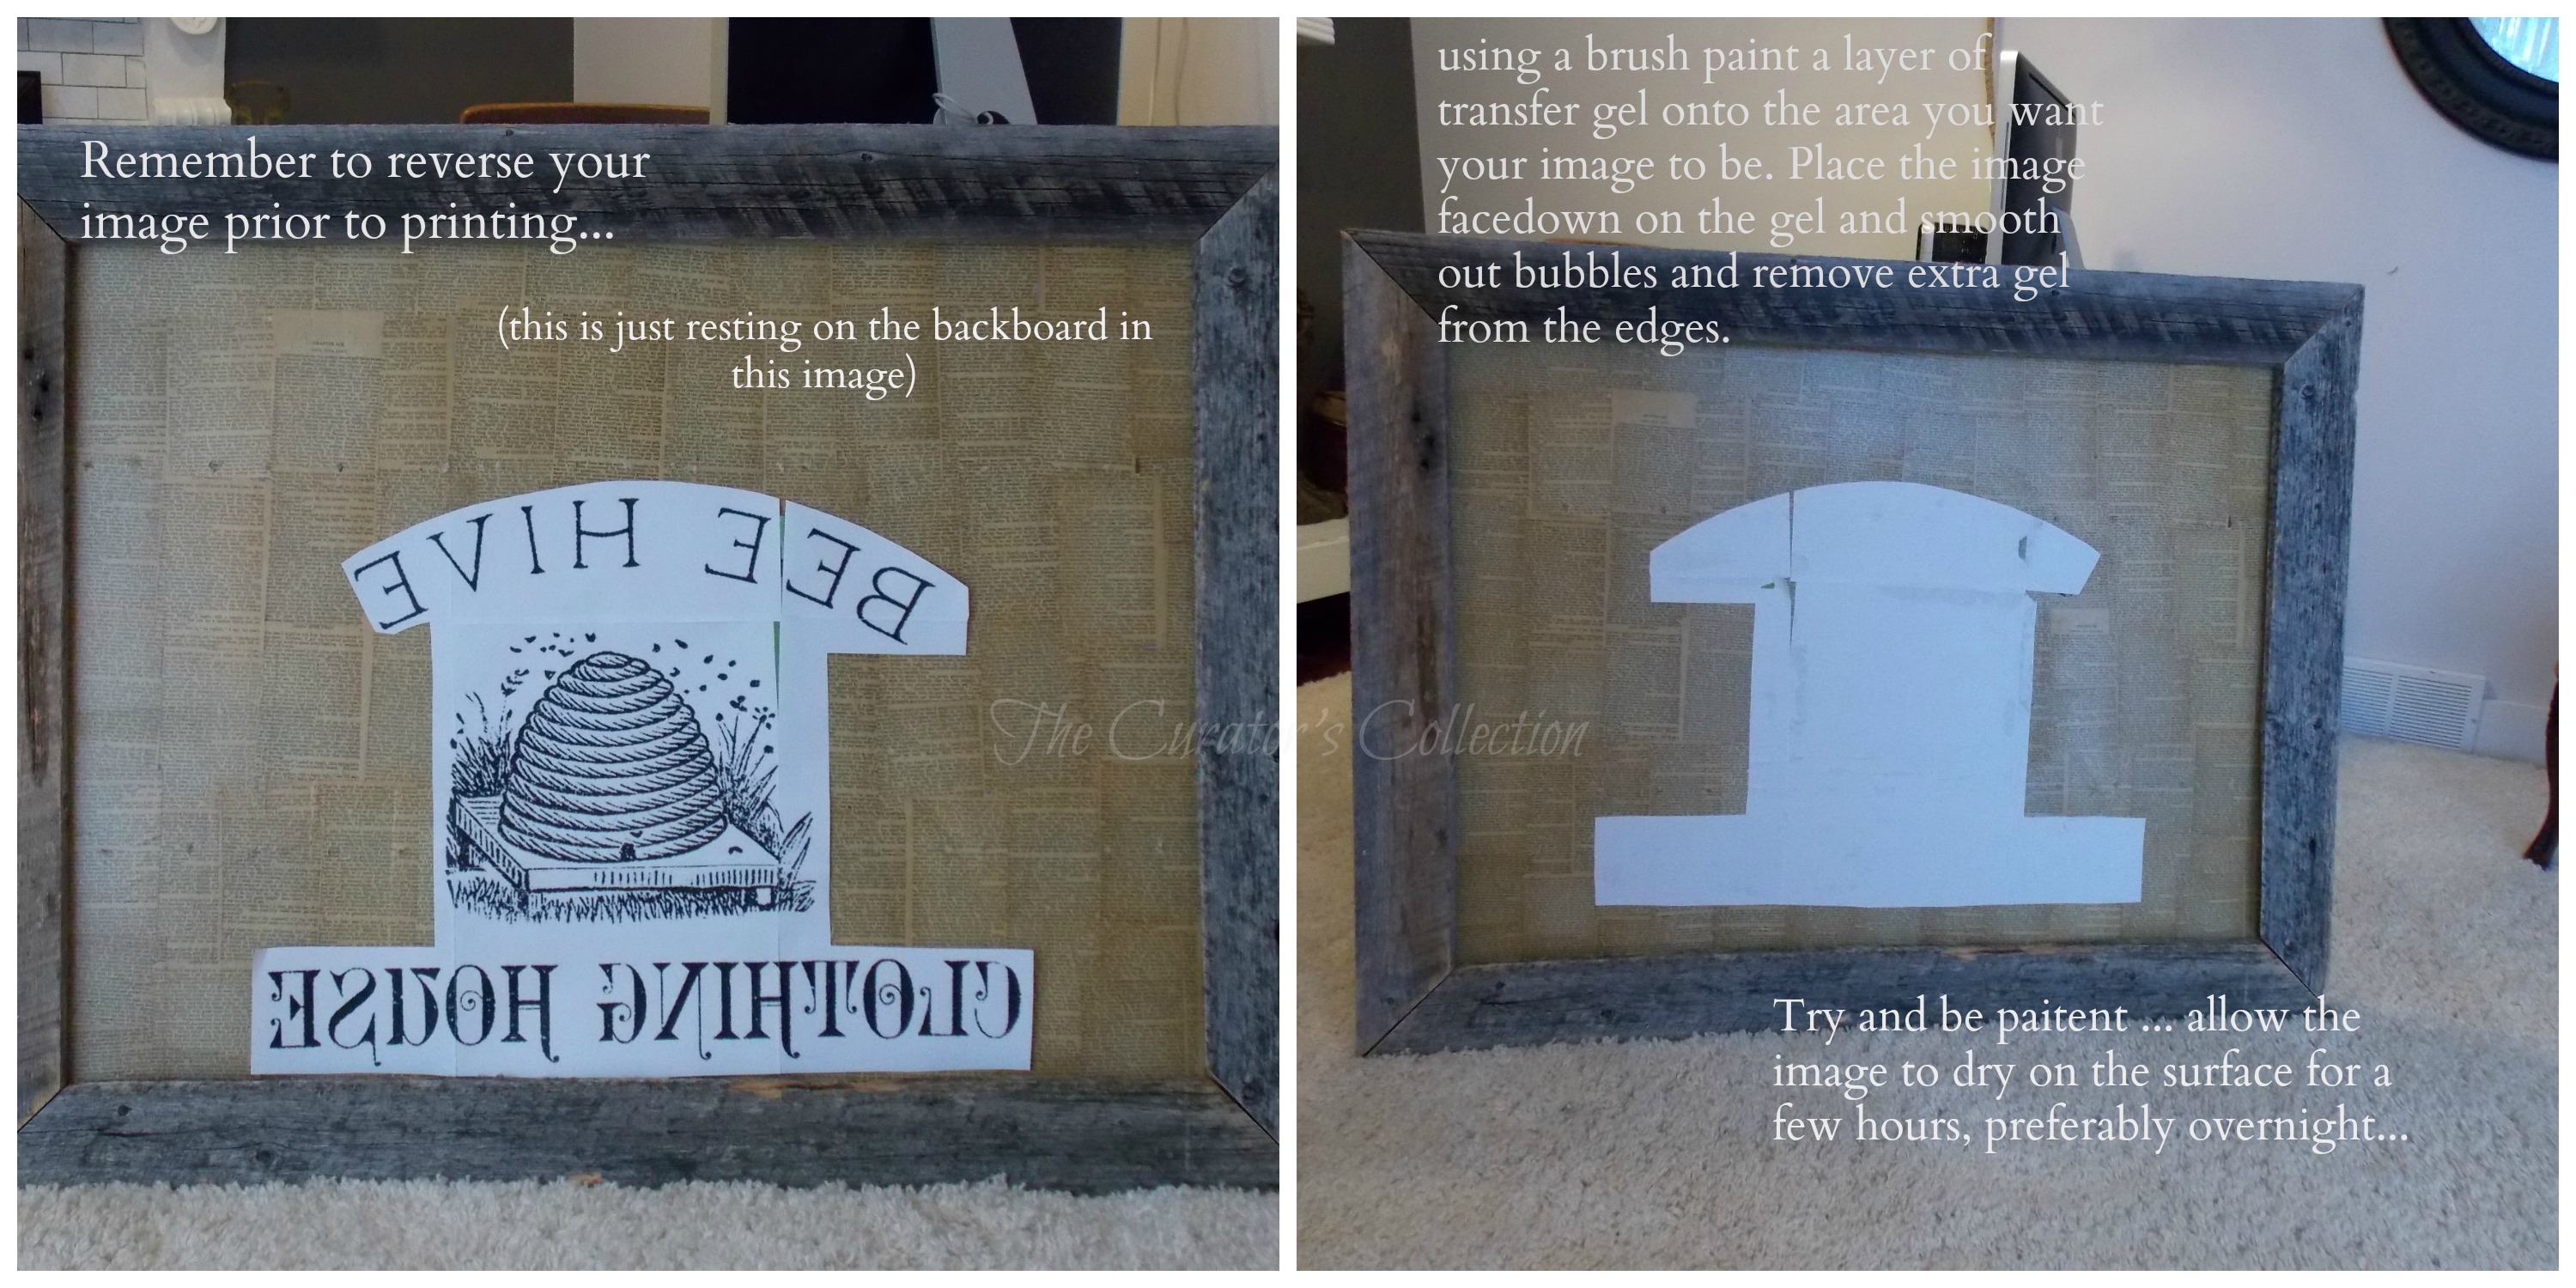
Once I had it all trimmed and pieced together, I laid it on the surface to see where I wanted to place it. Once I had the position just right I then covered the surface with a light coating of transfer gel using a paintbrush to apply it evenly. Then I laid the image face down on the gel. Using an old membership card, I smoothed the image out squishing out excess transfer gel to the edges of the image. I was able to scoop up the excess gel with the card and return it to the gel container … no waste! :)
Then, I walked away and let it dry overnight. This was hard to do as I was excited to see if it was working or not. The next day I went back with a damp cloth and started to rub away the paper to reveal my image!
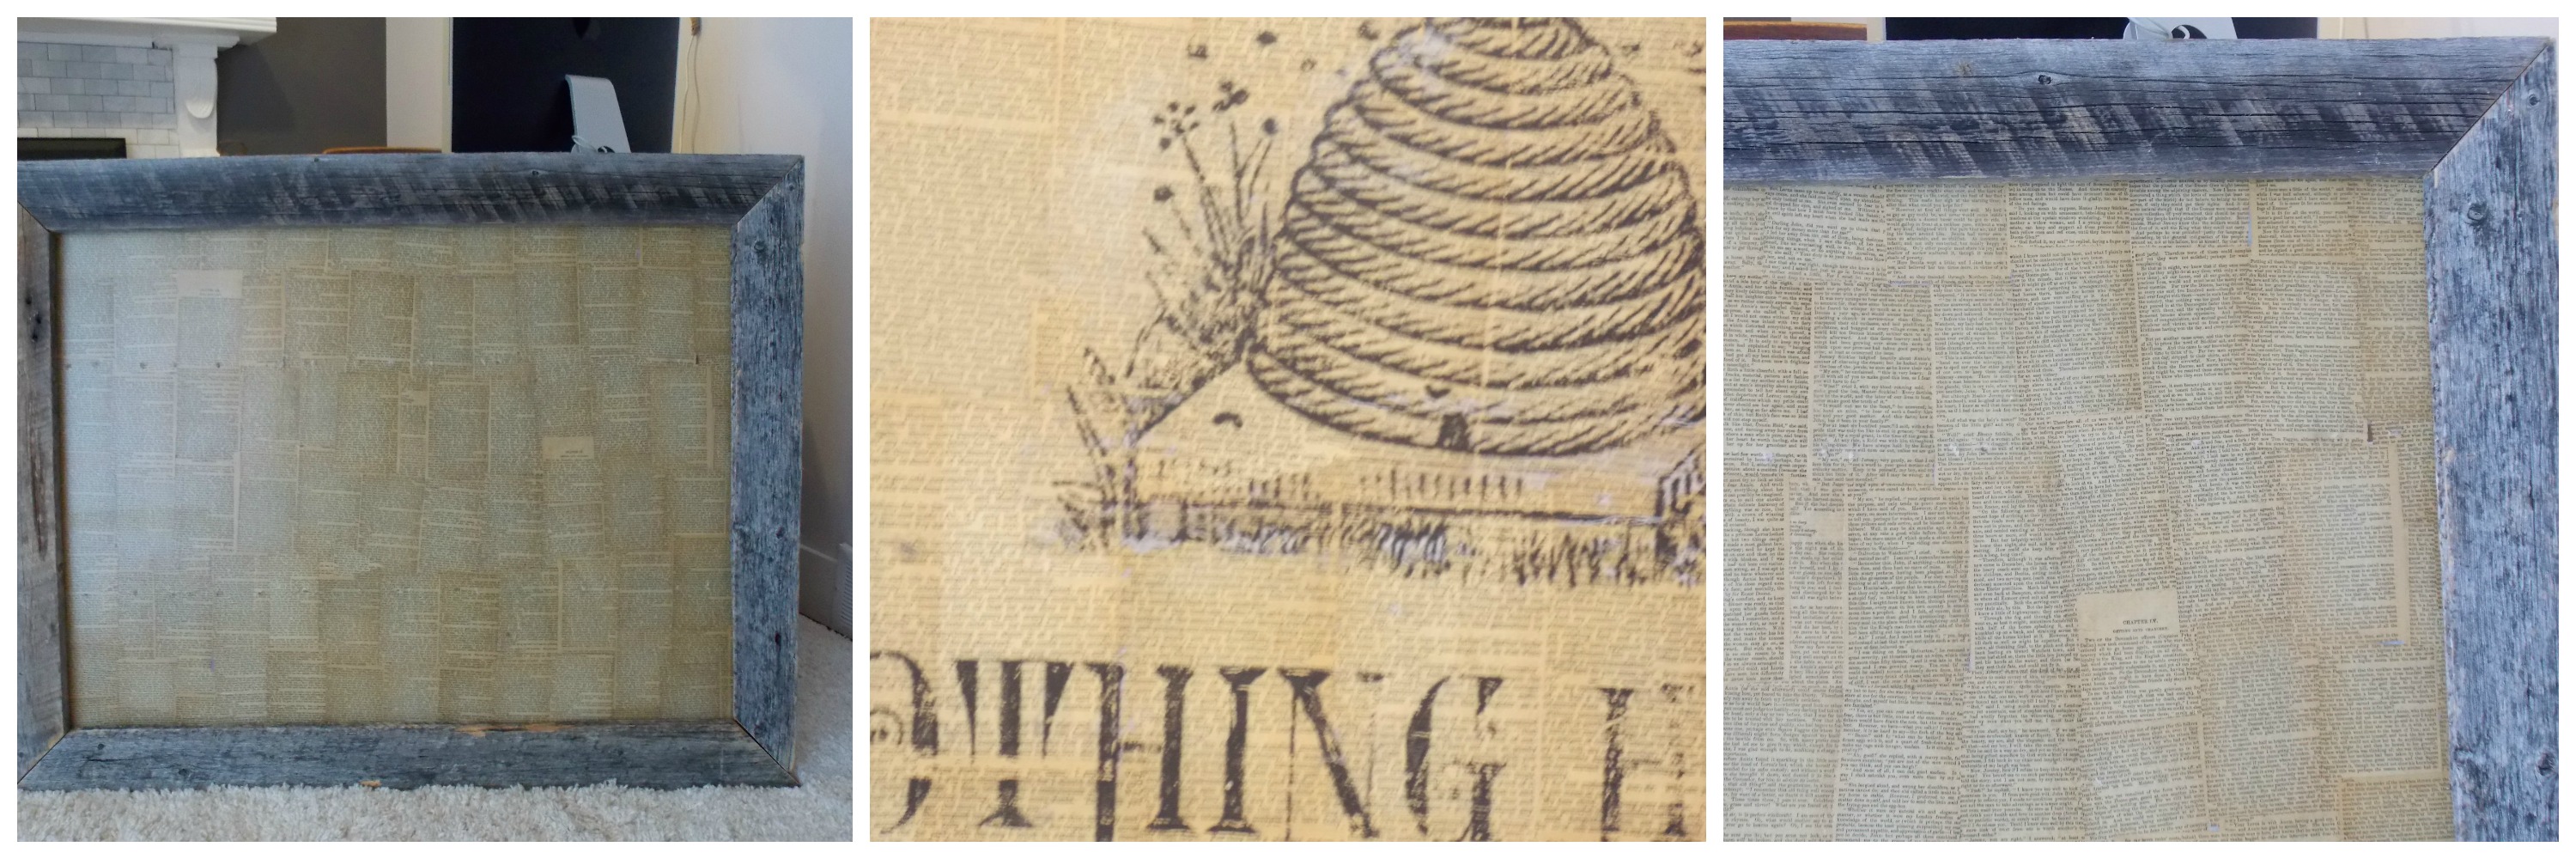 There it was! It worked! I may have accidentally rubbed too much in some places and some of it rubbed off with my cloth. It was fine with me though because I was going for a worn, aged look with my sign. I intentionally rubbed some more off in a few other places as well.
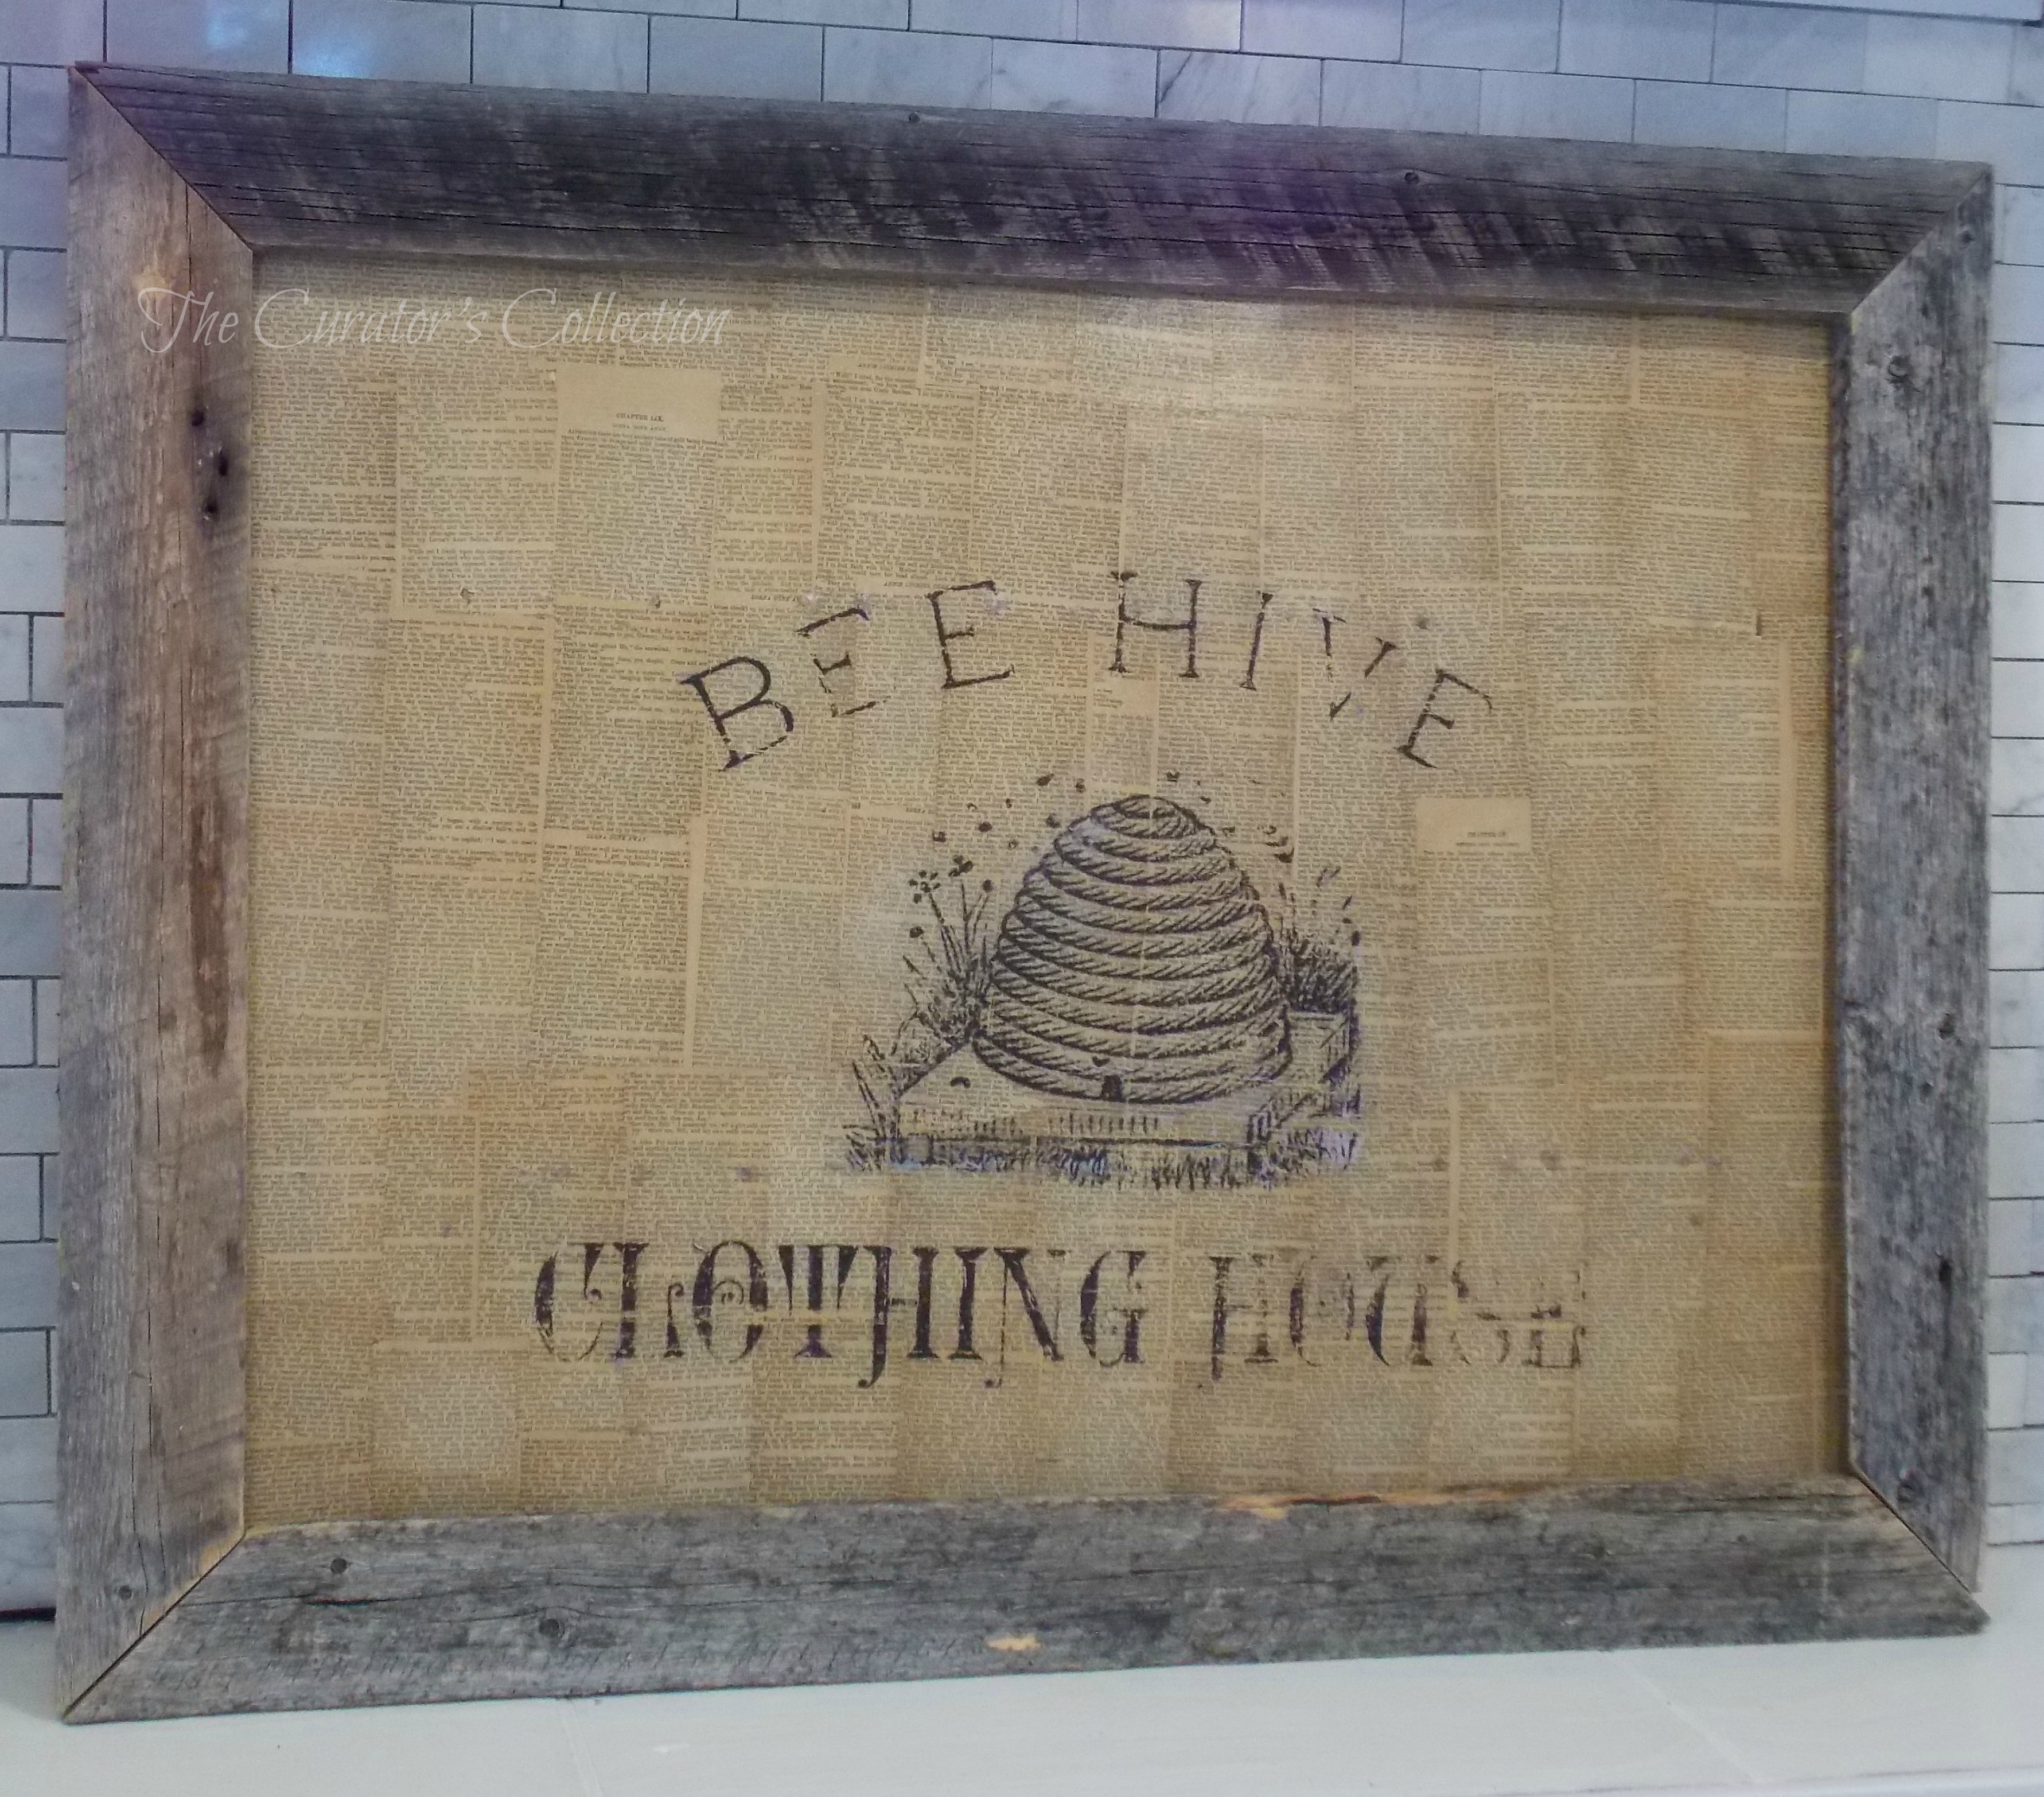
Now I’m loving this sign!
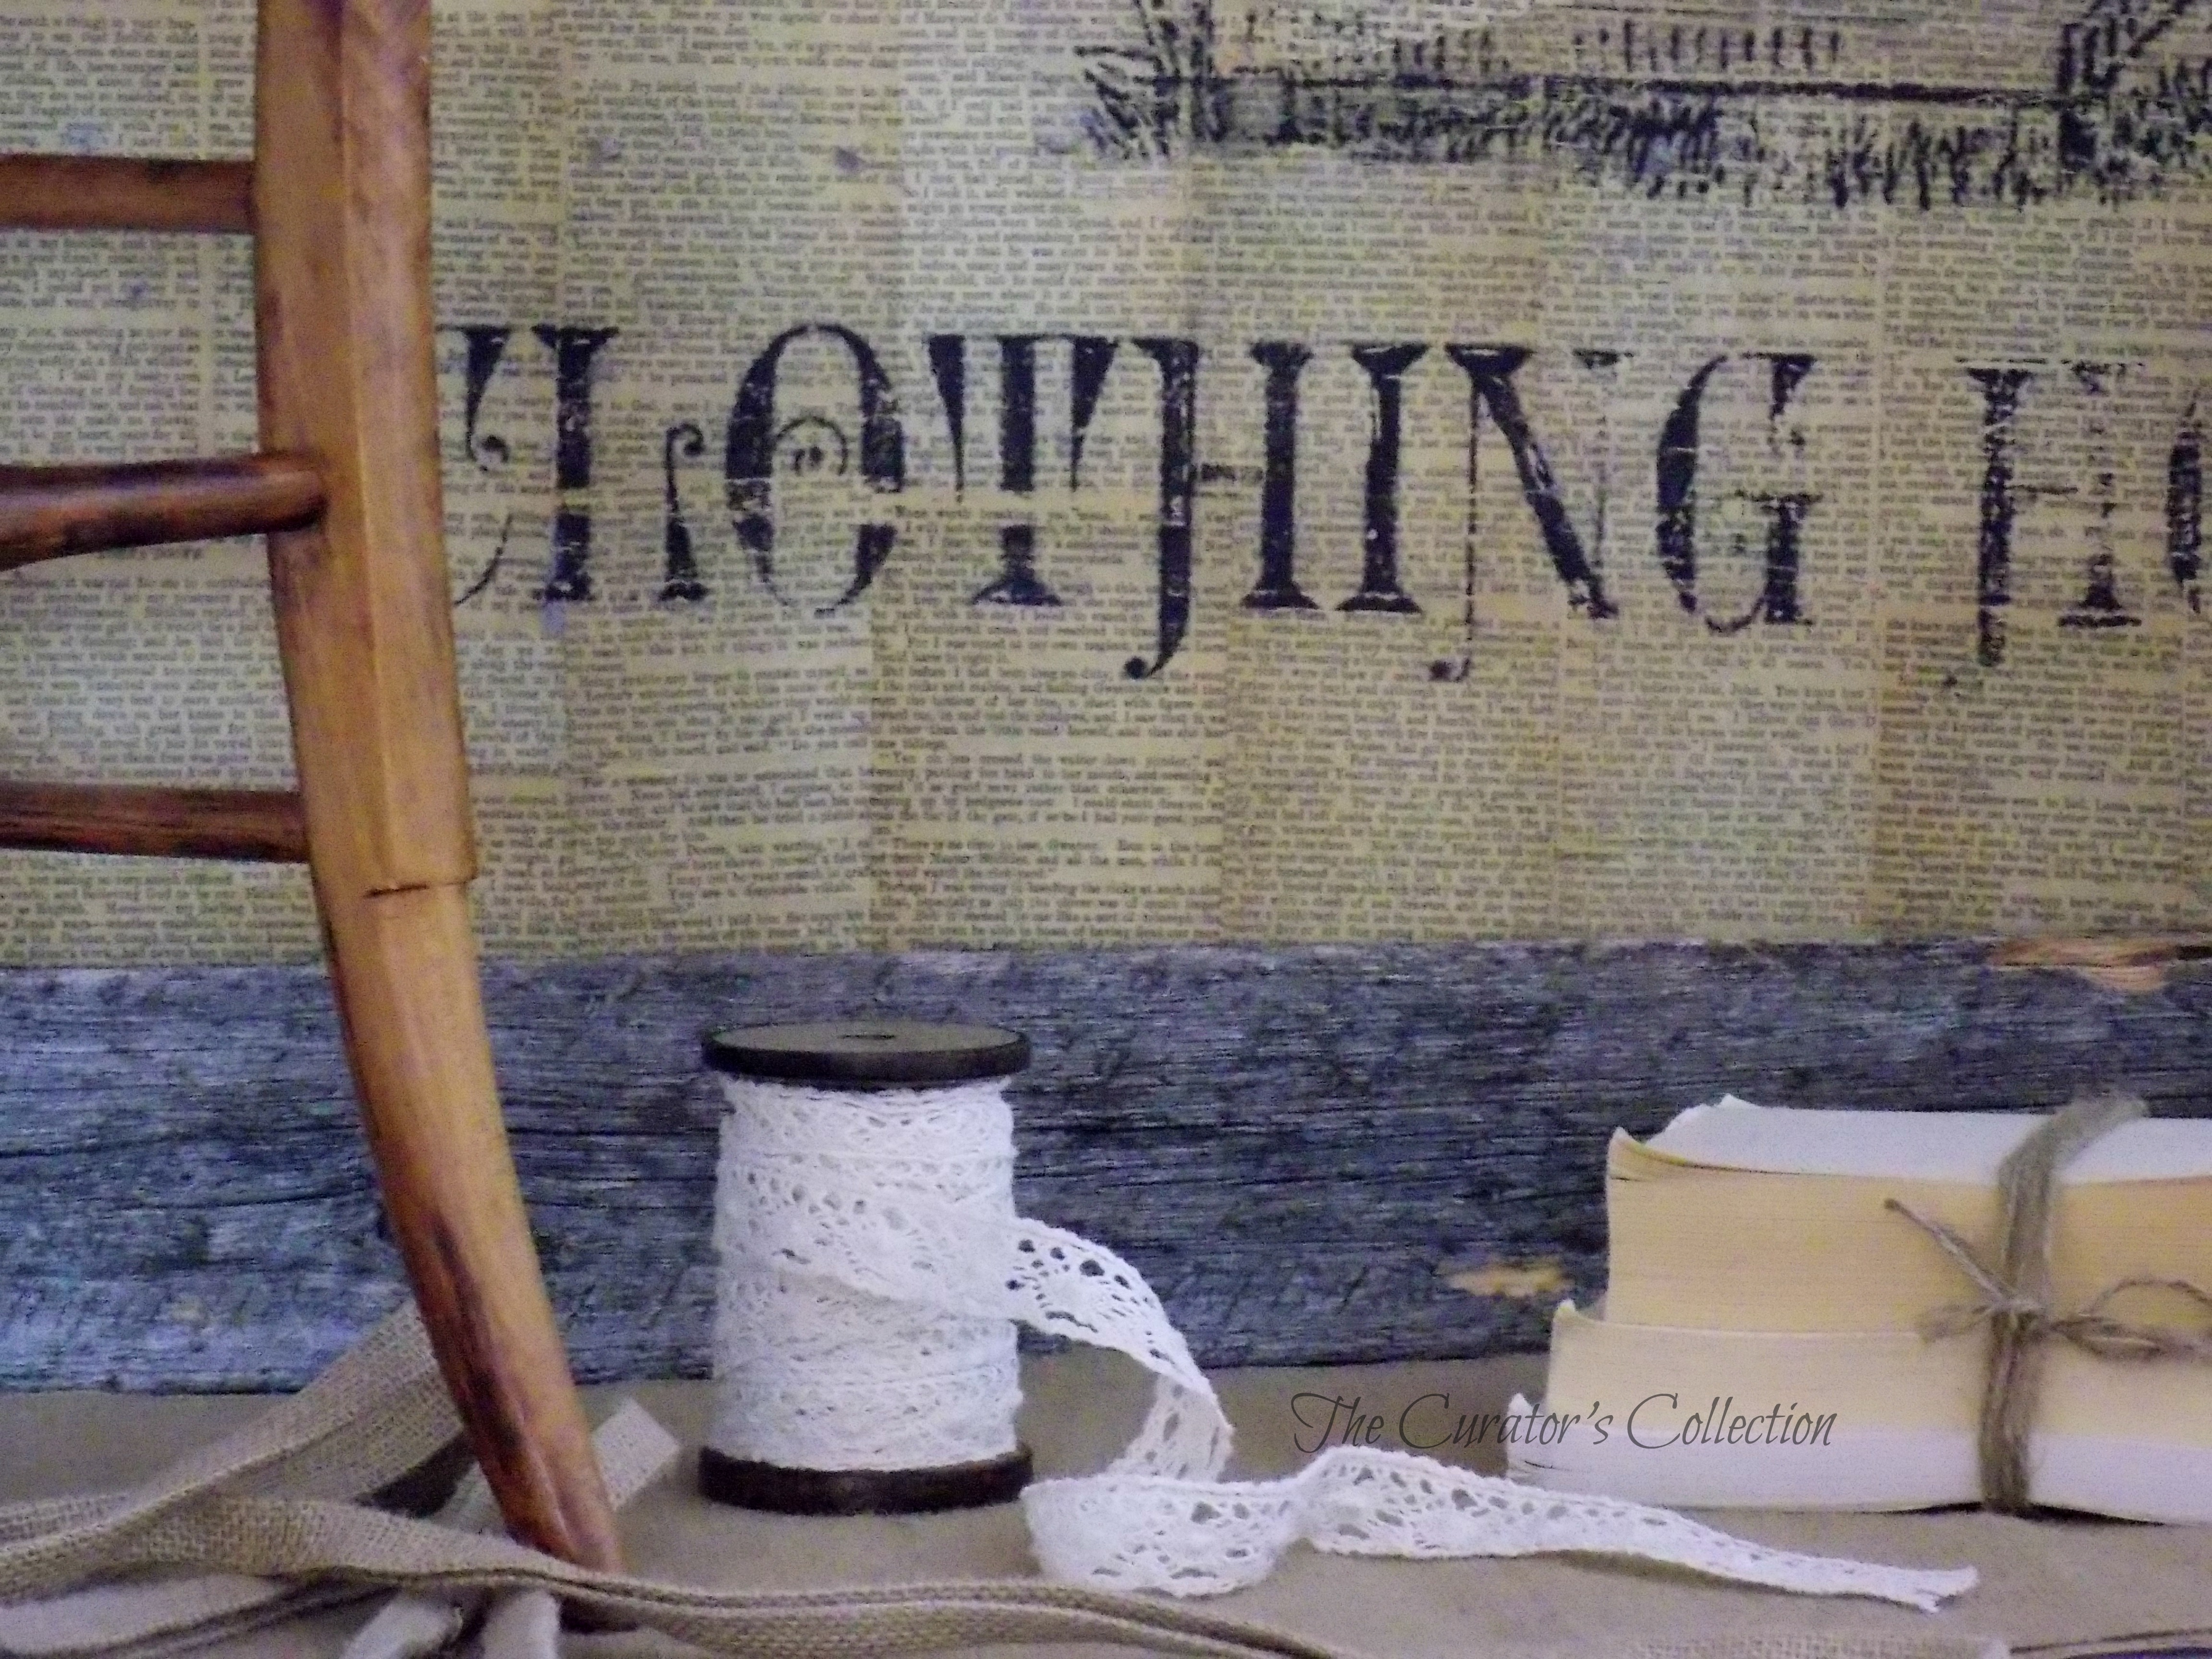
 I think though, to finish it off I may add a twine clothes line across the top and finish it with tiny wood clothespins. Then if someone wants to add some personal photos etc. to it they could easily do so. It would make a great display for pictures too!
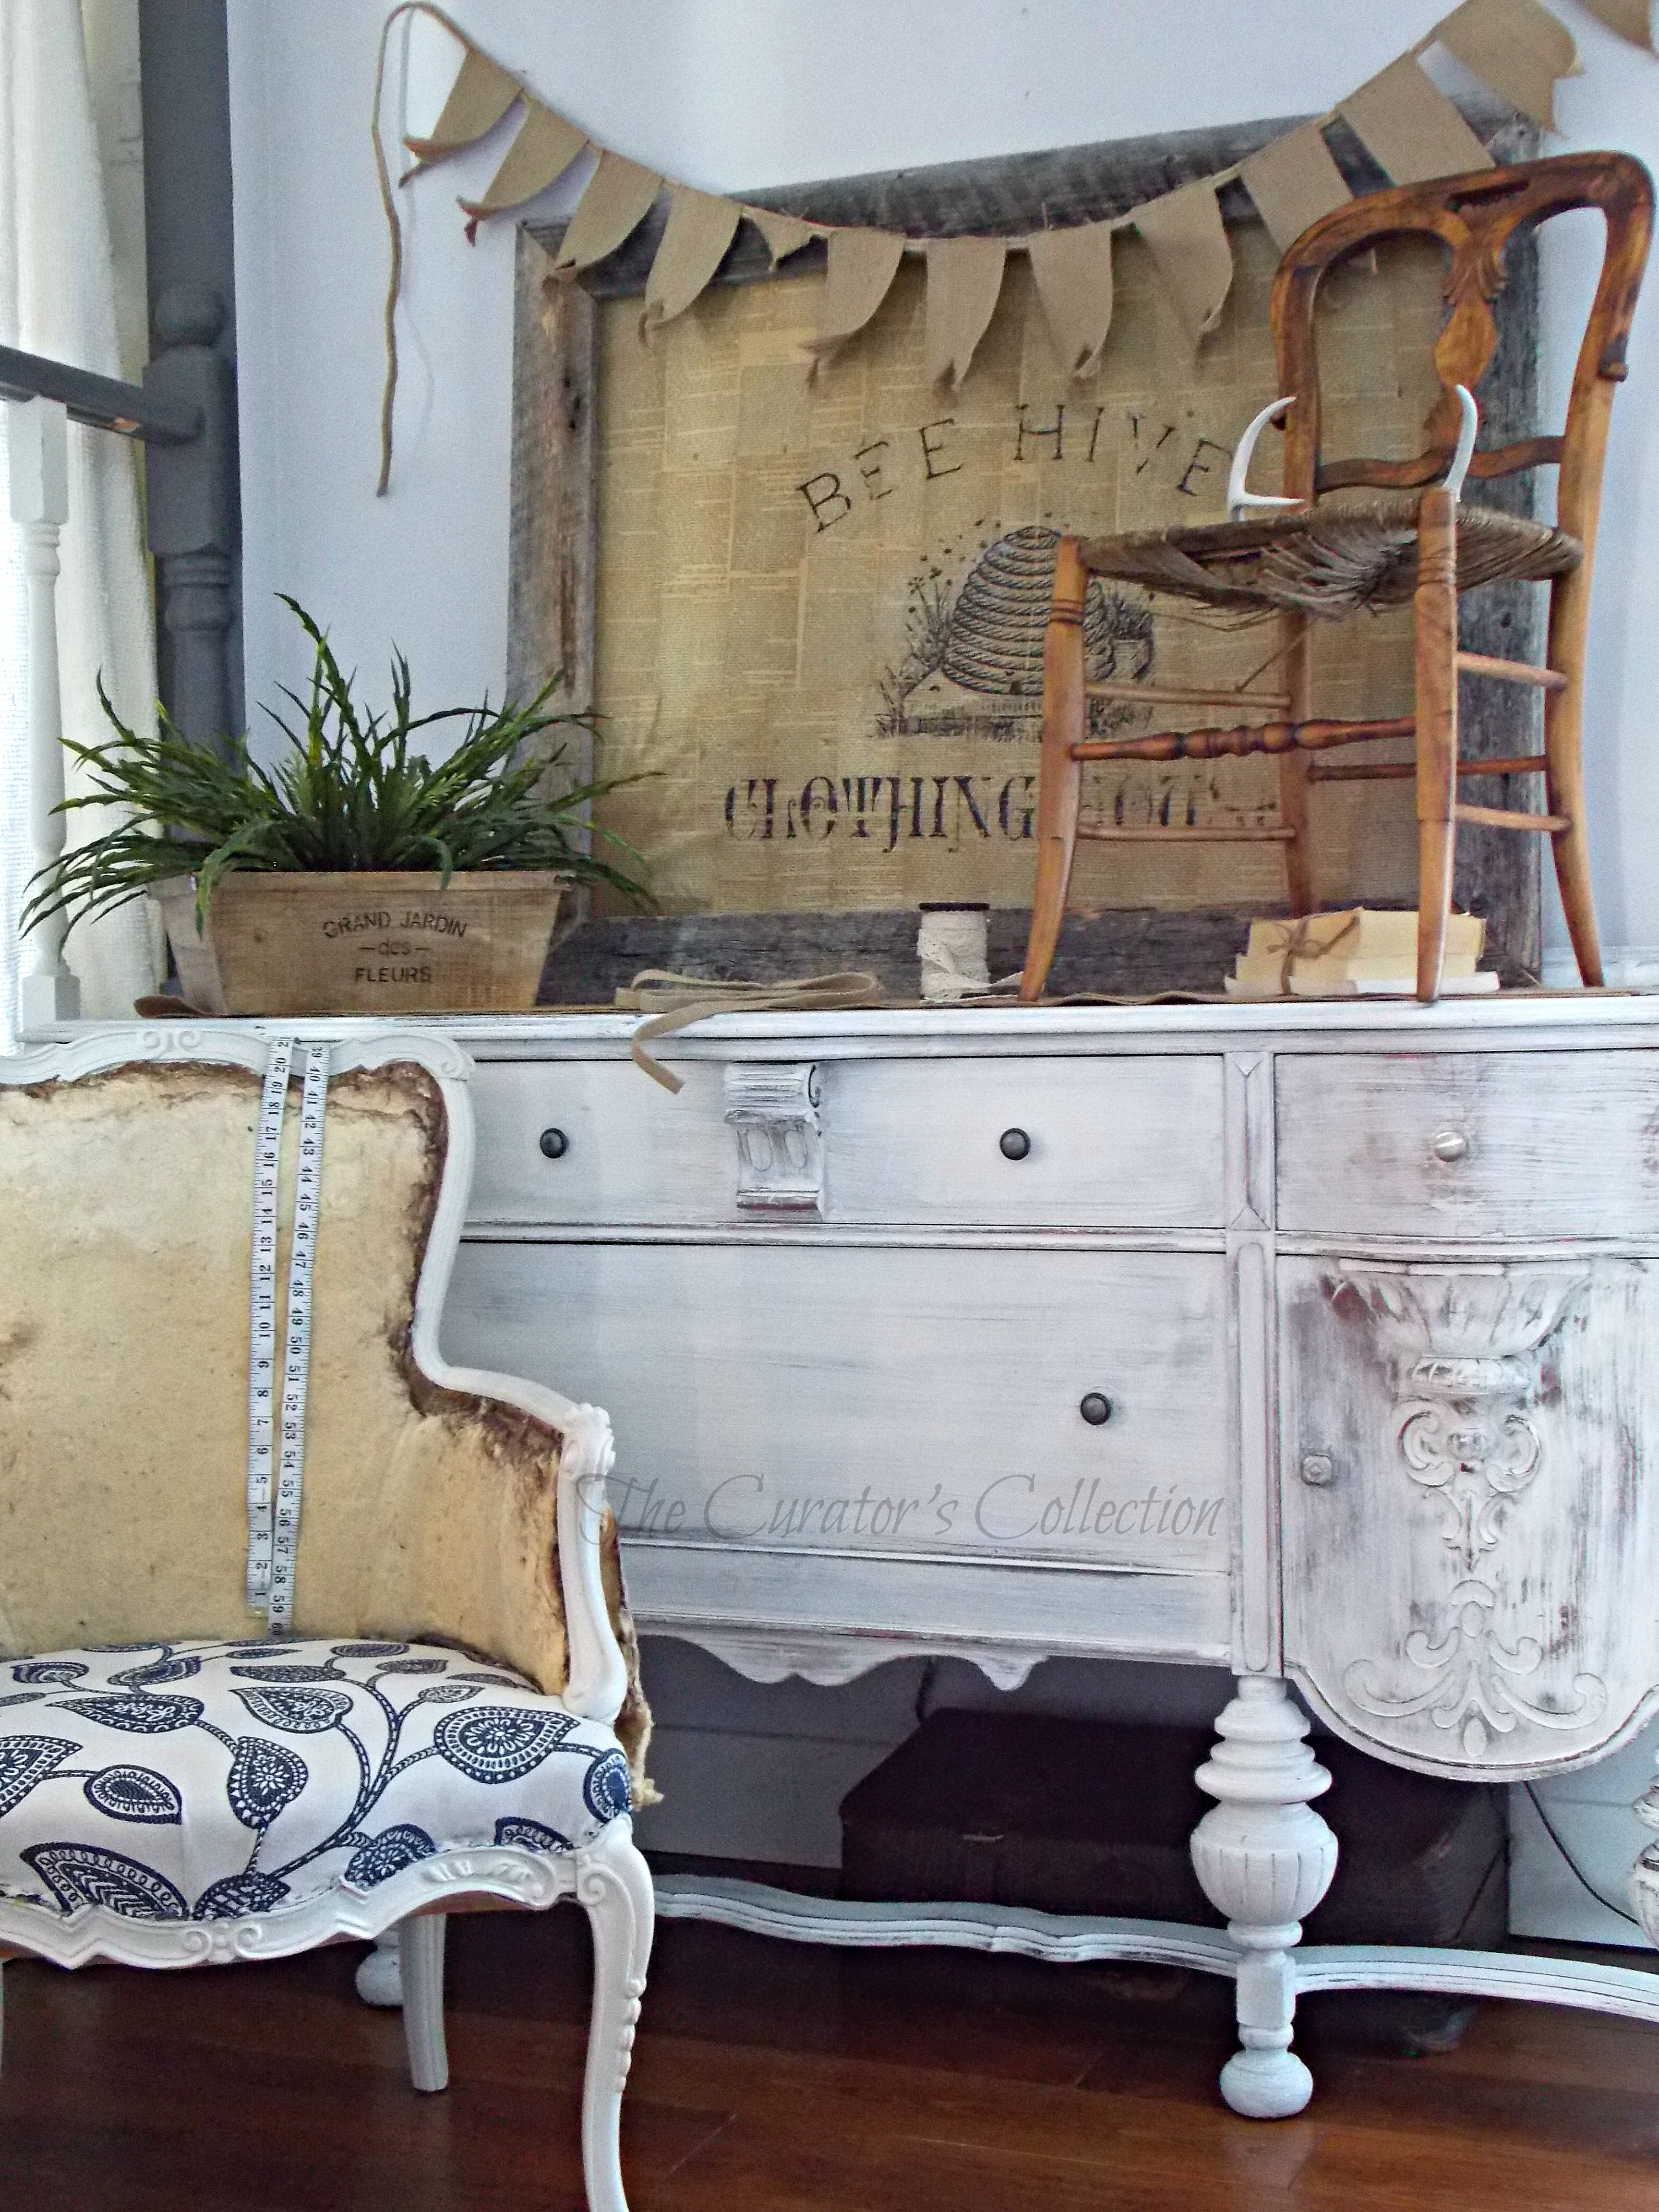
 See the awesome wood chair I found the other day? I loooooove the character of the wood. It is in desperate need of repair on the seat but the rest of it is sooo pretty!
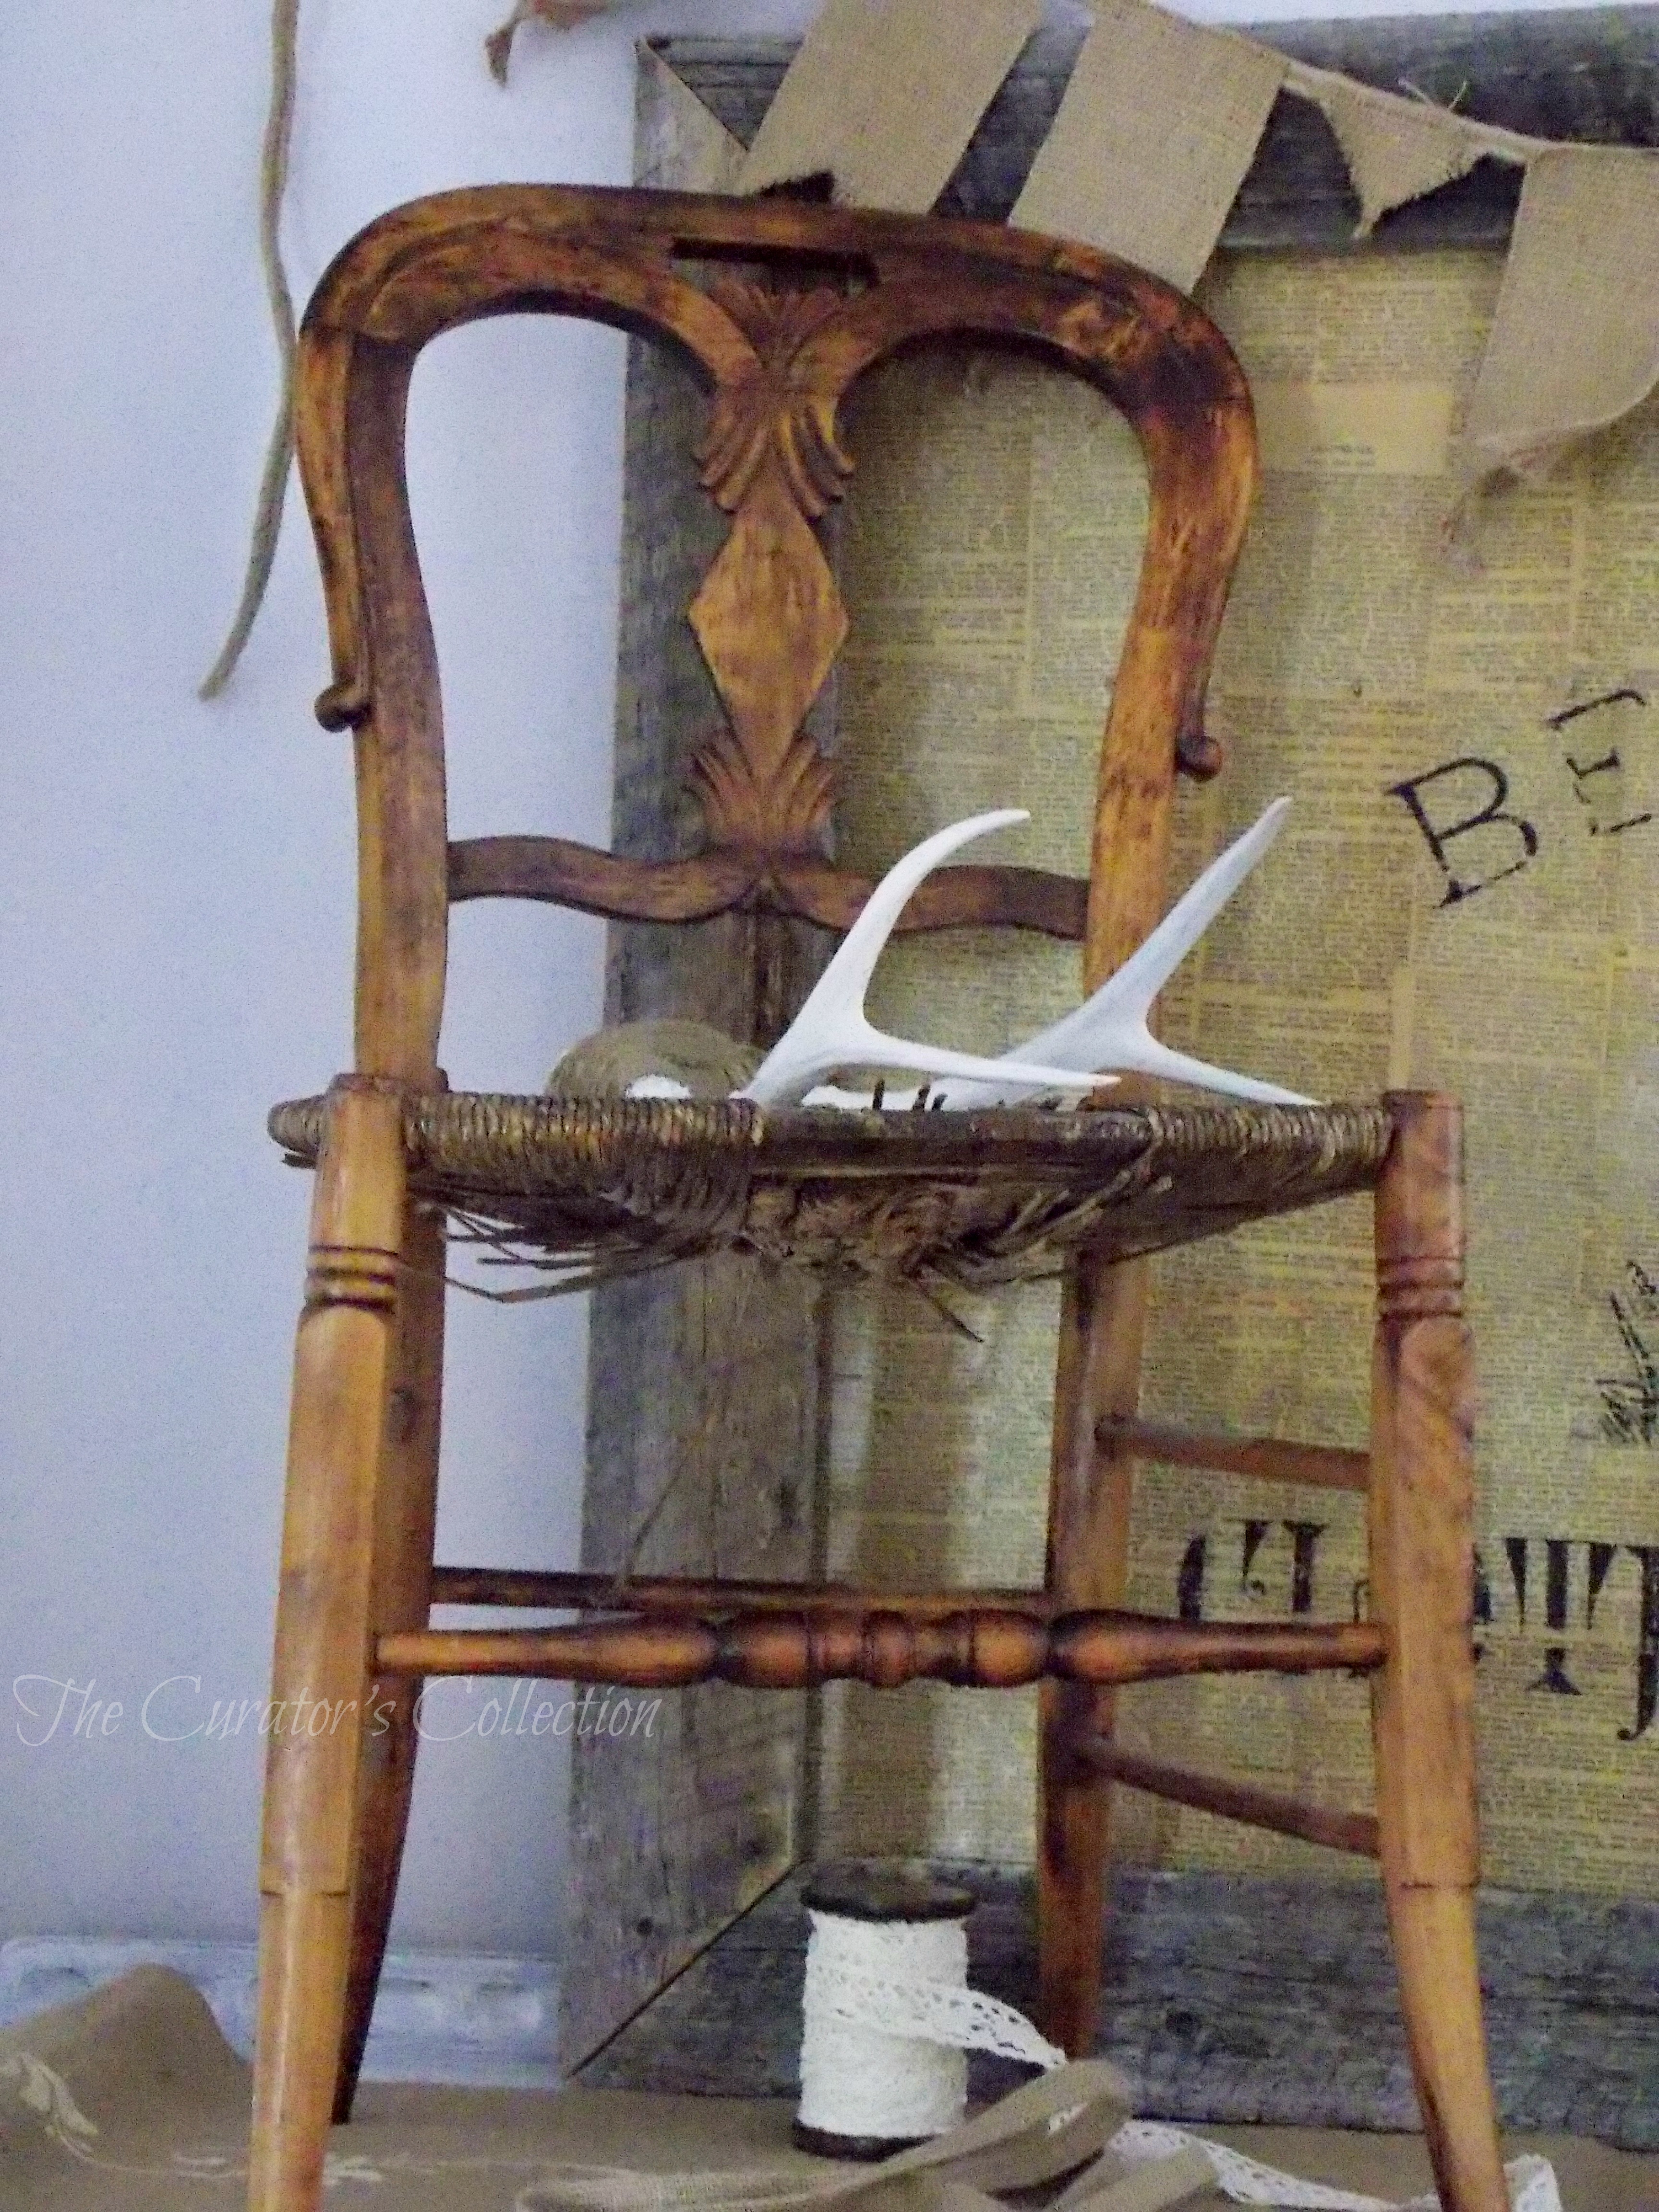
… and of course, I cannot end this post without a ‘shout out’ to my tiny props girl who just couldn’t keep her paws off of the antlers! ;)
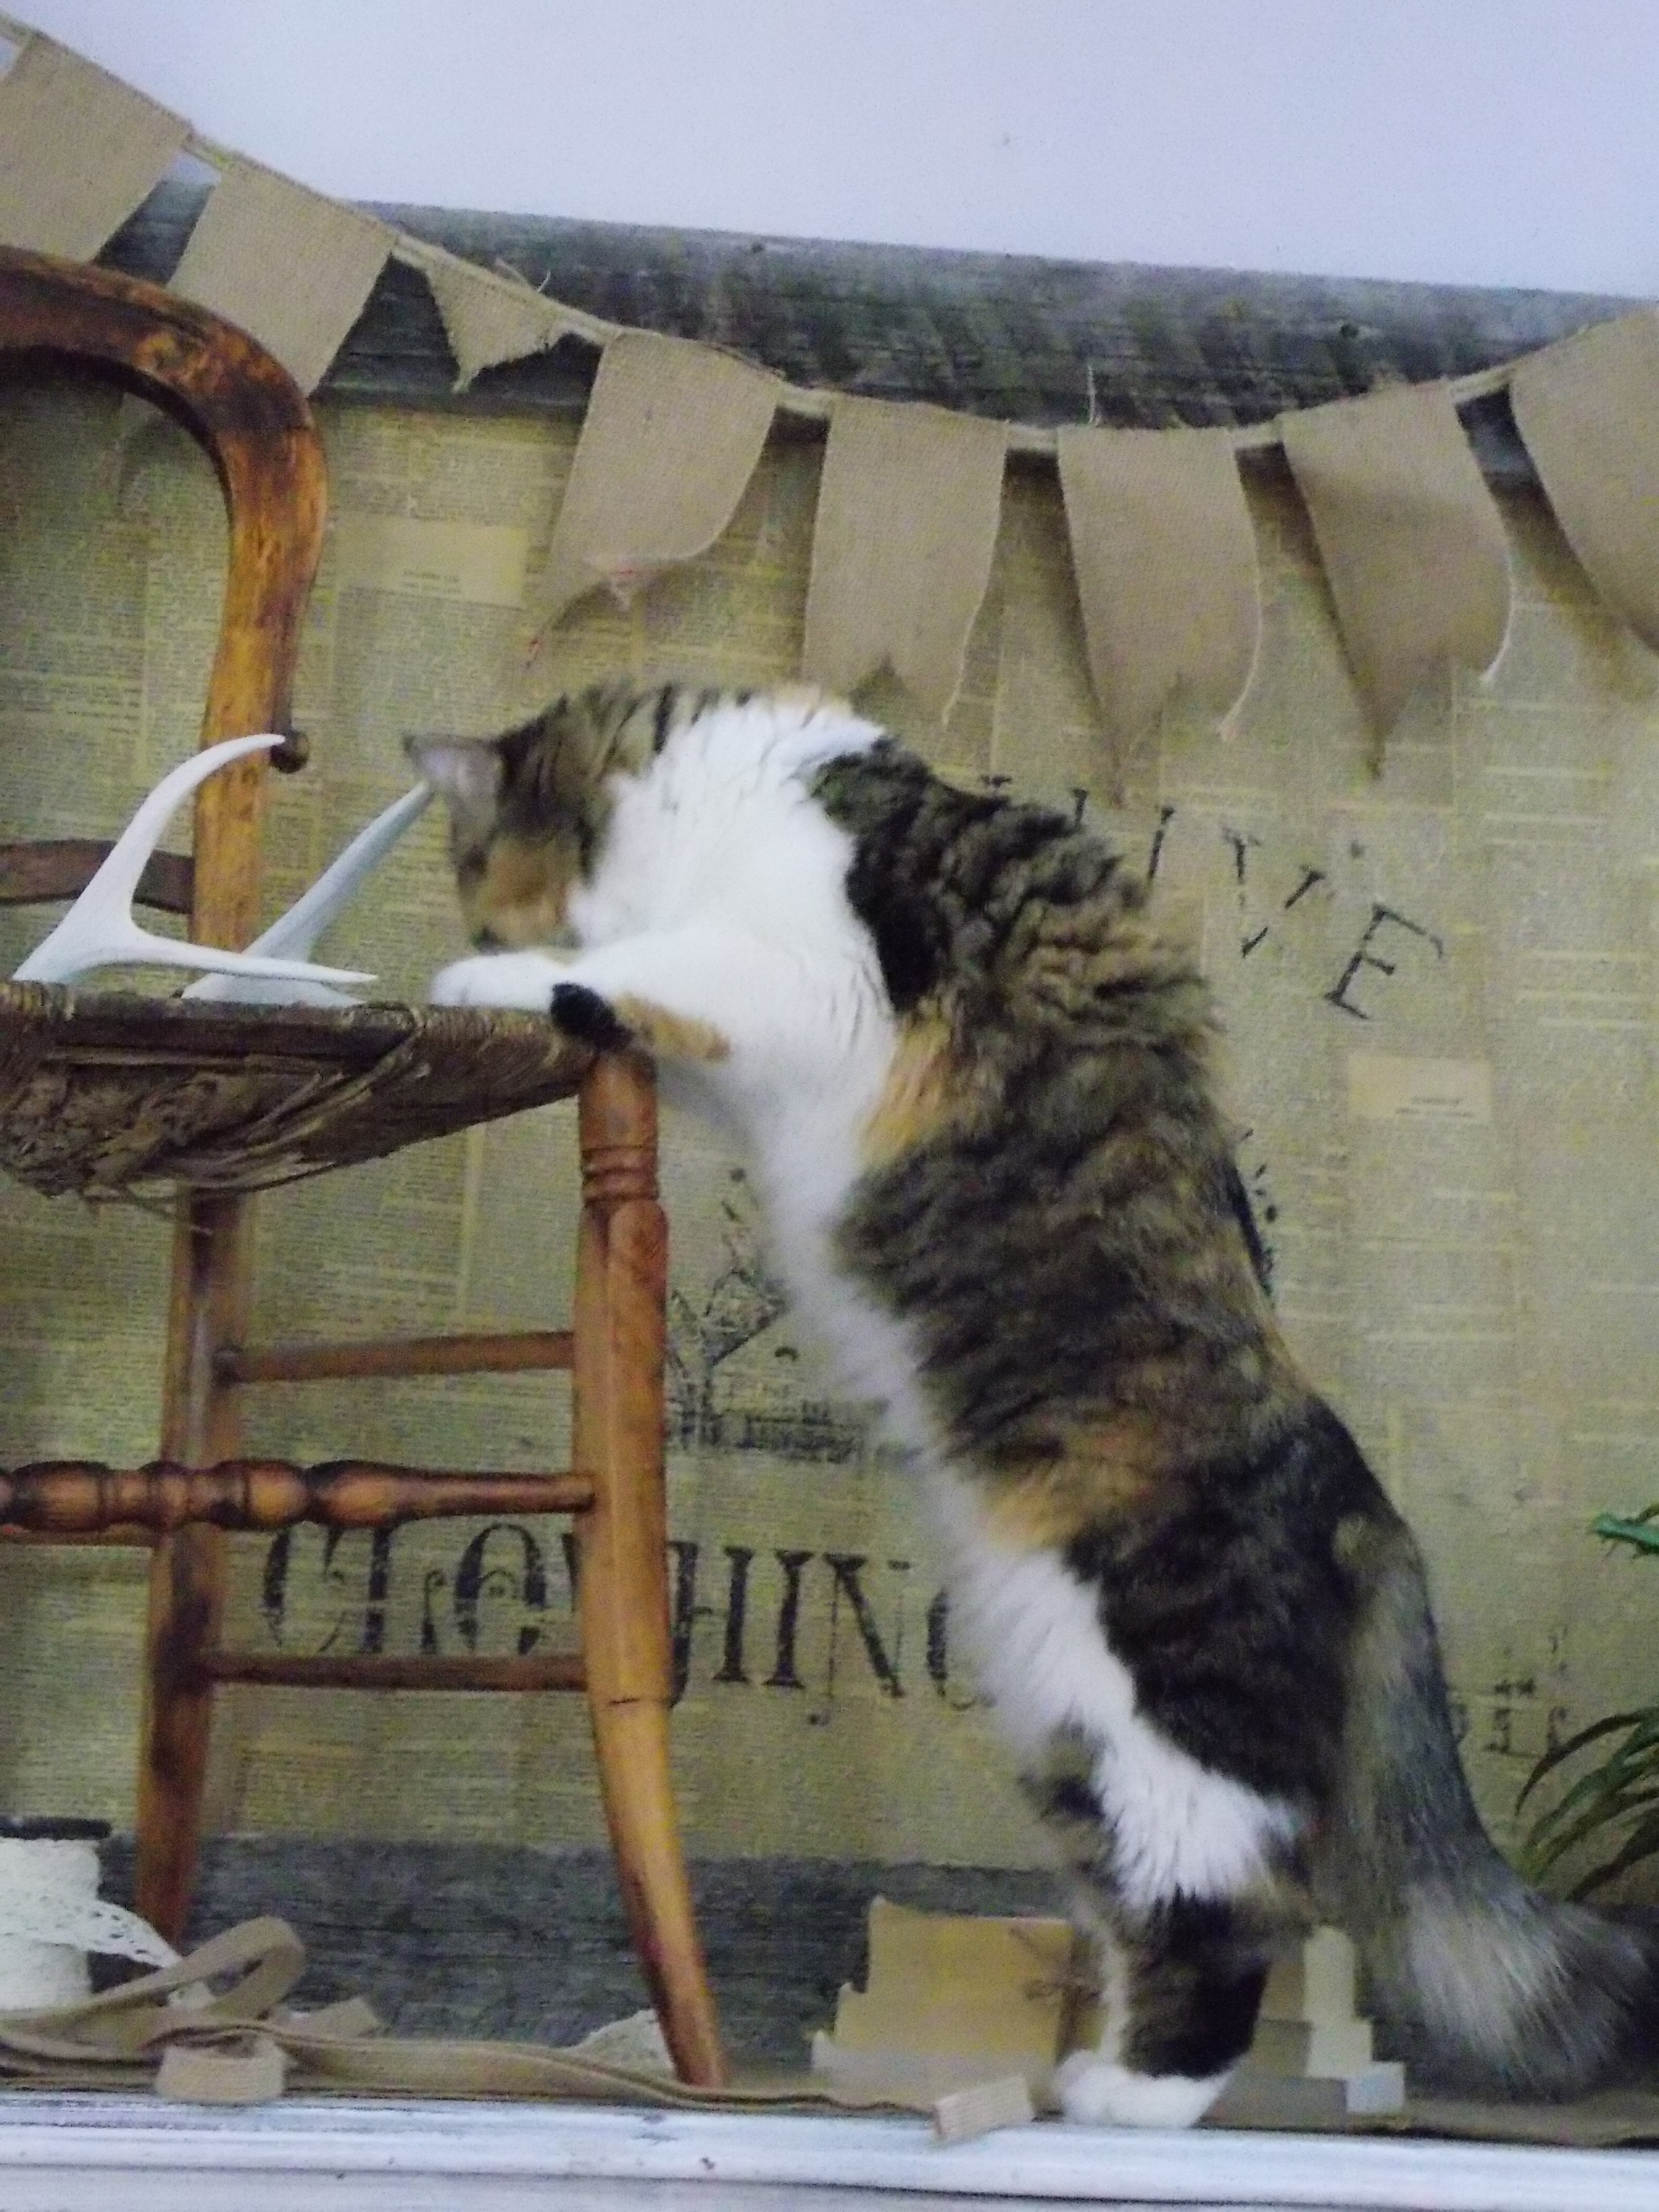
She’s such a puuurrrrrfectionist! Ha Ha!
Smiles!
Terry
P.S.
Tomorrow is Making Broken Beautiful … Please come and inspire! Feel free to share any of your transfer projects that you’ve done. I’d love to see what others are doing with this!
Sharing at:


Love the picture!! I want to try transferring images; Yours looks great! :)
LikeLike
Thank you! Now I’m going around looking for things to transfer on! Thank you for taking the time to comment. I hope you’ll share what ever you transfer on with us!
Smiles!
Terry
LikeLike
This is to cool!!!!
LikeLike
Thank you for getting me hooked Manja! I hope you have a great day!
Smiles!
Terry
LikeLike
Terry- great save on the backboard project!
Never knew about Block Posters.Com- thanks!
I have yet to master the whole transfer thing, here’s one of mine- https://freddyandpetunia.wordpress.com/2012/01/10/the-lingerie-chest-the-doors/
The found chair is aMAZing- you lucky thing!
I luv your assistant- makes me miss my beloved pudder cat so much- :’ (
Catherine
LikeLike
Thank you Catherine! Just checked out your projects and I must say for all your struggle … they are beautiful! The transfer gel I used is awesome and really easy to use. My assistant’s name is Precious and she’s pretty sweet … when she’s not touching my stuff! ha ha! I hope you have a great day!
Smiles!
Terry
LikeLike
I love the way you styled the photos. The wall art project turned out great. I will have to try the transfer gel it looks so much easier than other techniques used to transfer.
LikeLike
Thank you Debra! It really is super simple! The hardest part is waiting for it to dry to see your masterpiece! ha ha!
Have a great day!
Smiles!
Terry
LikeLike
Ah-mazinggggg!! This is the coolest sign, and I just love the bee hive :) Thank you so much for sharing with us on The Creative Circle link party. See you next week!
LikeLiked by 1 person