A Chalk Painted Chair and Painting on Fabric
11March 2, 2014 by Terry
With it being so cold out lately I haven’t been able to do any paint projects so I thought I would share a past project I’d done for a friend.
She wanted a little chair to place in her front entryway for her visitors to sit on when putting on their shoes. Her entryway is rather small and I thought a rustic little chair would bring in a little character.
I started with a 1920’s ish dining chair, removed the seat and painted it with 2 coats of chalk paint in the color smoke signal.


 After some drying time I went over the whole chair with 220 grit sandpaper giving it a well worn and distressed look. I wanted some of the dark finish to show through.


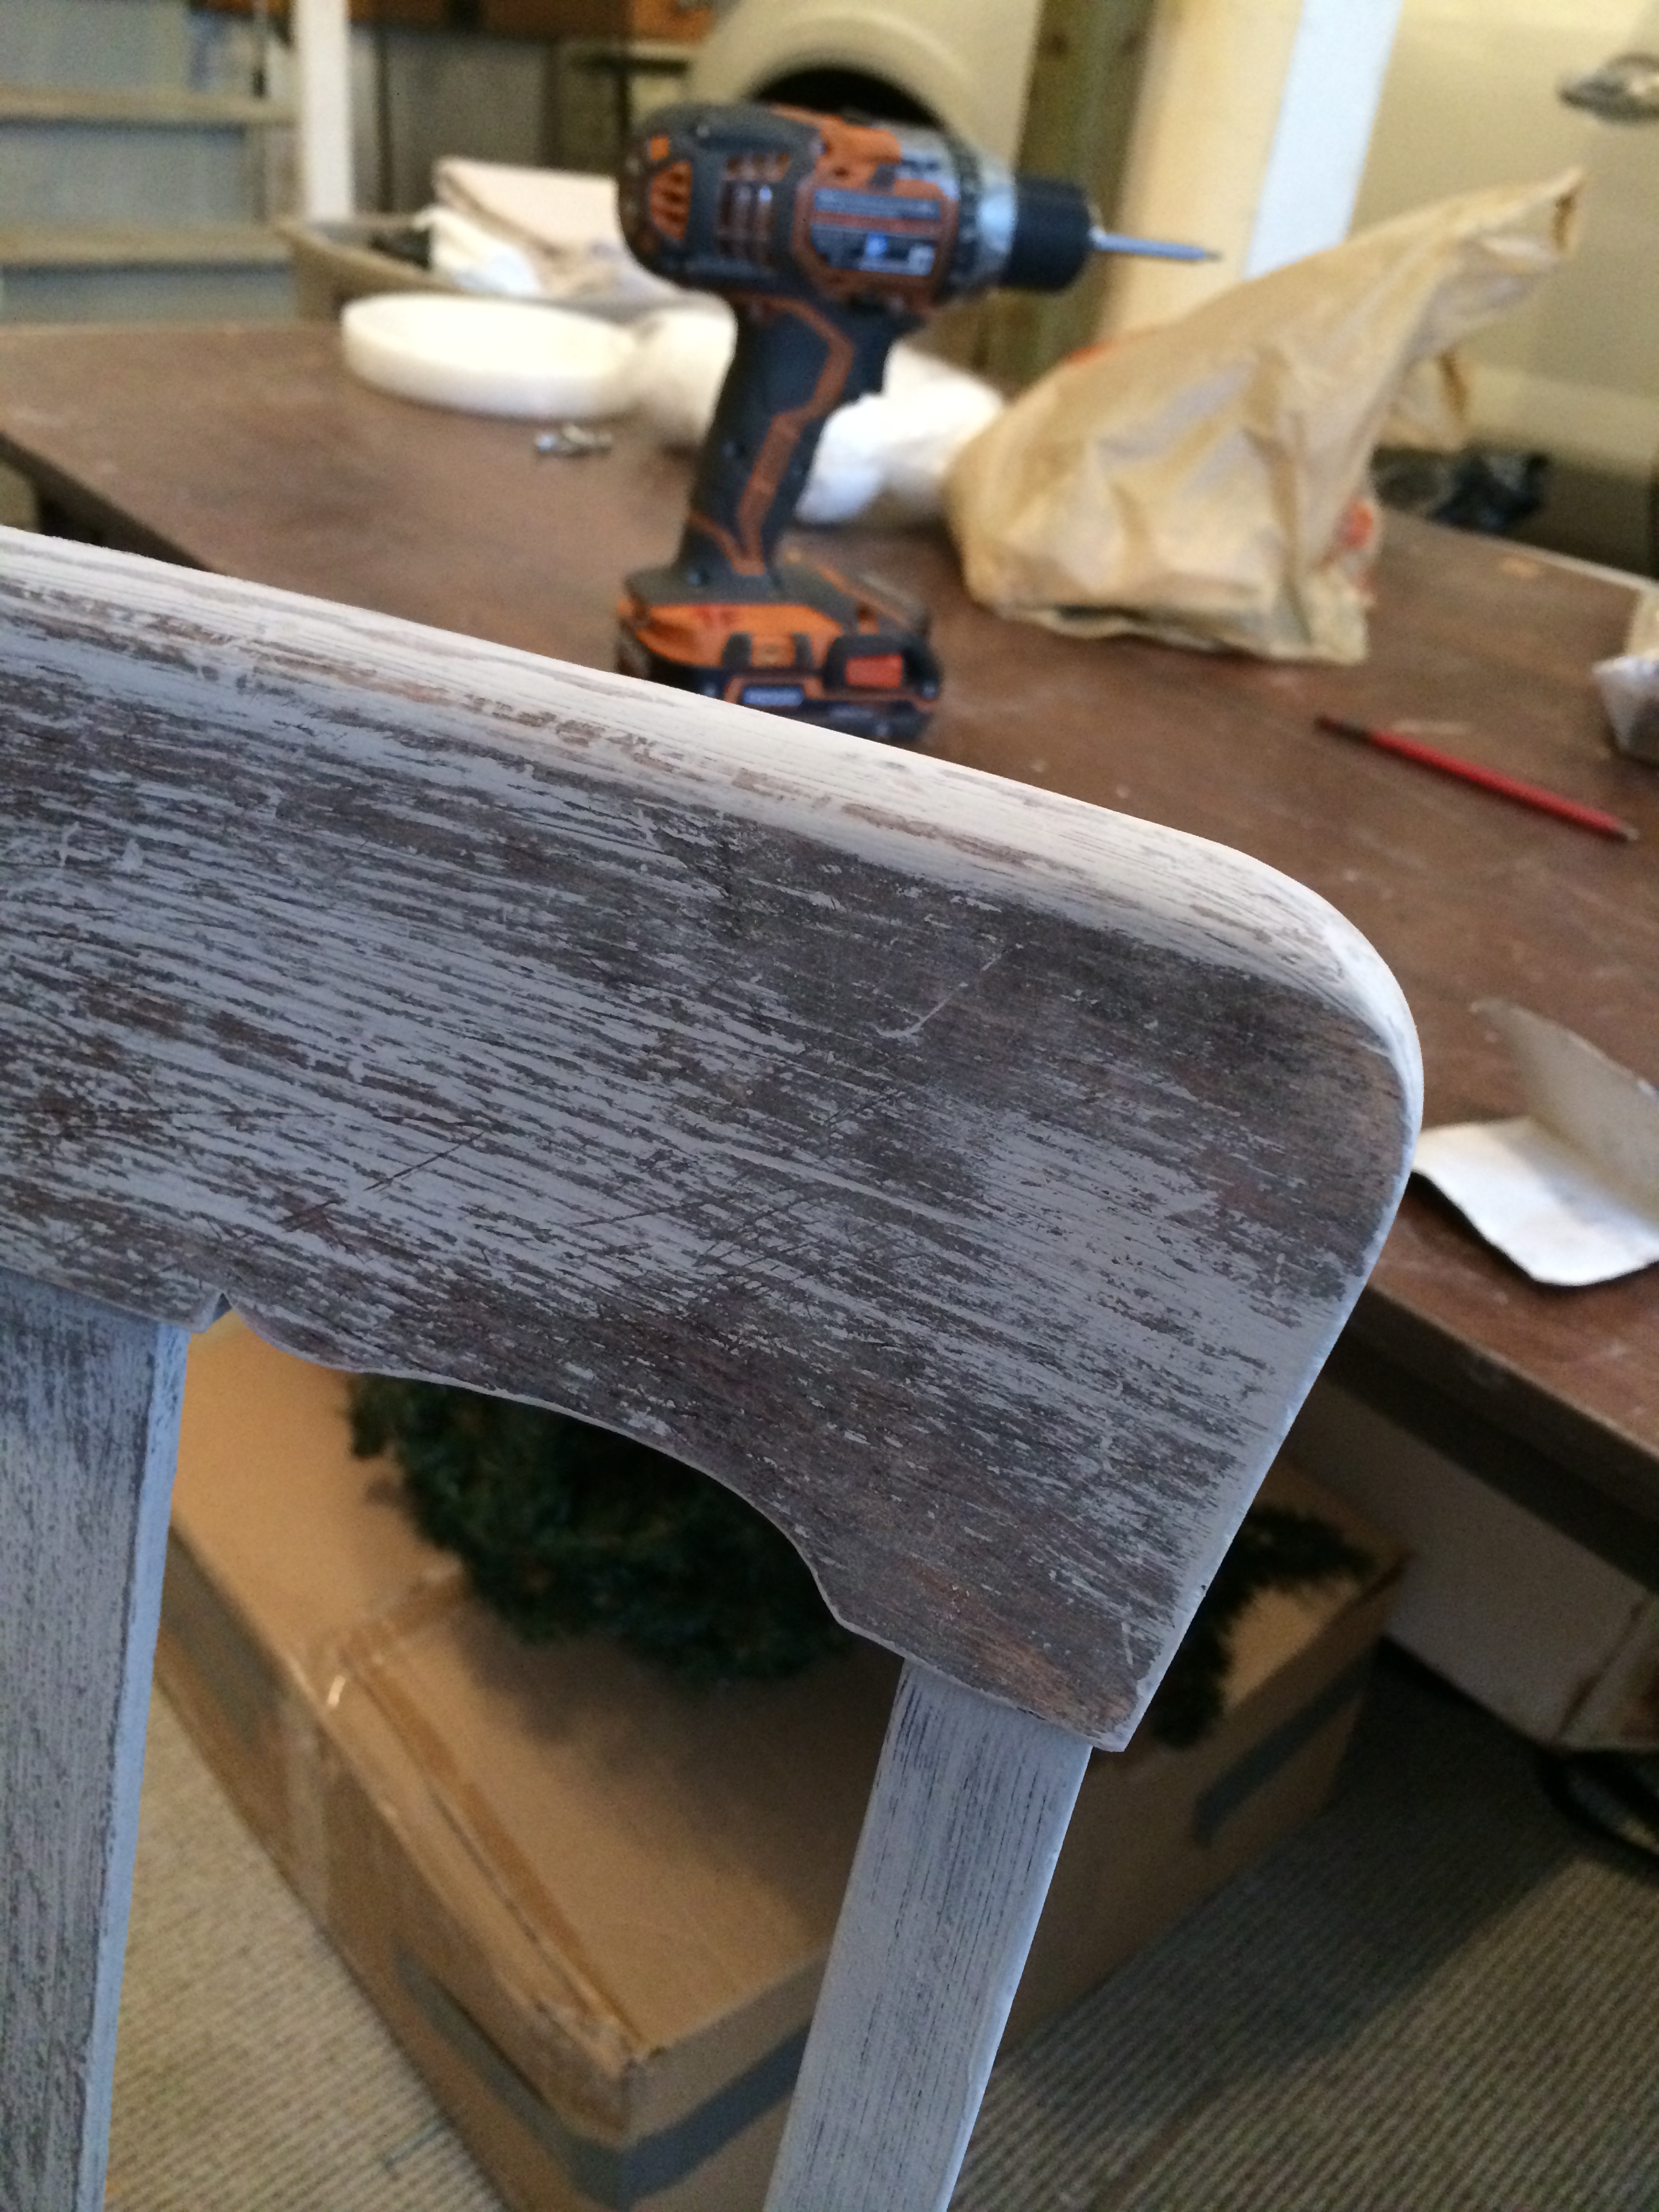
 Next I applied a clear wax to the whole chair, I did this twice just to be sure I didn’t miss any spots. I find that when going over chairs like these it’s easy to miss a wrung or side of a leg etc. sometimes. It also gave it a silky smooth finish.
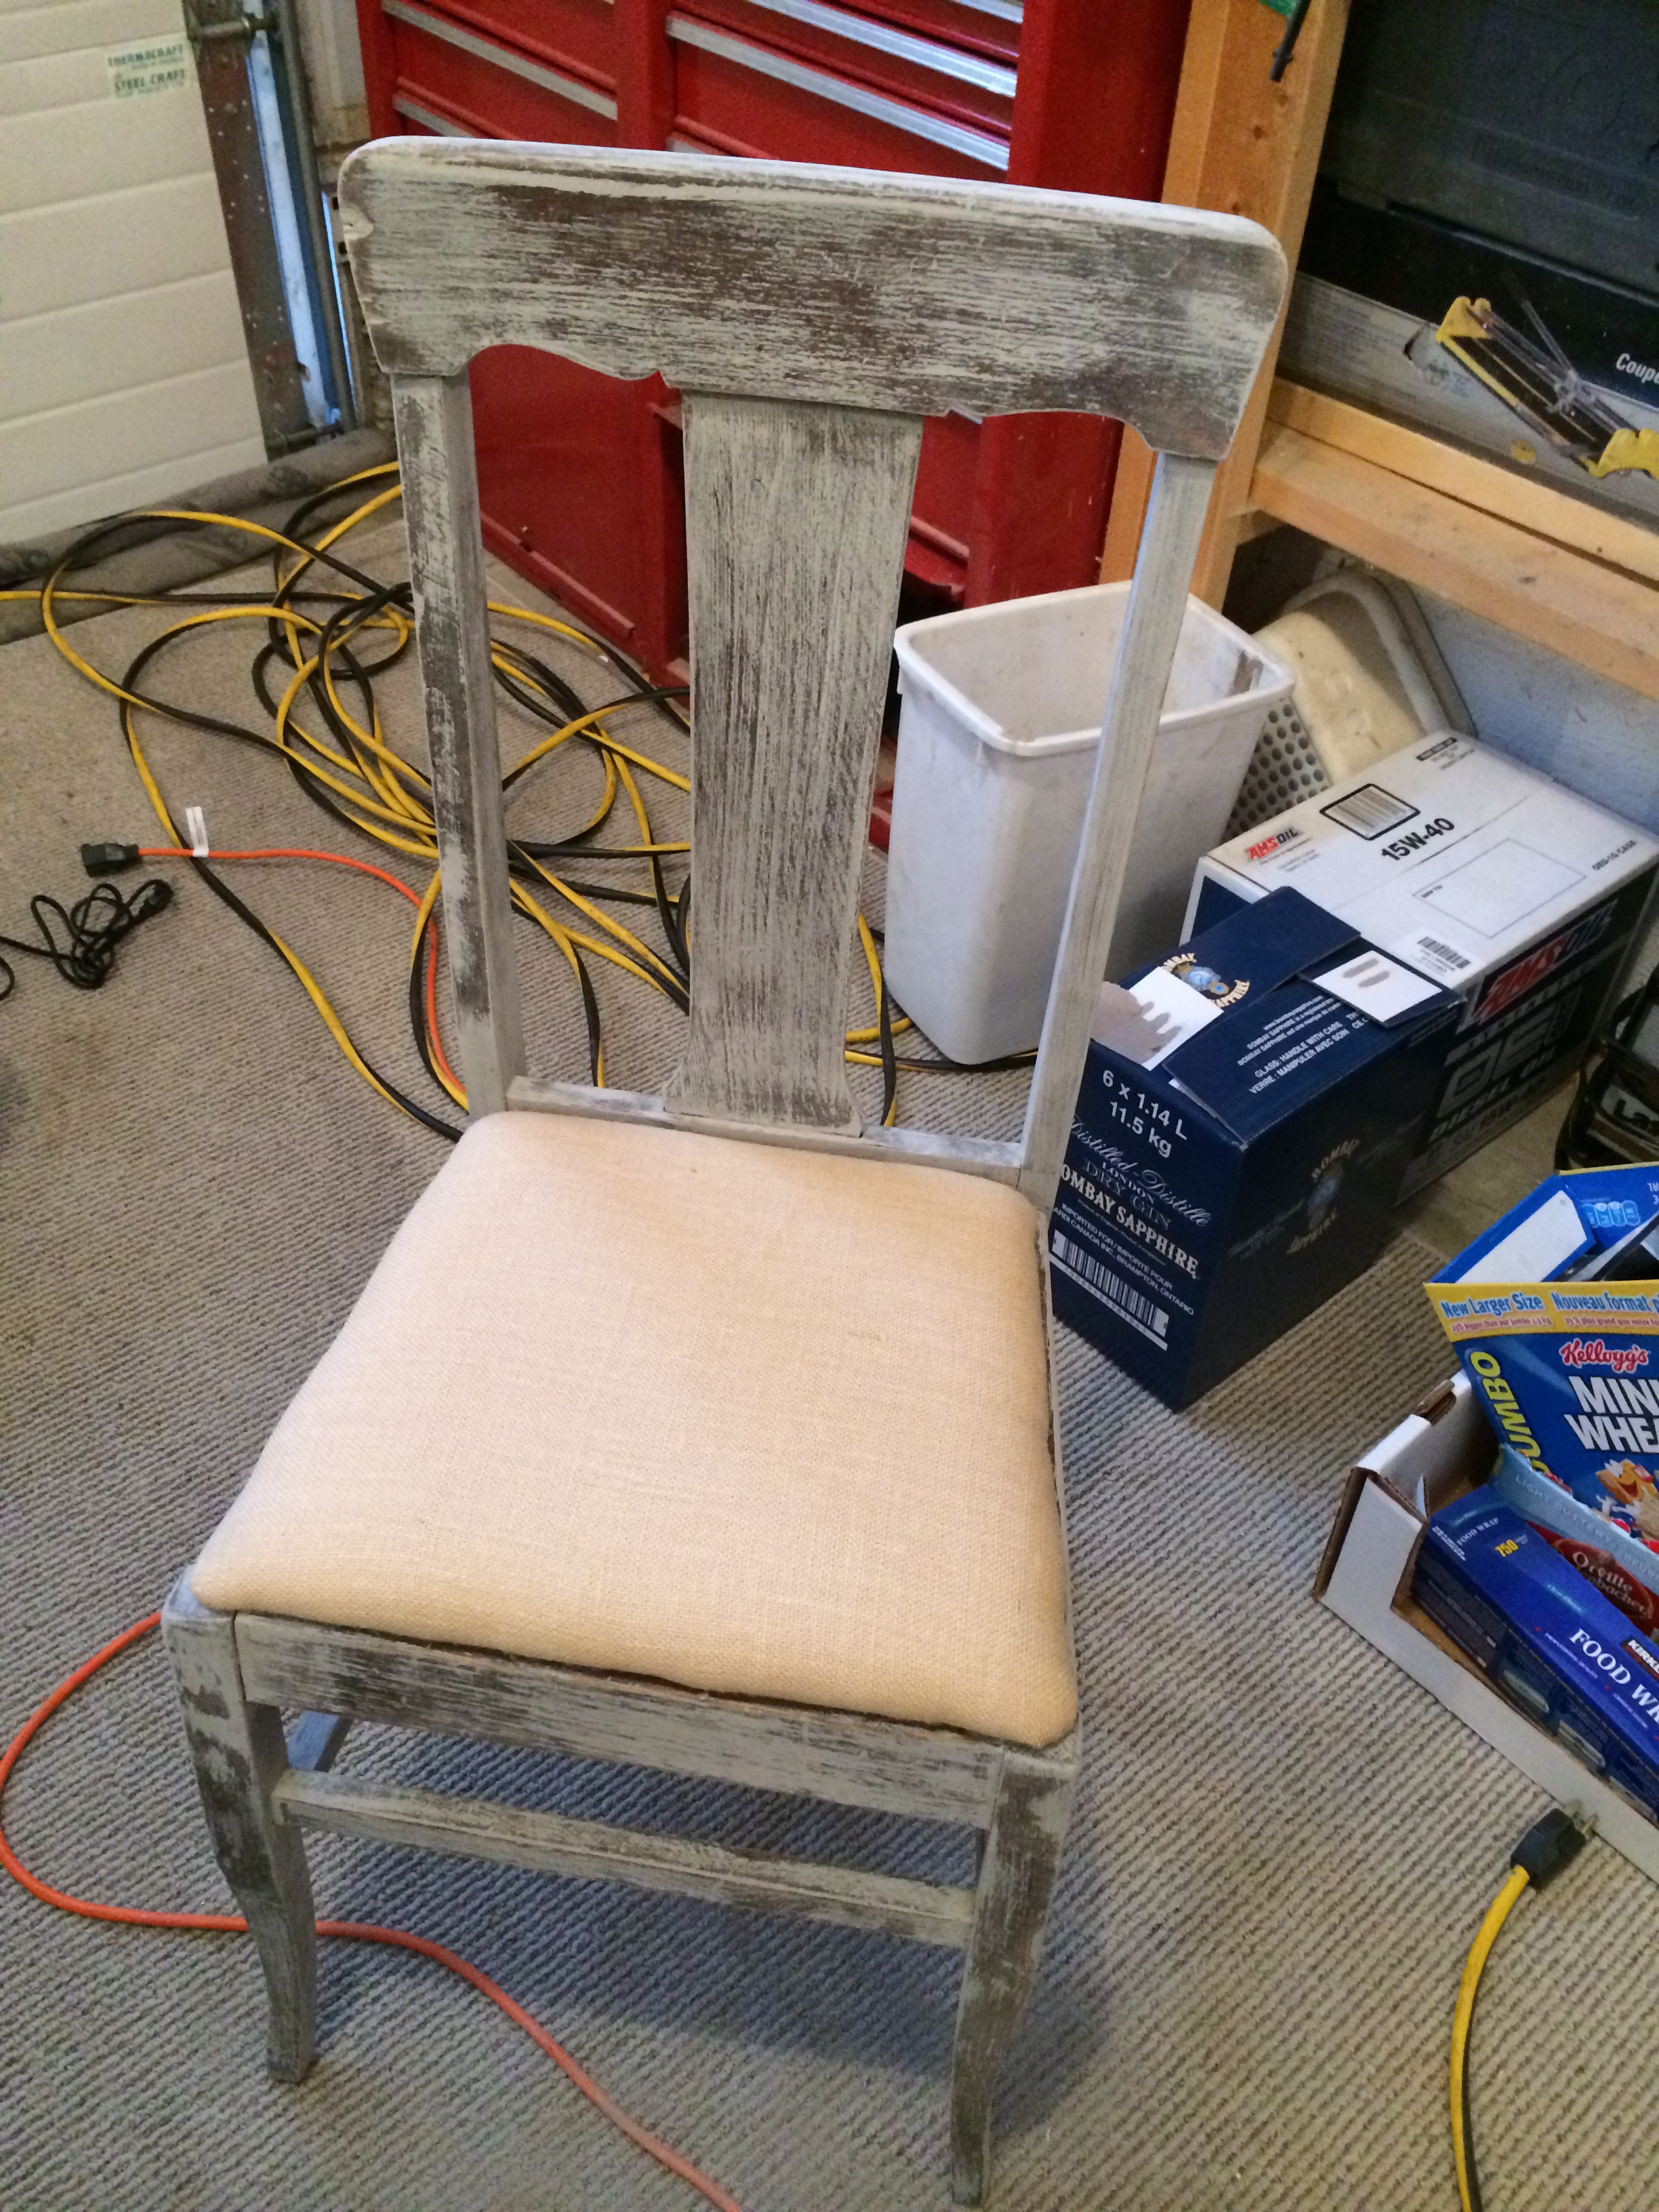
Next I reupholstered the seat with some burlap fabric. And re attached it to the chair… you can’t see it in these pictures but it looked too pinkish against the grey paint so I ended up using some drop cloth instead…
 This is the finished piece…

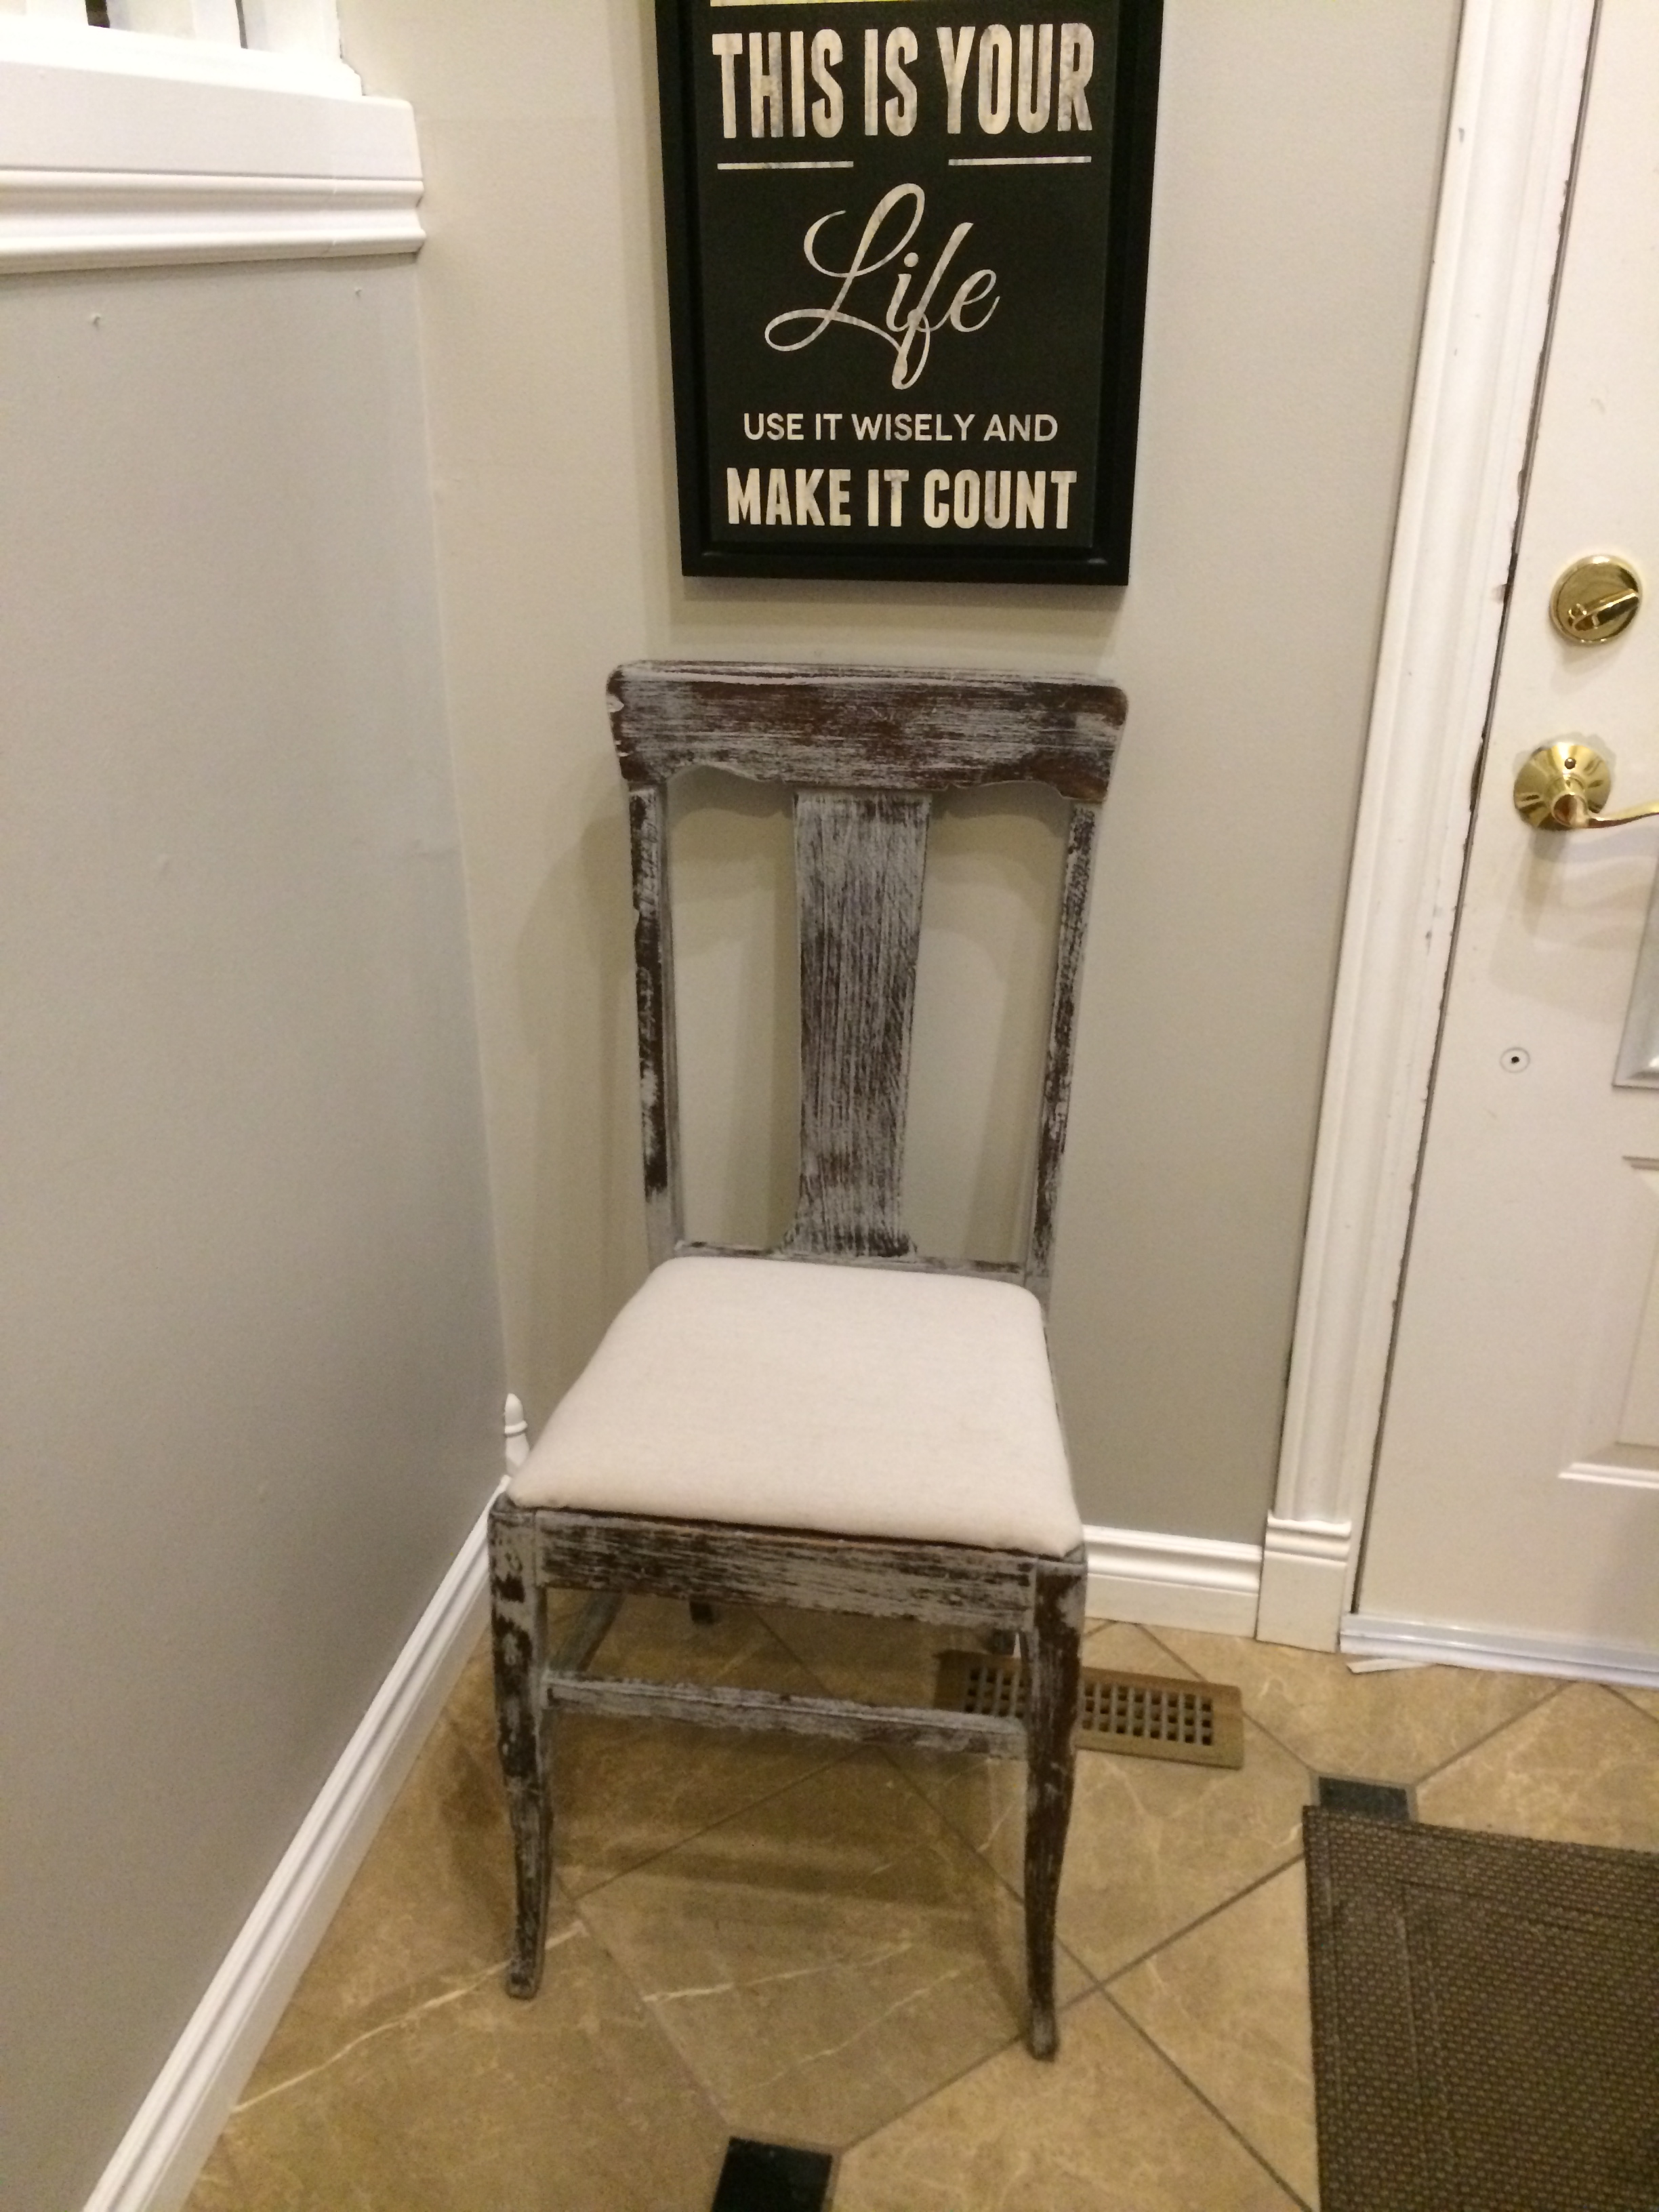
 Now, these pictures were taken at her house….we couldn’t decide if the chair “needed” something or if it being a plain seat was just fine.
I went home and thought I’d try painting a grain sack stripe on the fabric… I used the seat from another chair I had that was similar to hers.
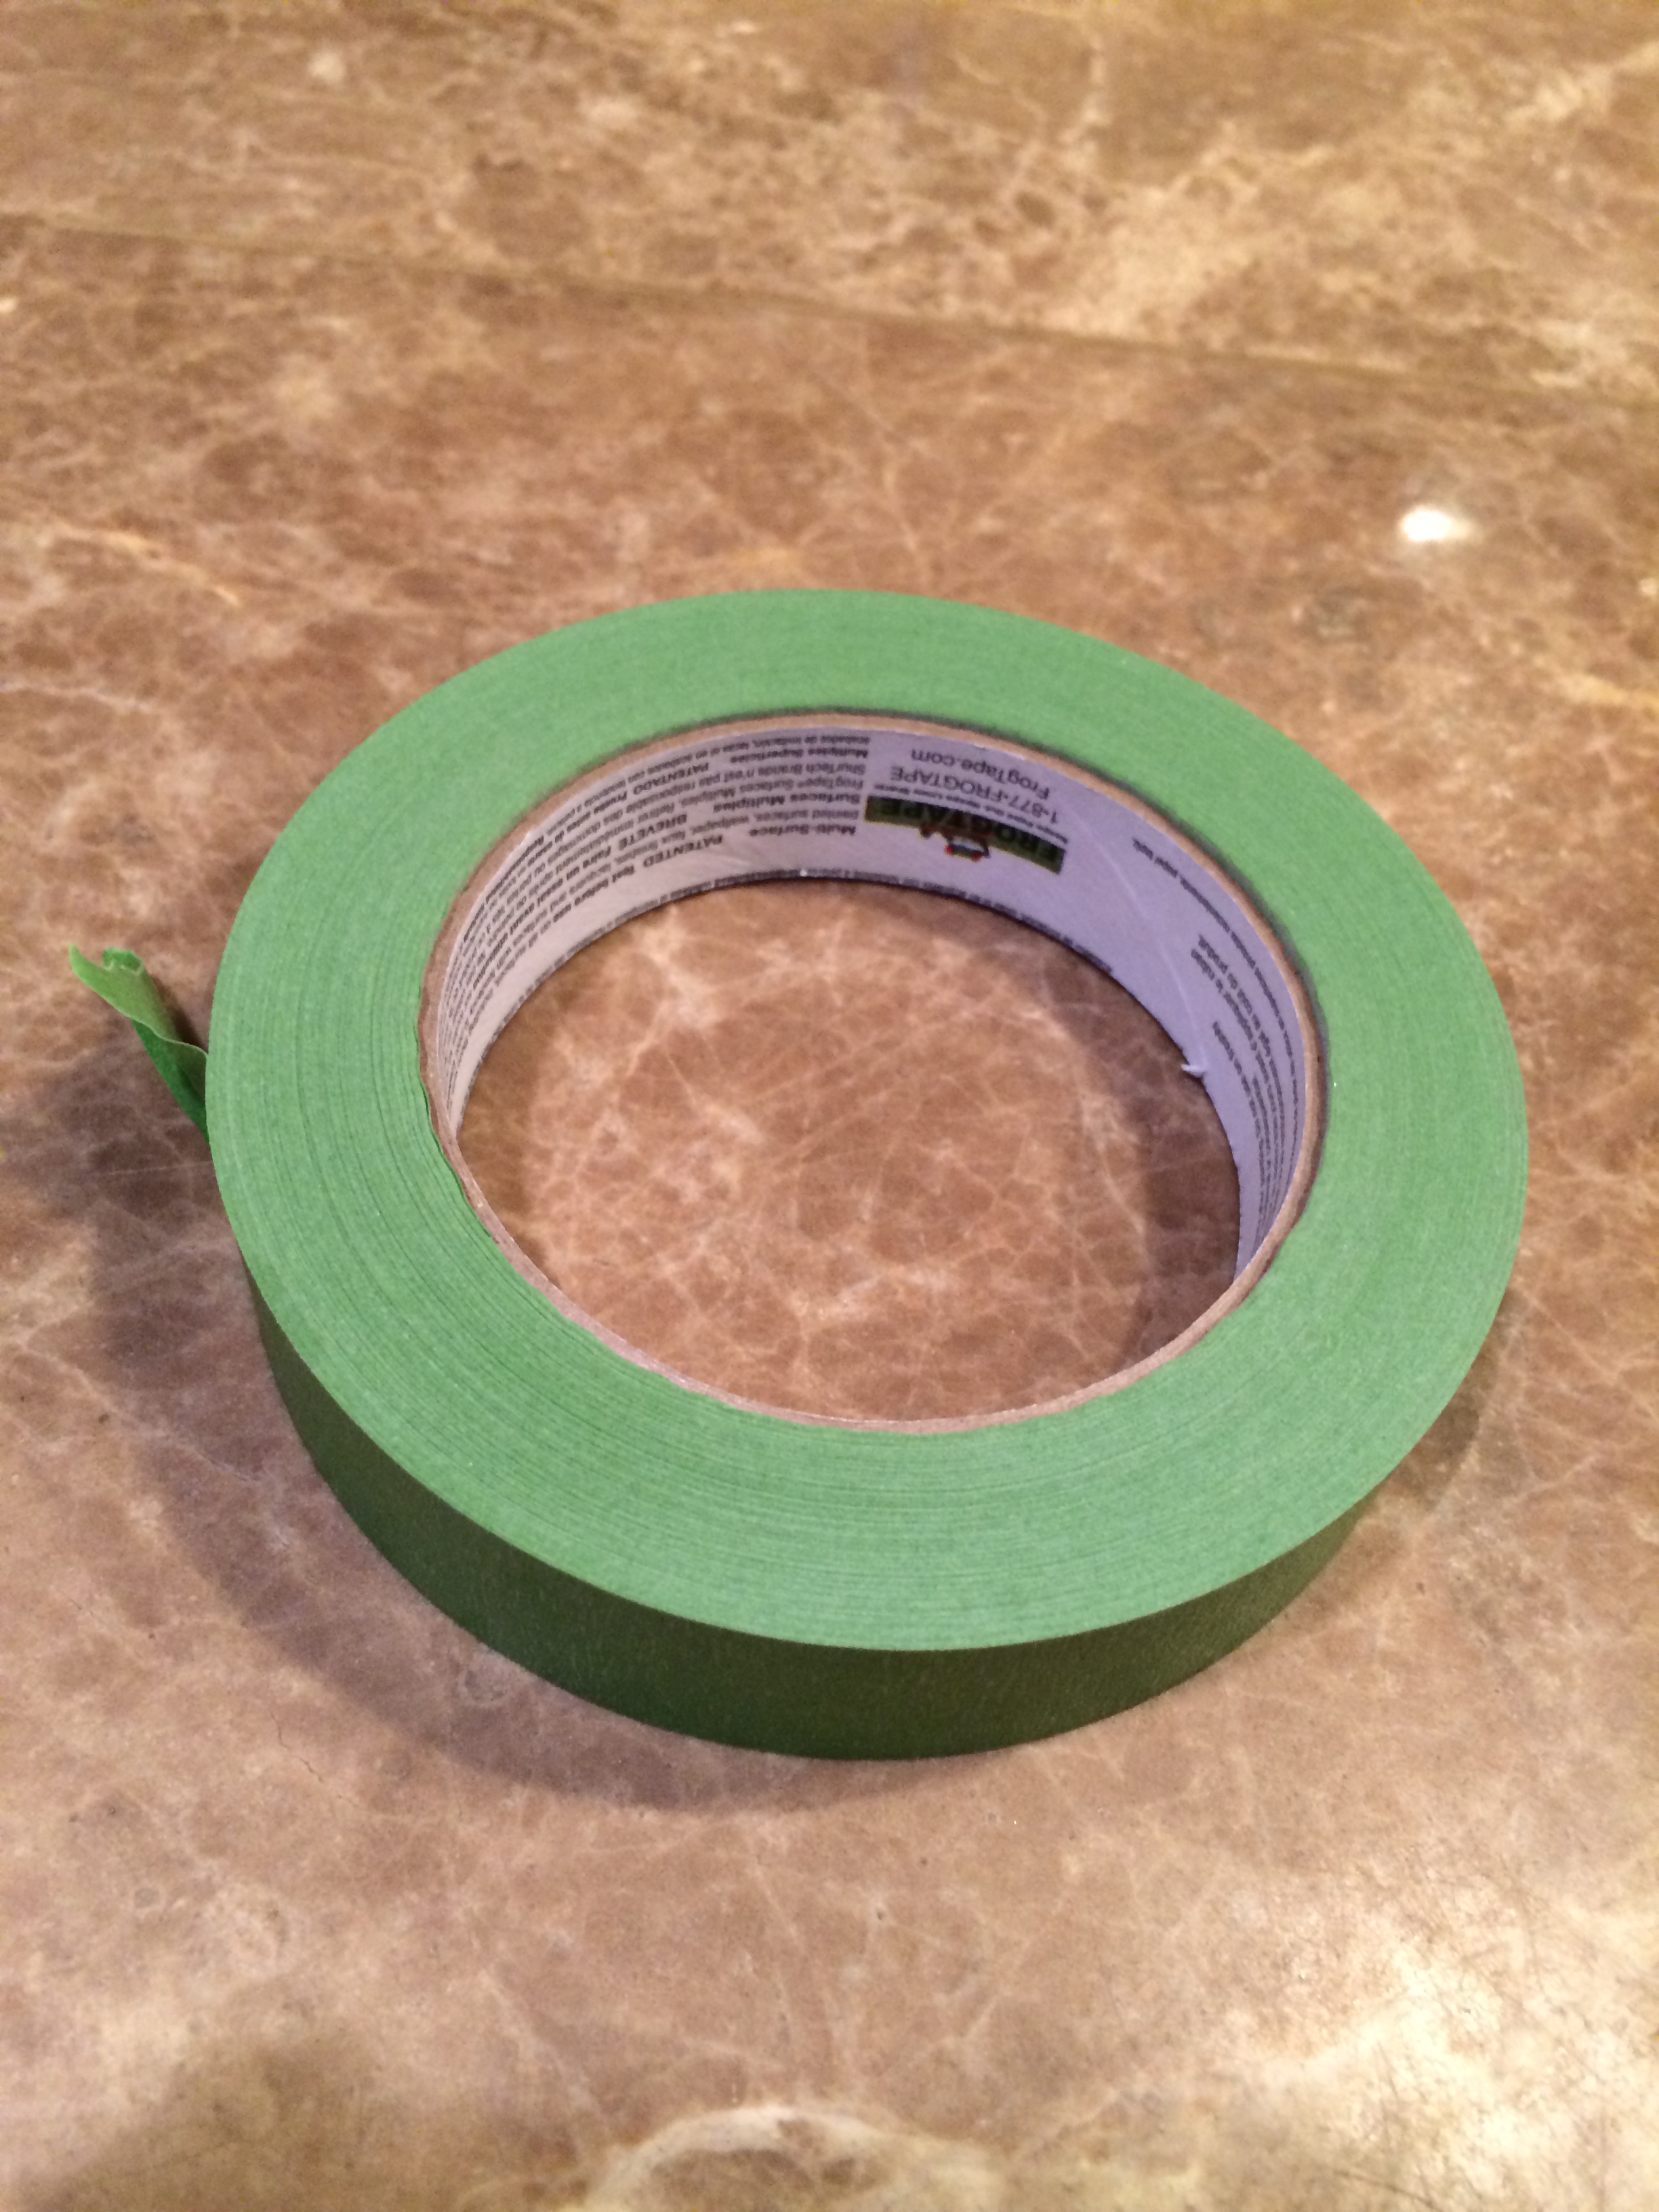
I started with covering the seat with some drop cloth and taping off where I wanted the stripes to be…

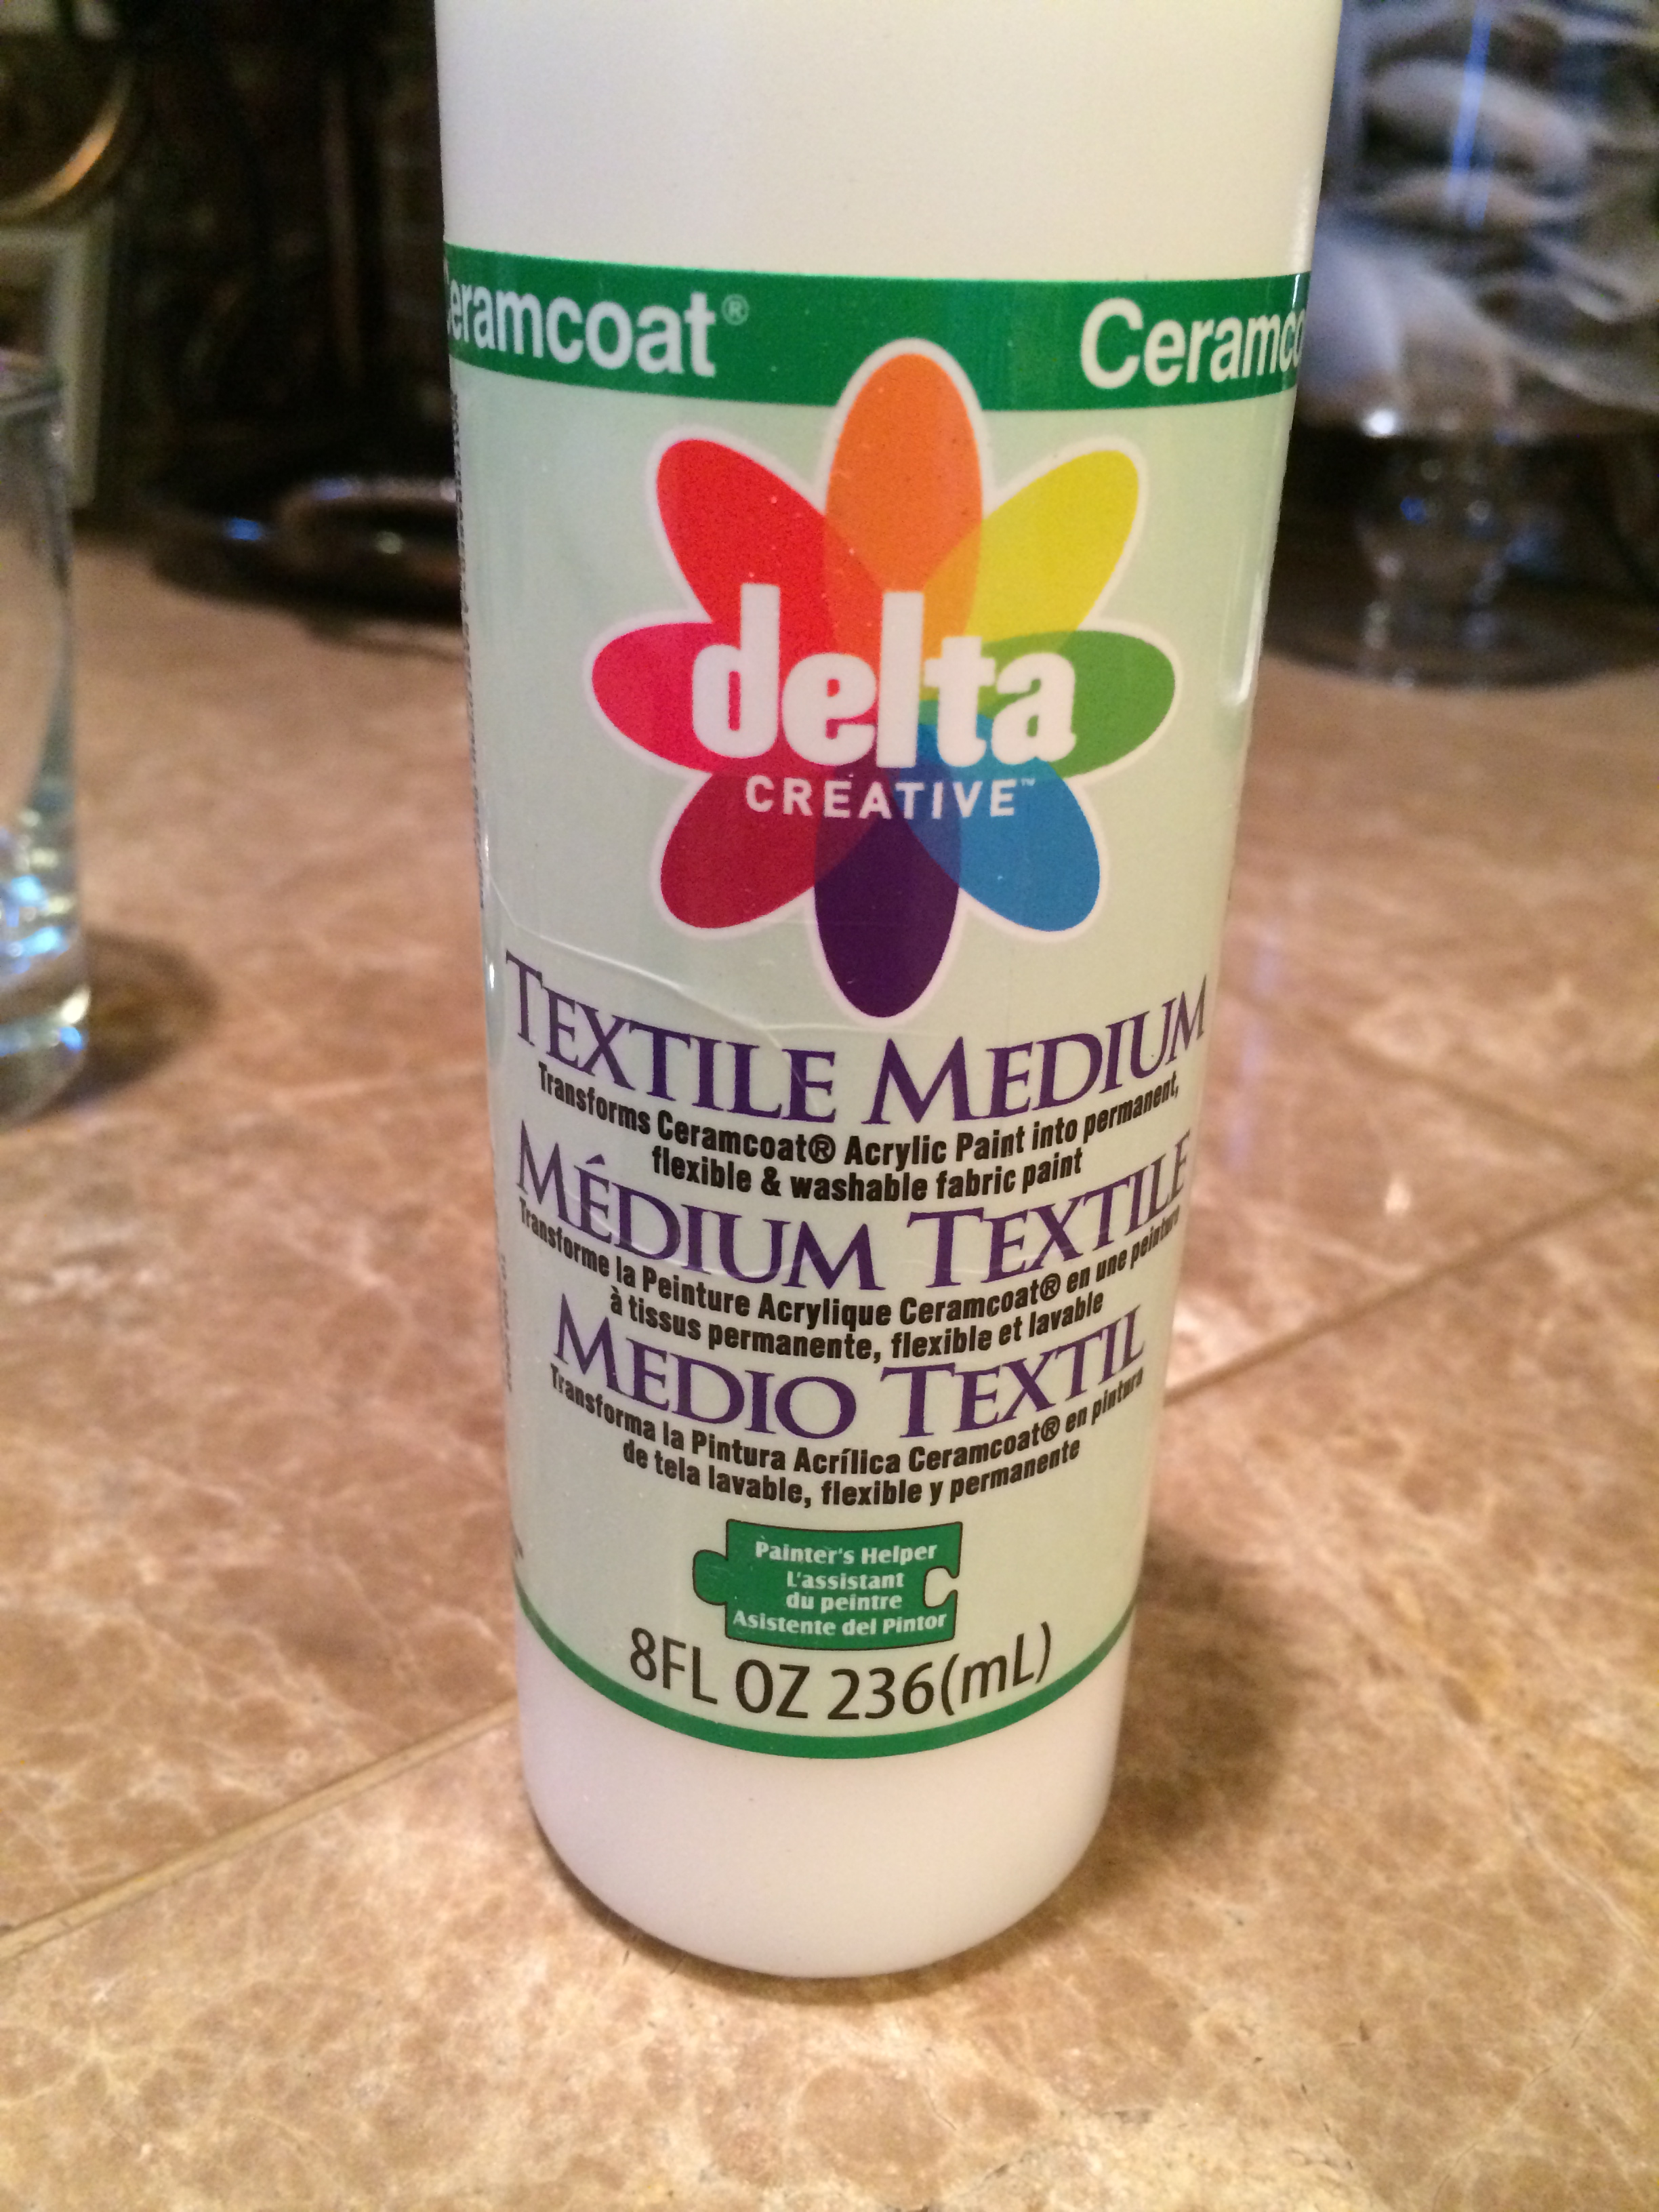
 Then I watered down some of the grey chalk paint to a more watery consistency…but not too watery. Then I added a fabric medium following the directions on the bottle…I kinda eyeballed it as I didn’t mix up a big batch… I was only doing a small area and didn’t want to waste the paint or medium.
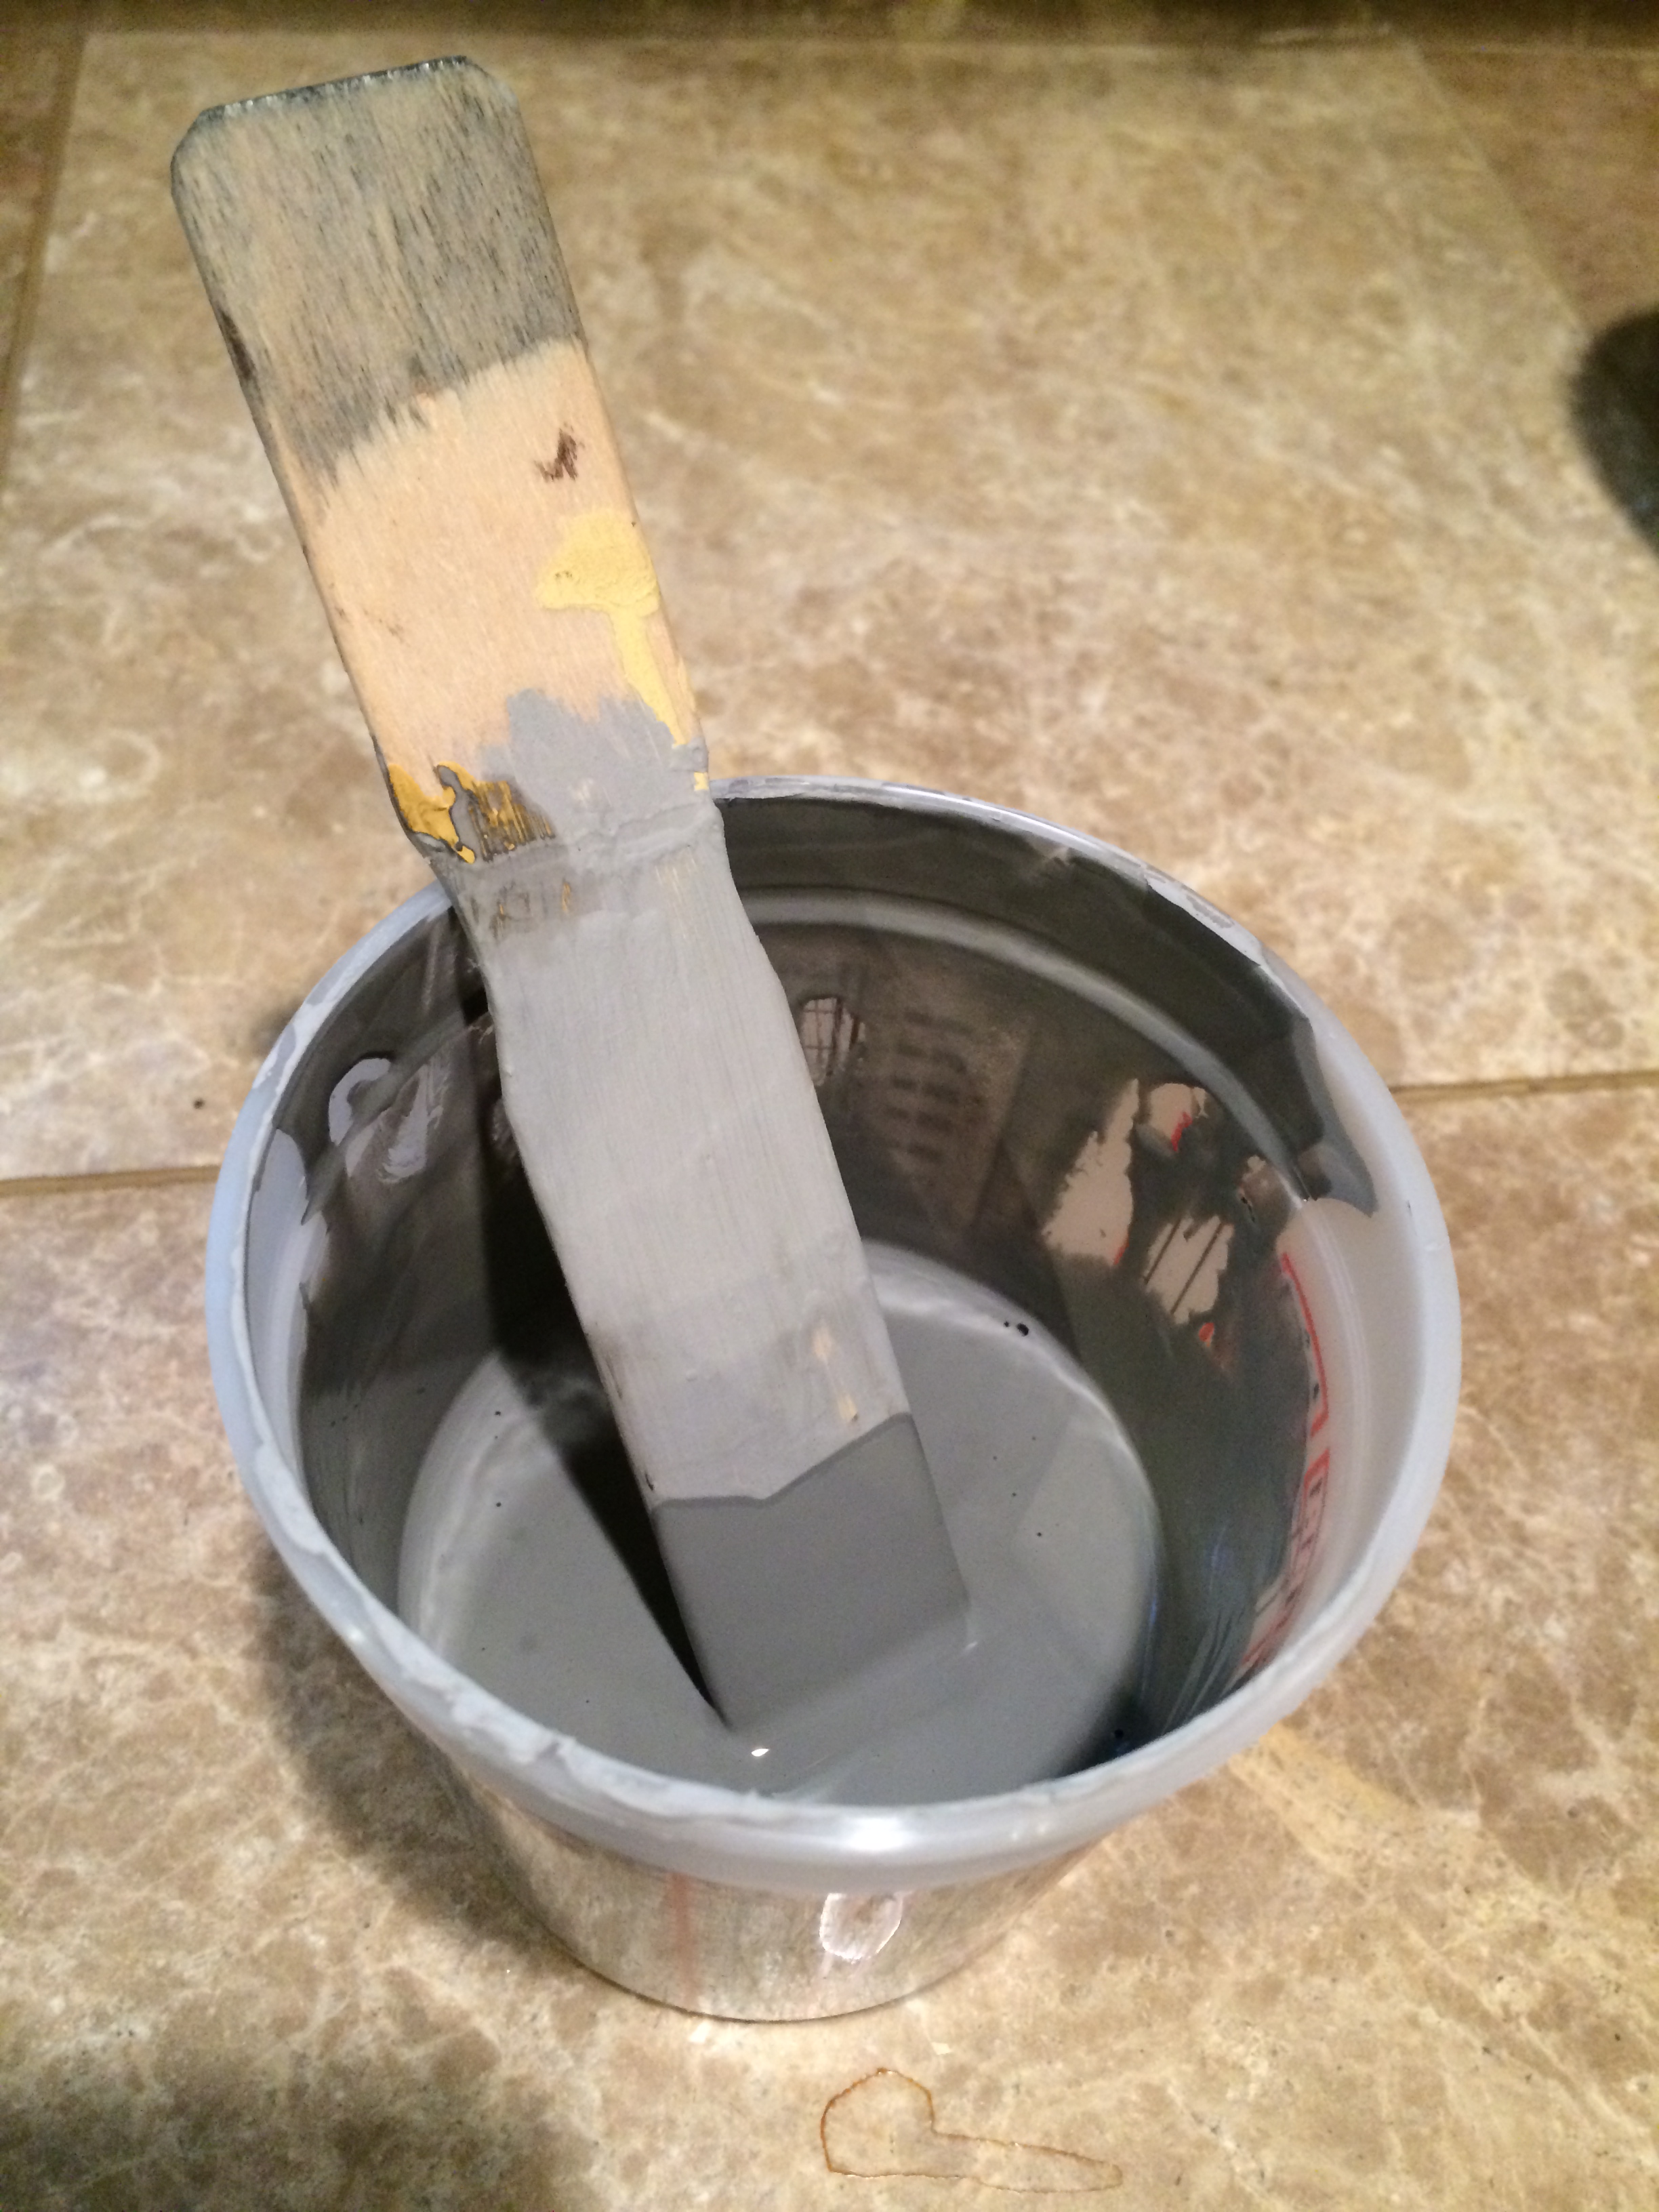 The next step was to lightly paint it on the fabric being careful not to push it into the fabric too much…I didn’t want it to bleed under the tape.I removed the tape immediately after which also helps.
Because I am impatient when it comes to dry time, I used my hair dryer to speed up the process. Next I took some sandpaper to the painted areas to soften the fabric again. It feels like regular fabric still and is nice and soft!
This is before sanding it…
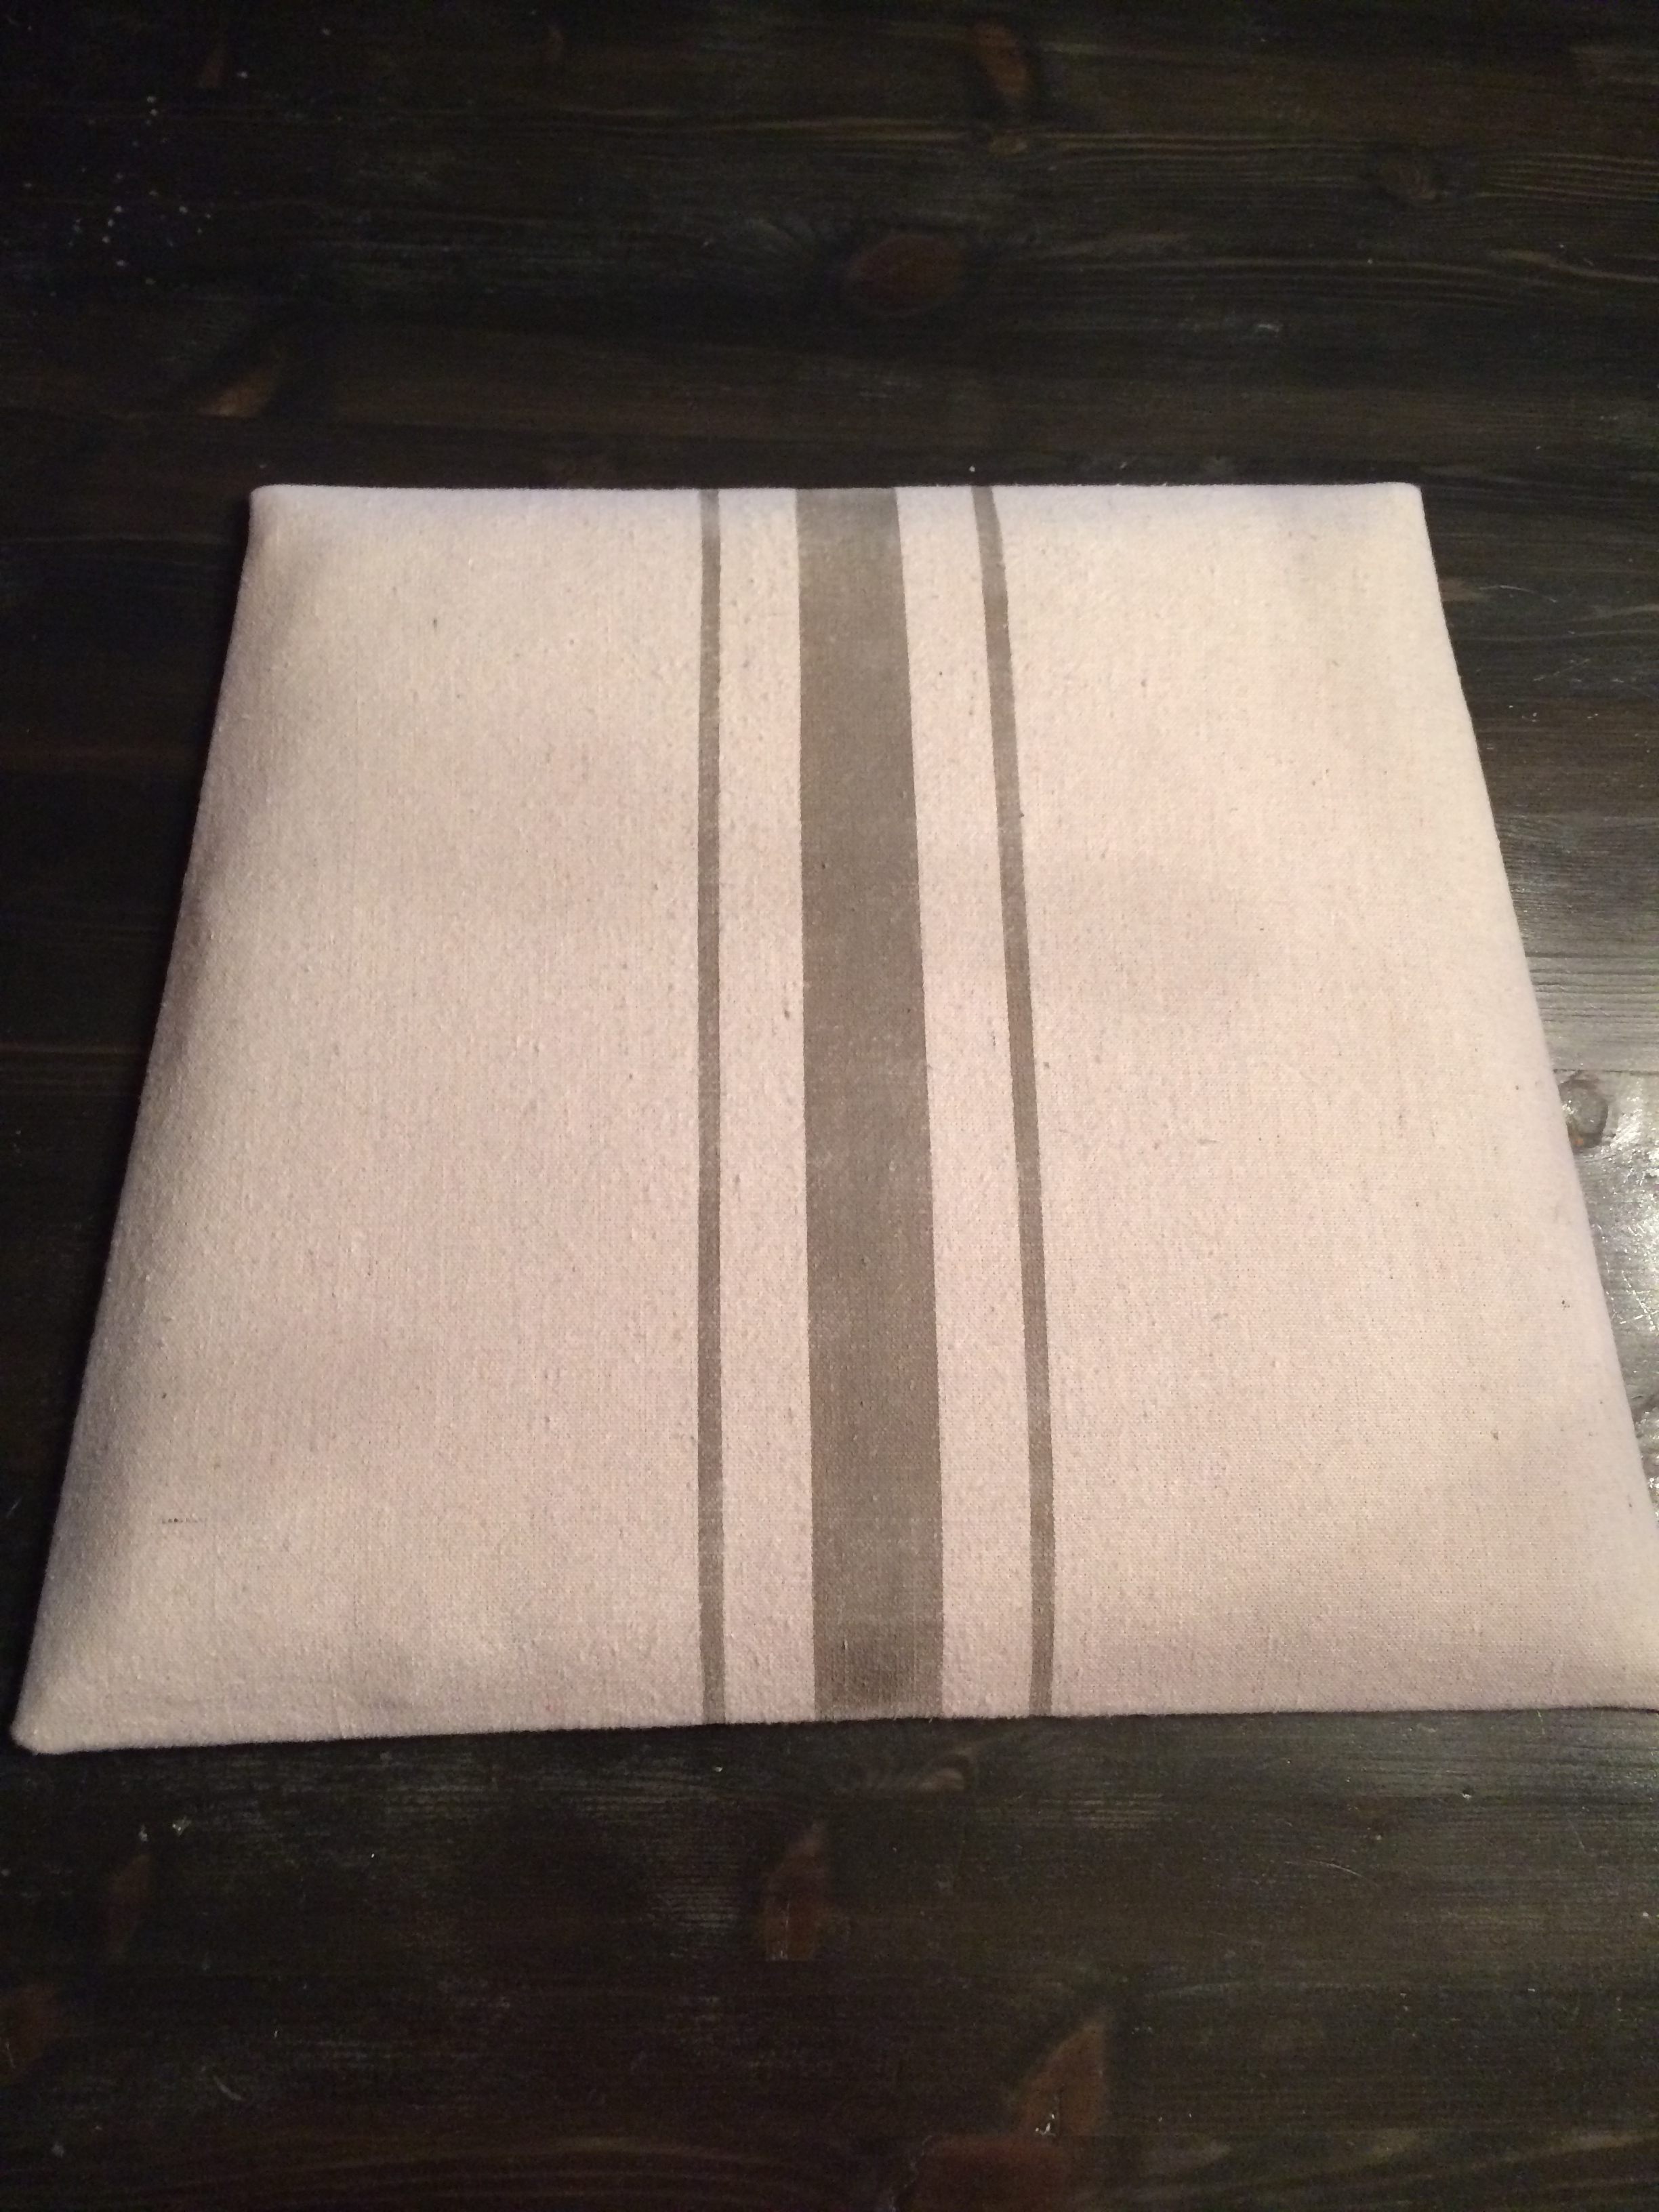
 This is after sanding…

We still haven’t decided on which seat we like better on the chair so for now my friend’s chair is just plain without the stripe. Personally I like the stripe but then again I’m a stripe lover!
 I Was quite impressed how soft the fabric ended up being after painting it, I might be tempted to try to paint something larger with this stuff …. Just to see….
Have any of you ever tried to paint the fabric of a piece of furniture? I’d love to hear how it turned out!
Take care!
Terry
Linking up to Stephanie Lynn’s Sunday Showcase Party and Stone Gable’s The scoop #108 Mega Spring Linky Party
Pink When: DIY Sunday Show case party
Miss Mustard Seed’s Furniture Friday
Twigg Studio: Our Sunday Best Showcase


What a great finish! The smoke color is beautiful with the brown under.
Both seats are great. I really like the stripes. But I like striped everything : )
Deb
LikeLike
Thank you for the visit :0) I hope she goes with the stripes…
LikeLike
I love the stripe on the seat fabric…it adds so much! I’ll have to try the fabric medium myself!
LikeLike
There’s so much one can do with it…Maybe I’ll try a stencil next :0) Thanks for the visit!
LikeLike
I vote stripe! Love the look of the sanded fabric, I’ve never thought of doing that.
LikeLike
Thank you for the visit! I like the stripe too… :0)
LikeLike
Ok so now I’ve got to try this! I was concerned painting on the fabric it would be well…scratchy, and look like paint on fabric. lol. I’m really impressed with the results and wouldn’t have thought to sand it down afterwards. Did you need to seal it with anything?
Hello from the Mega Spring Linky!
Leelee @ paperbagstyling.blogspot.com
LikeLike
Hello! Thank you for the visit! You do not need to seal the fabric with anything because of the fabric medium and the paint is absorbed into the fabric sort of like a dye. It is scratchy and sort of rubbery if you don’t lightly sand it. Sanding makes it soft and exposes the paint absorbed instead of just what dried on top, you see the threads again not just solid paint….not sure that made sense :0) I guess sanding it takes off the excess that sits on top to reveal what absorbed leaving it soft to touch :0)
Hope you stop by again, I would love to know what you paint with this technique!
Smiles!
Terry
LikeLike
I have plans for a couple chairs to paint them with chalk paint, but haven’t got around to it yet. I did a pair of suede shoes that turned out fabulous. I love the stripes on your chair, definitely will look better with them if she chooses to go that way.
I saw you sharing at Our Sunday Best Showcase.
Debbie :)
LikeLike
Wow! A pair of shoes? I never would have thought of that! Thank you for the visit!
Smiles!
LikeLike
Goodness, I love this! I think I will be adding stripes to my chair. I know I will like it – my only hesitation is that I have 2 or 3 grainsack items for sale that haven’t moved in some time… but I agree – stripes are the way to go – thank you for sharing!
LikeLike