Decorating On A Small Budget | Teenage Bedroom Makeover
10January 6, 2015 by Terry
Having five children is expensive which means my home decorating budget is always extremely small.
More often than not I try to re-purpose things I already have before I go out and purchase something, and even then it usually comes from a thrift store. Now I know not everyone is crafty and has a creative eye to be able to fix up or see the potential of a piece, but it is easier than one might think to get the look you want without spending a lot of money.
So get out your paint brushes and your cordless screwdrivers and I will show you how to change a room for just a few dollars! It was so easy to do this room and I absolutely love the results!
This is my eldest daughter’s bedroom, she is 15 and craving a more soothing elegant look than her current miss matched look :0)
Before:

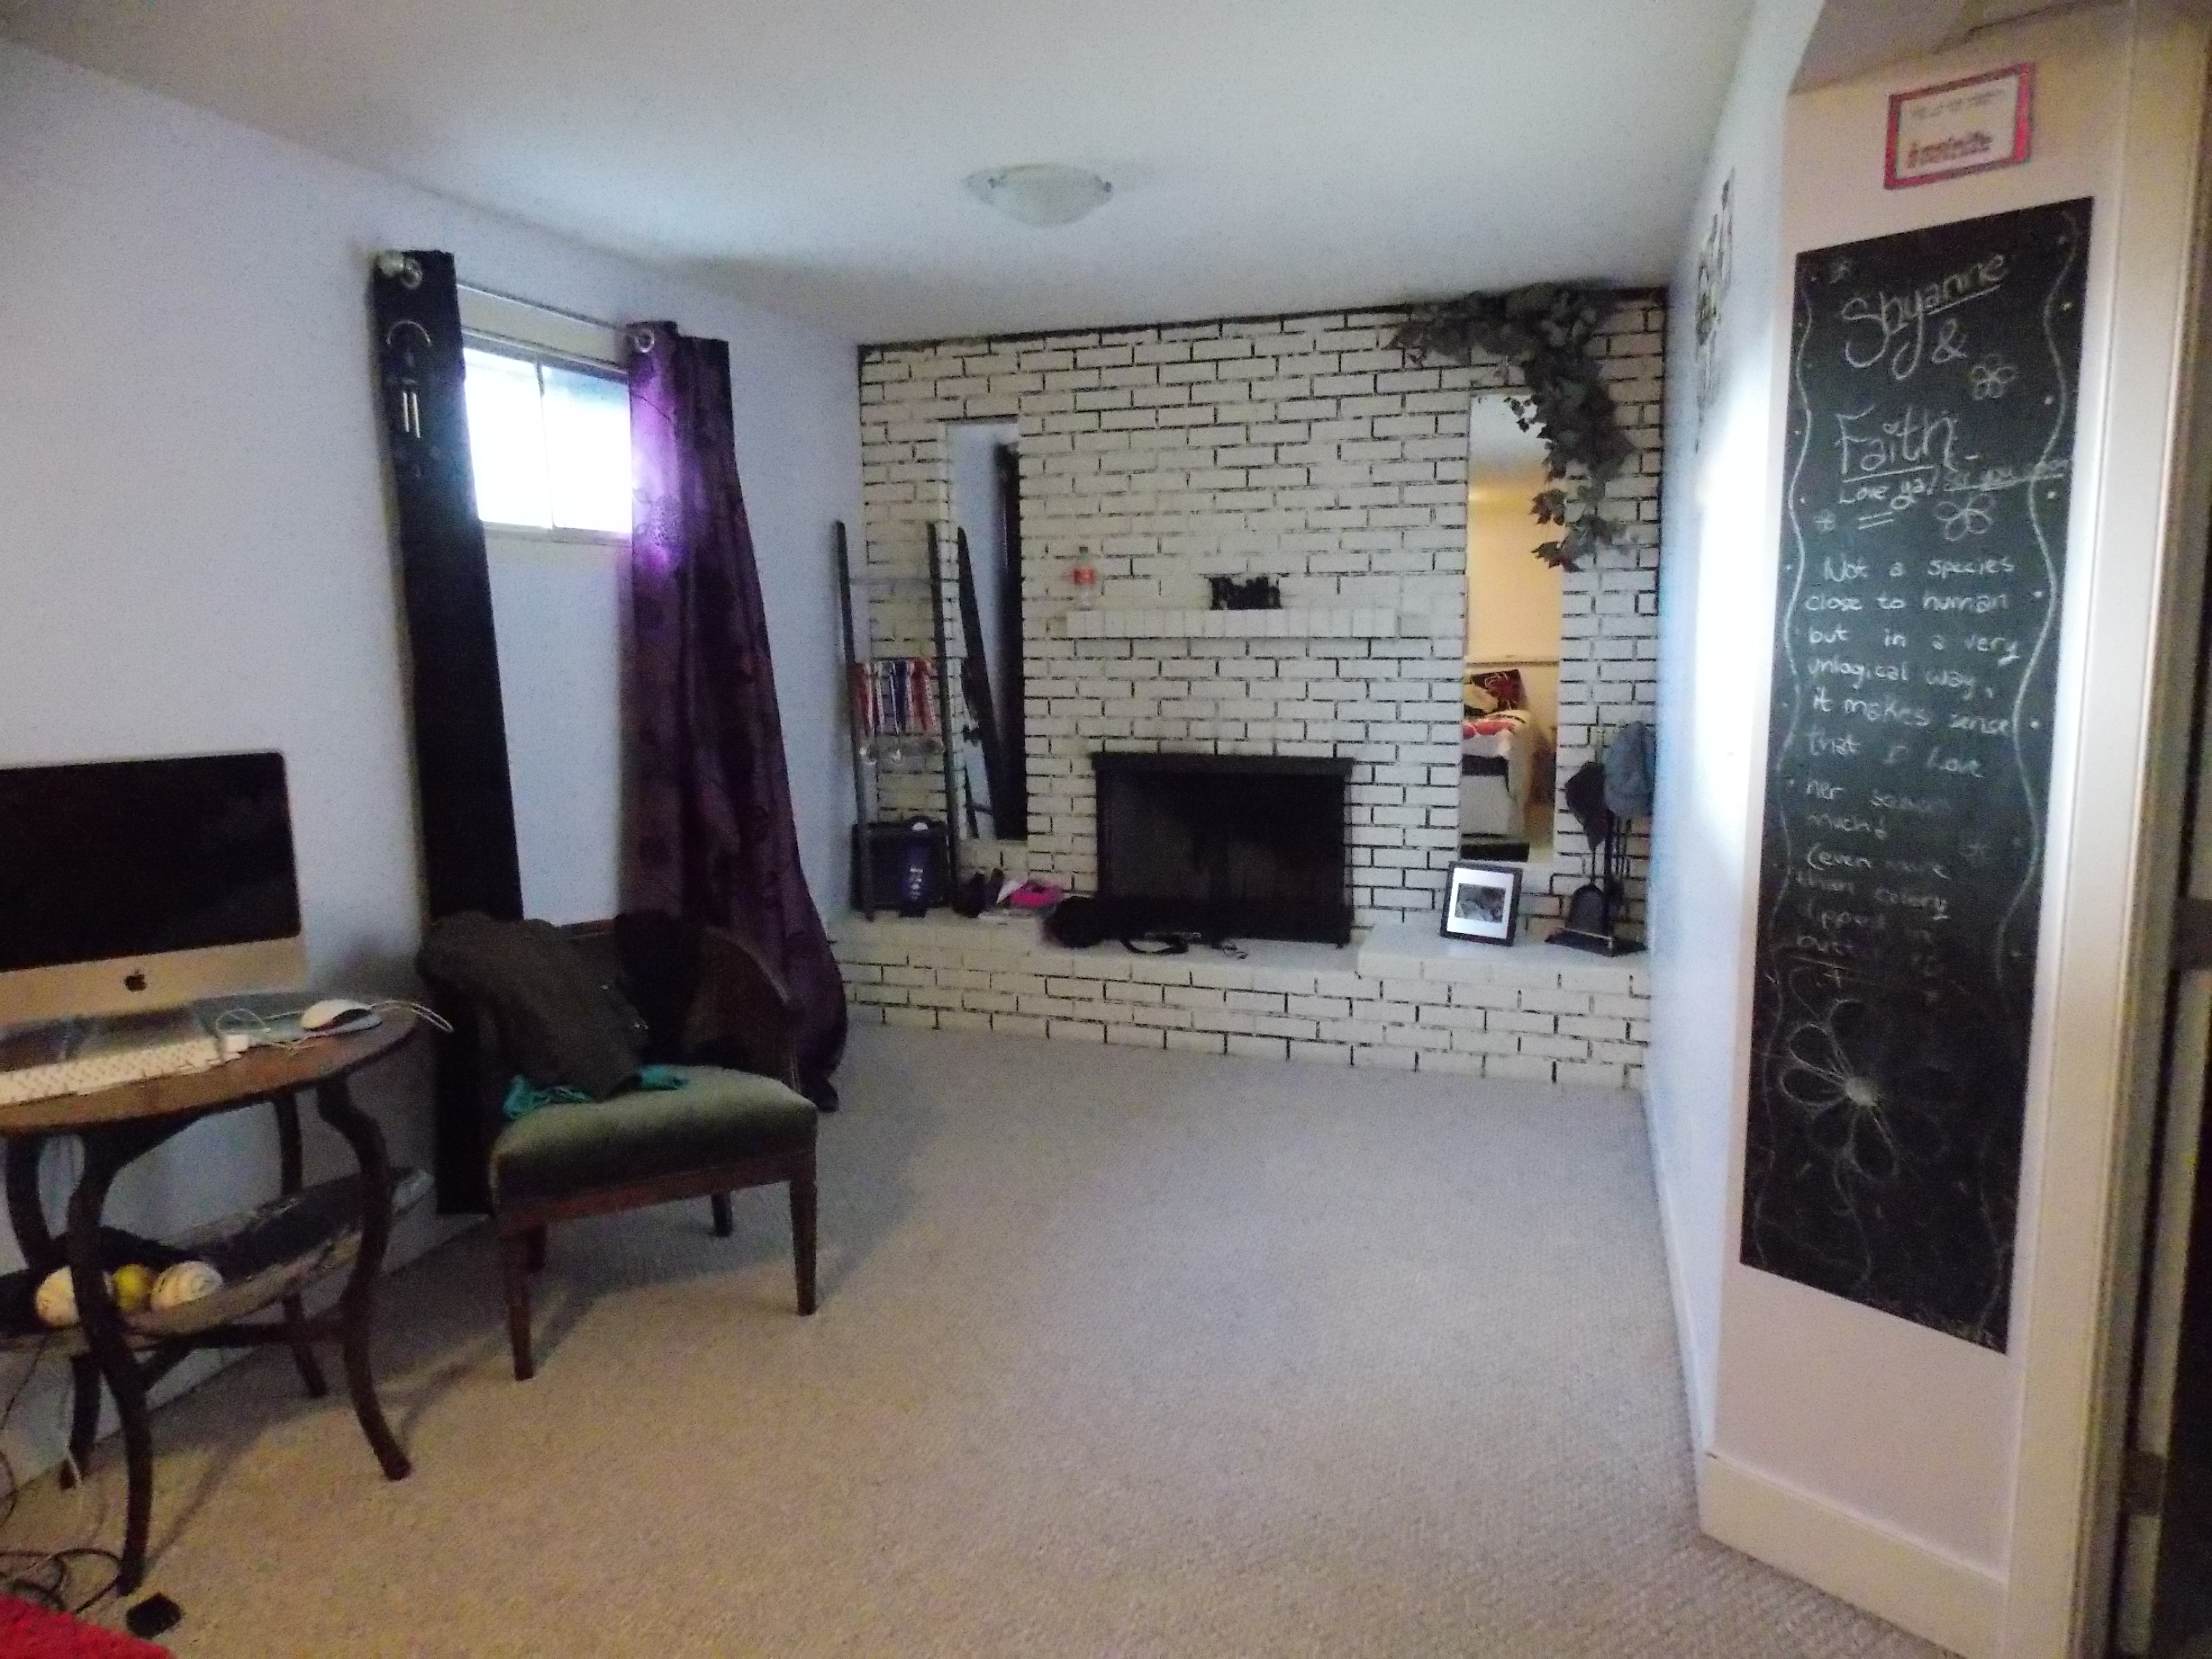
Now because we are planning to move this year I decided not to invest in painting the whole room. Whoever buys our home will likely use this room for it’s original purpose which is a family room and will paint it to their liking anyways.
This room was in need of a makeover for sure … for someone who enjoys decorating as much as I do, I am embarrassed that it had even got to this point! The only part of this room that matched was the bedding with the paint…and both she and I were tired of the bedding! :0)
We started by giving her a new bedding set for Christmas. She had been saying for quite some time that she’d like her room to be whites and greys…mostly white.


Then we decided that to make the room more cohesive, the furniture should also fall into the grey/white category. We took the night stand and round antique table out to the garage for a facelift with some chalk paint.
I decided that I would let Faith (my eldest girl) do all the sanding and painting and that I would just step back and let her enjoy the feel of creating her own pieces.
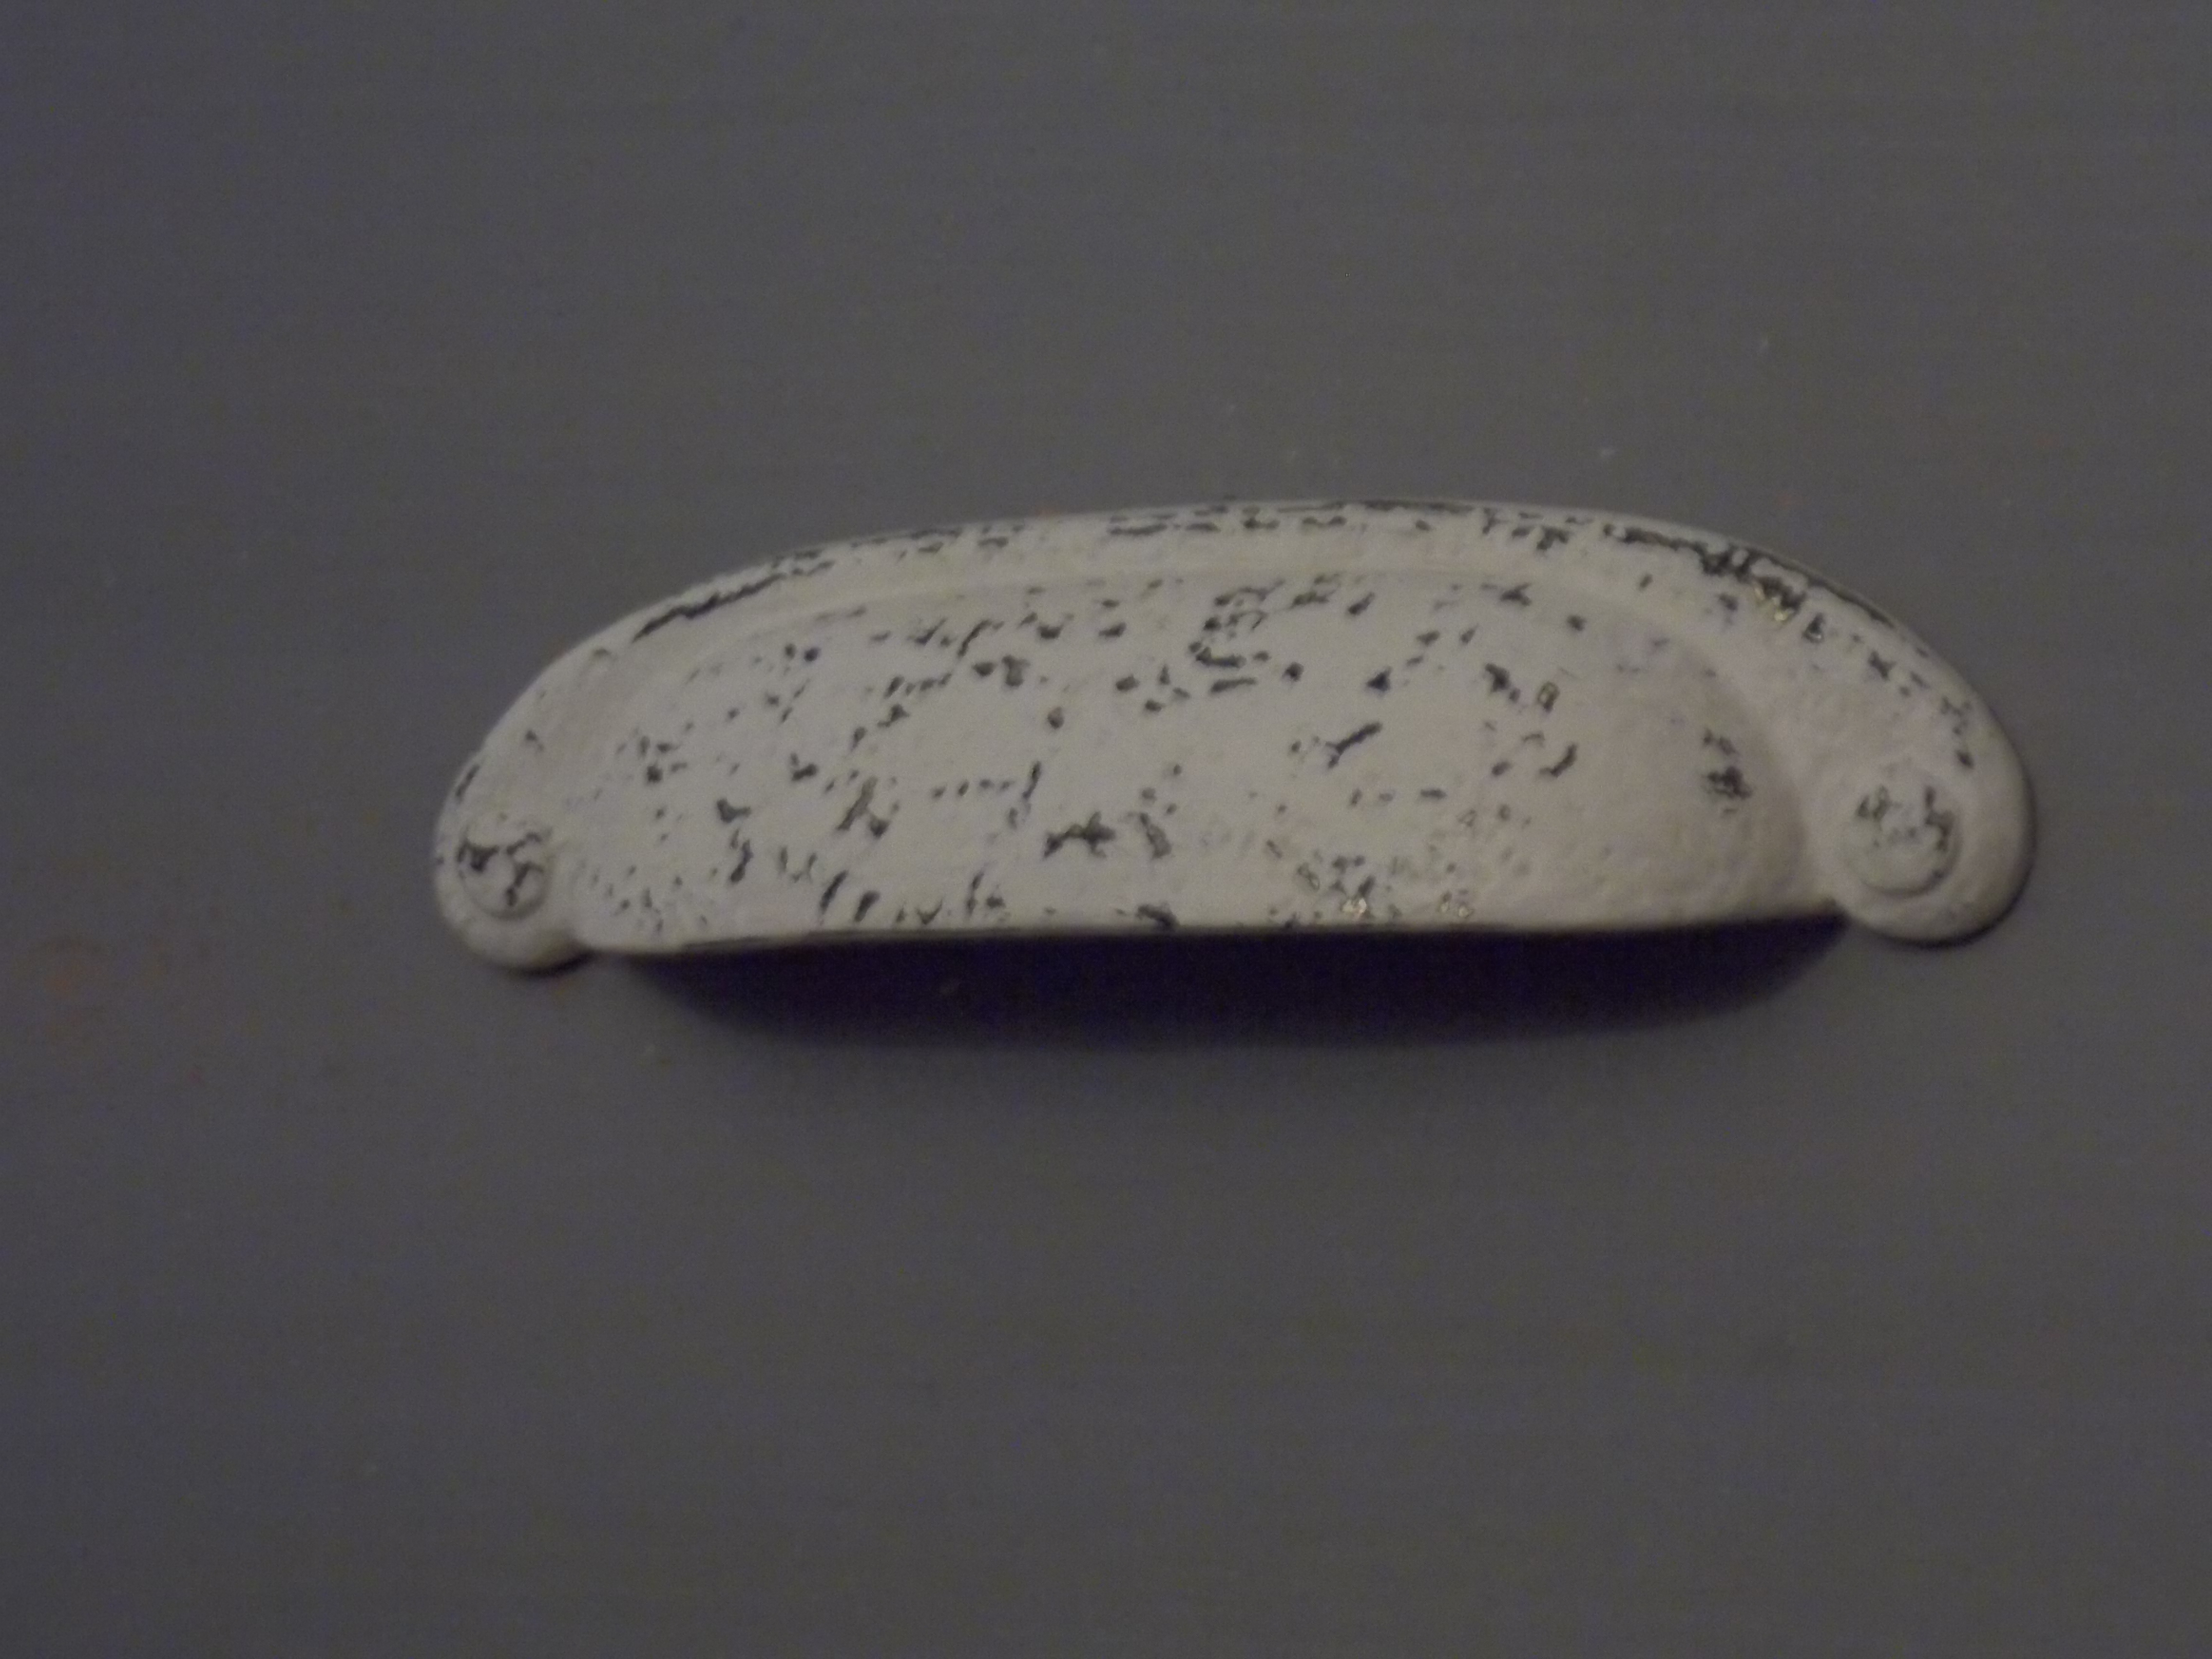
She did a wonderful job on both pieces. I custom mixed some paint in a light grey tone and away she went. She also decided that the night stand could use a new handle and chose a cup style handle instead which she painted in antique white and then lightly distressed.

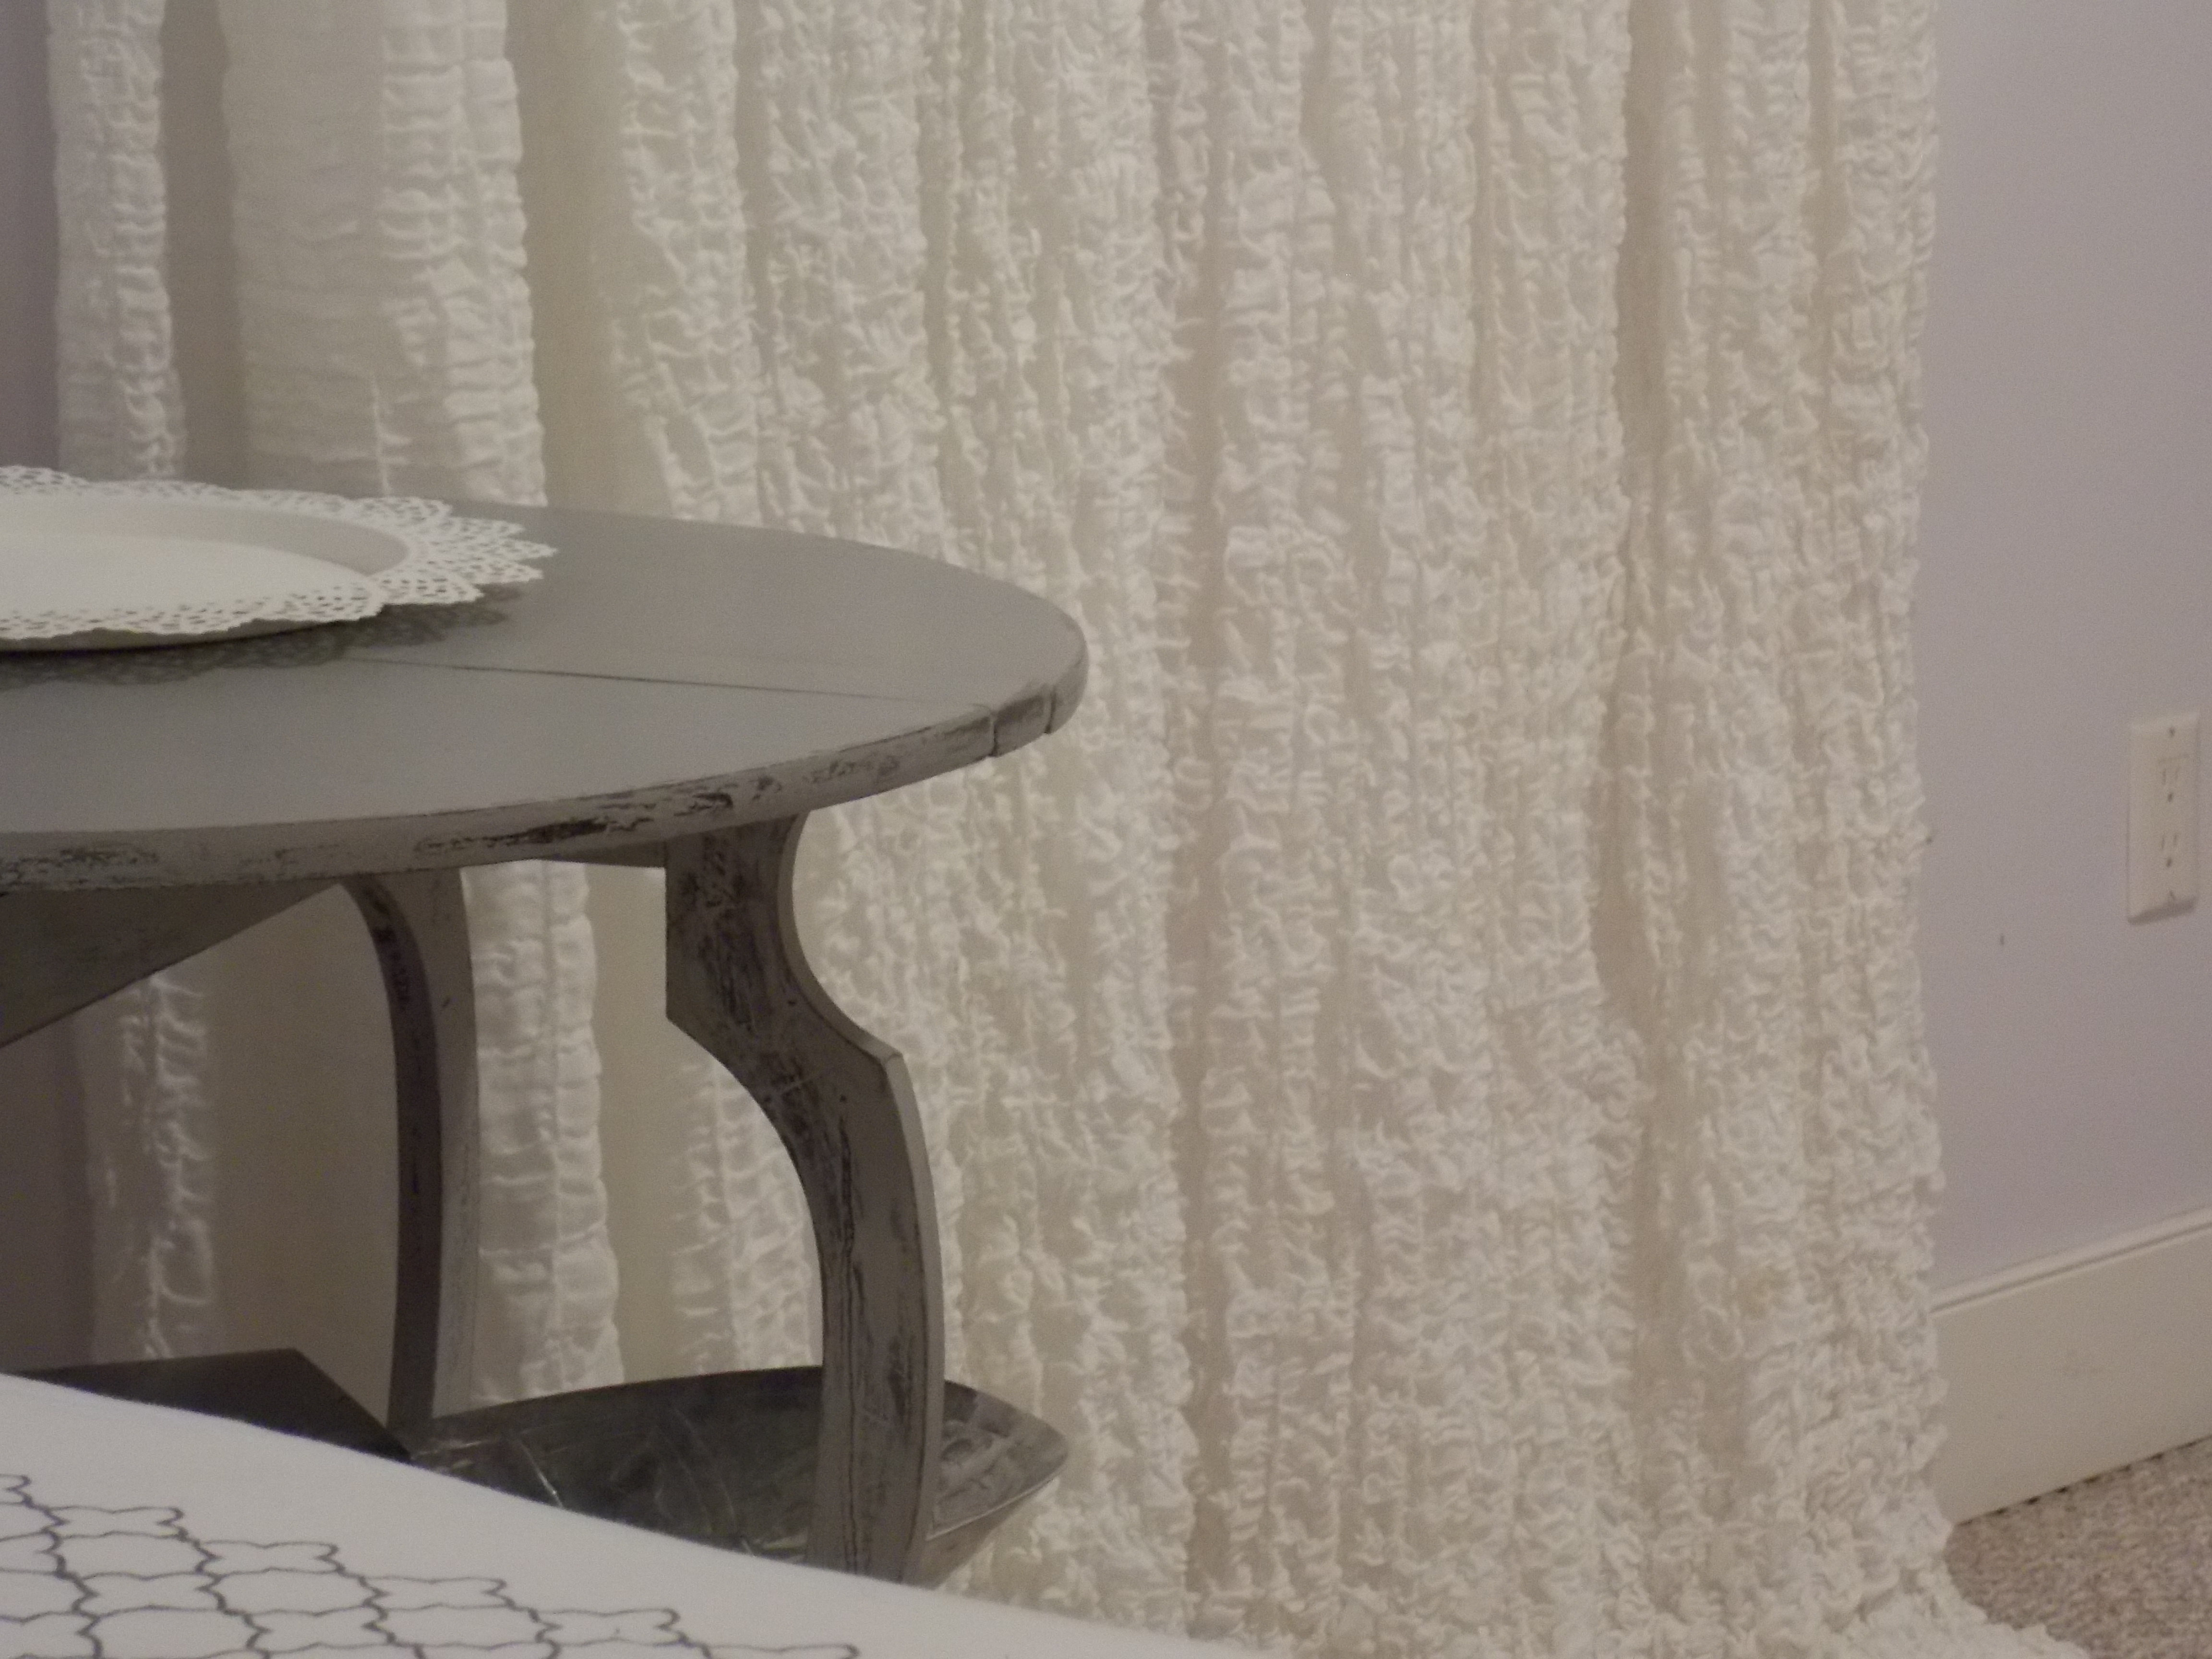
The antique table is actually a drop leaf table and both sides fold down so the table can be stored away flat. I like the curves of it’s legs giving it a bit of uniqueness without being overly formal.
This piece was painted with the same color chalk paint and distressed. The legs were distressed a little heavier than the top in order to draw attention to the table’s character. Both this table and the night stand were finished with clear wax over all surfaces.


While we had the paint out I had the idea of making some wall art for above the head of her bed. She doesn’t have a headboard so I thought this might help fill the void at the head of the bed on her wall.
Faith is a girl after her own father’s heart and loves hunting … what girl doesn’t right? LOL! Well every hunting loving girl should have her own set of antlers hanging above her bed! We joined together some left over wood from our laundry room walls with screws. Then she randomly dry brushed 3 different colors of chalk paint (black, our custom grey color and antique white) onto the boards creating a beautiful rustic look on the wood. She sanded it lightly to blend the colors together better.
Now we were ready for antlers. I decided to give up my antlers that I had painted white a while ago. (see that post here) I have to say, they look much better suited to this heavy looking backdrop than they did in that little frame. This project turned out rather elegant looking and more importantly, Faith loves them in her room!


The only thing we are missing now are curtains and some accent lighting. For the curtains I decided to scrounge around my storage room to see what we could recycle. We came across some accent throws that all three of my girls used to have on their beds at one time. They were white and frilly looking and feminine … perfect contrast to the masculine antler wall art. I folded two blankets in half and hung them with curtain rings that have clips on them. They make for perfect no sew curtains and if we choose to use them in the future for accent throws we can.


Now that we have curtains how about some over sized accent lighting to add to the drama of the antlers…
Of course in my thrifting travels I have come across some really good finds … this is one of them! I love the curves and the antique looking finish of this 6 light chandelier. It has gold, silver and bronze accents on the metal and goes well with the white/grey theme of the room.
Because it is meant to be an actual wired in light fixture, I had to change the wiring to be that of a plug in type lamp. When we move we would like it to come with so this is perfect and doesn’t make it permanent in her room.
I have two of these chandeliers and originally had planned to put one on either side of her bed, but the other one is currently for sale in my booth and I think that it looks better in her room with just one.


It hangs from the ceiling with a heavy duty hook and the cord is hidden behind the wall art and runs down the wall to an outlet behind the bed. Depending on how bright or dim she wishes to have the room, she just loosens some of the light bulbs.


On the other side of the bed we added an accent chair that could also play night stand if needed as it is a wrought iron chair from a small bistro patio set I have. Just because it was made for the outdoors doesn’t mean it HAS to be used outdoors … plus, it was the right color and style for the look we were building :0)
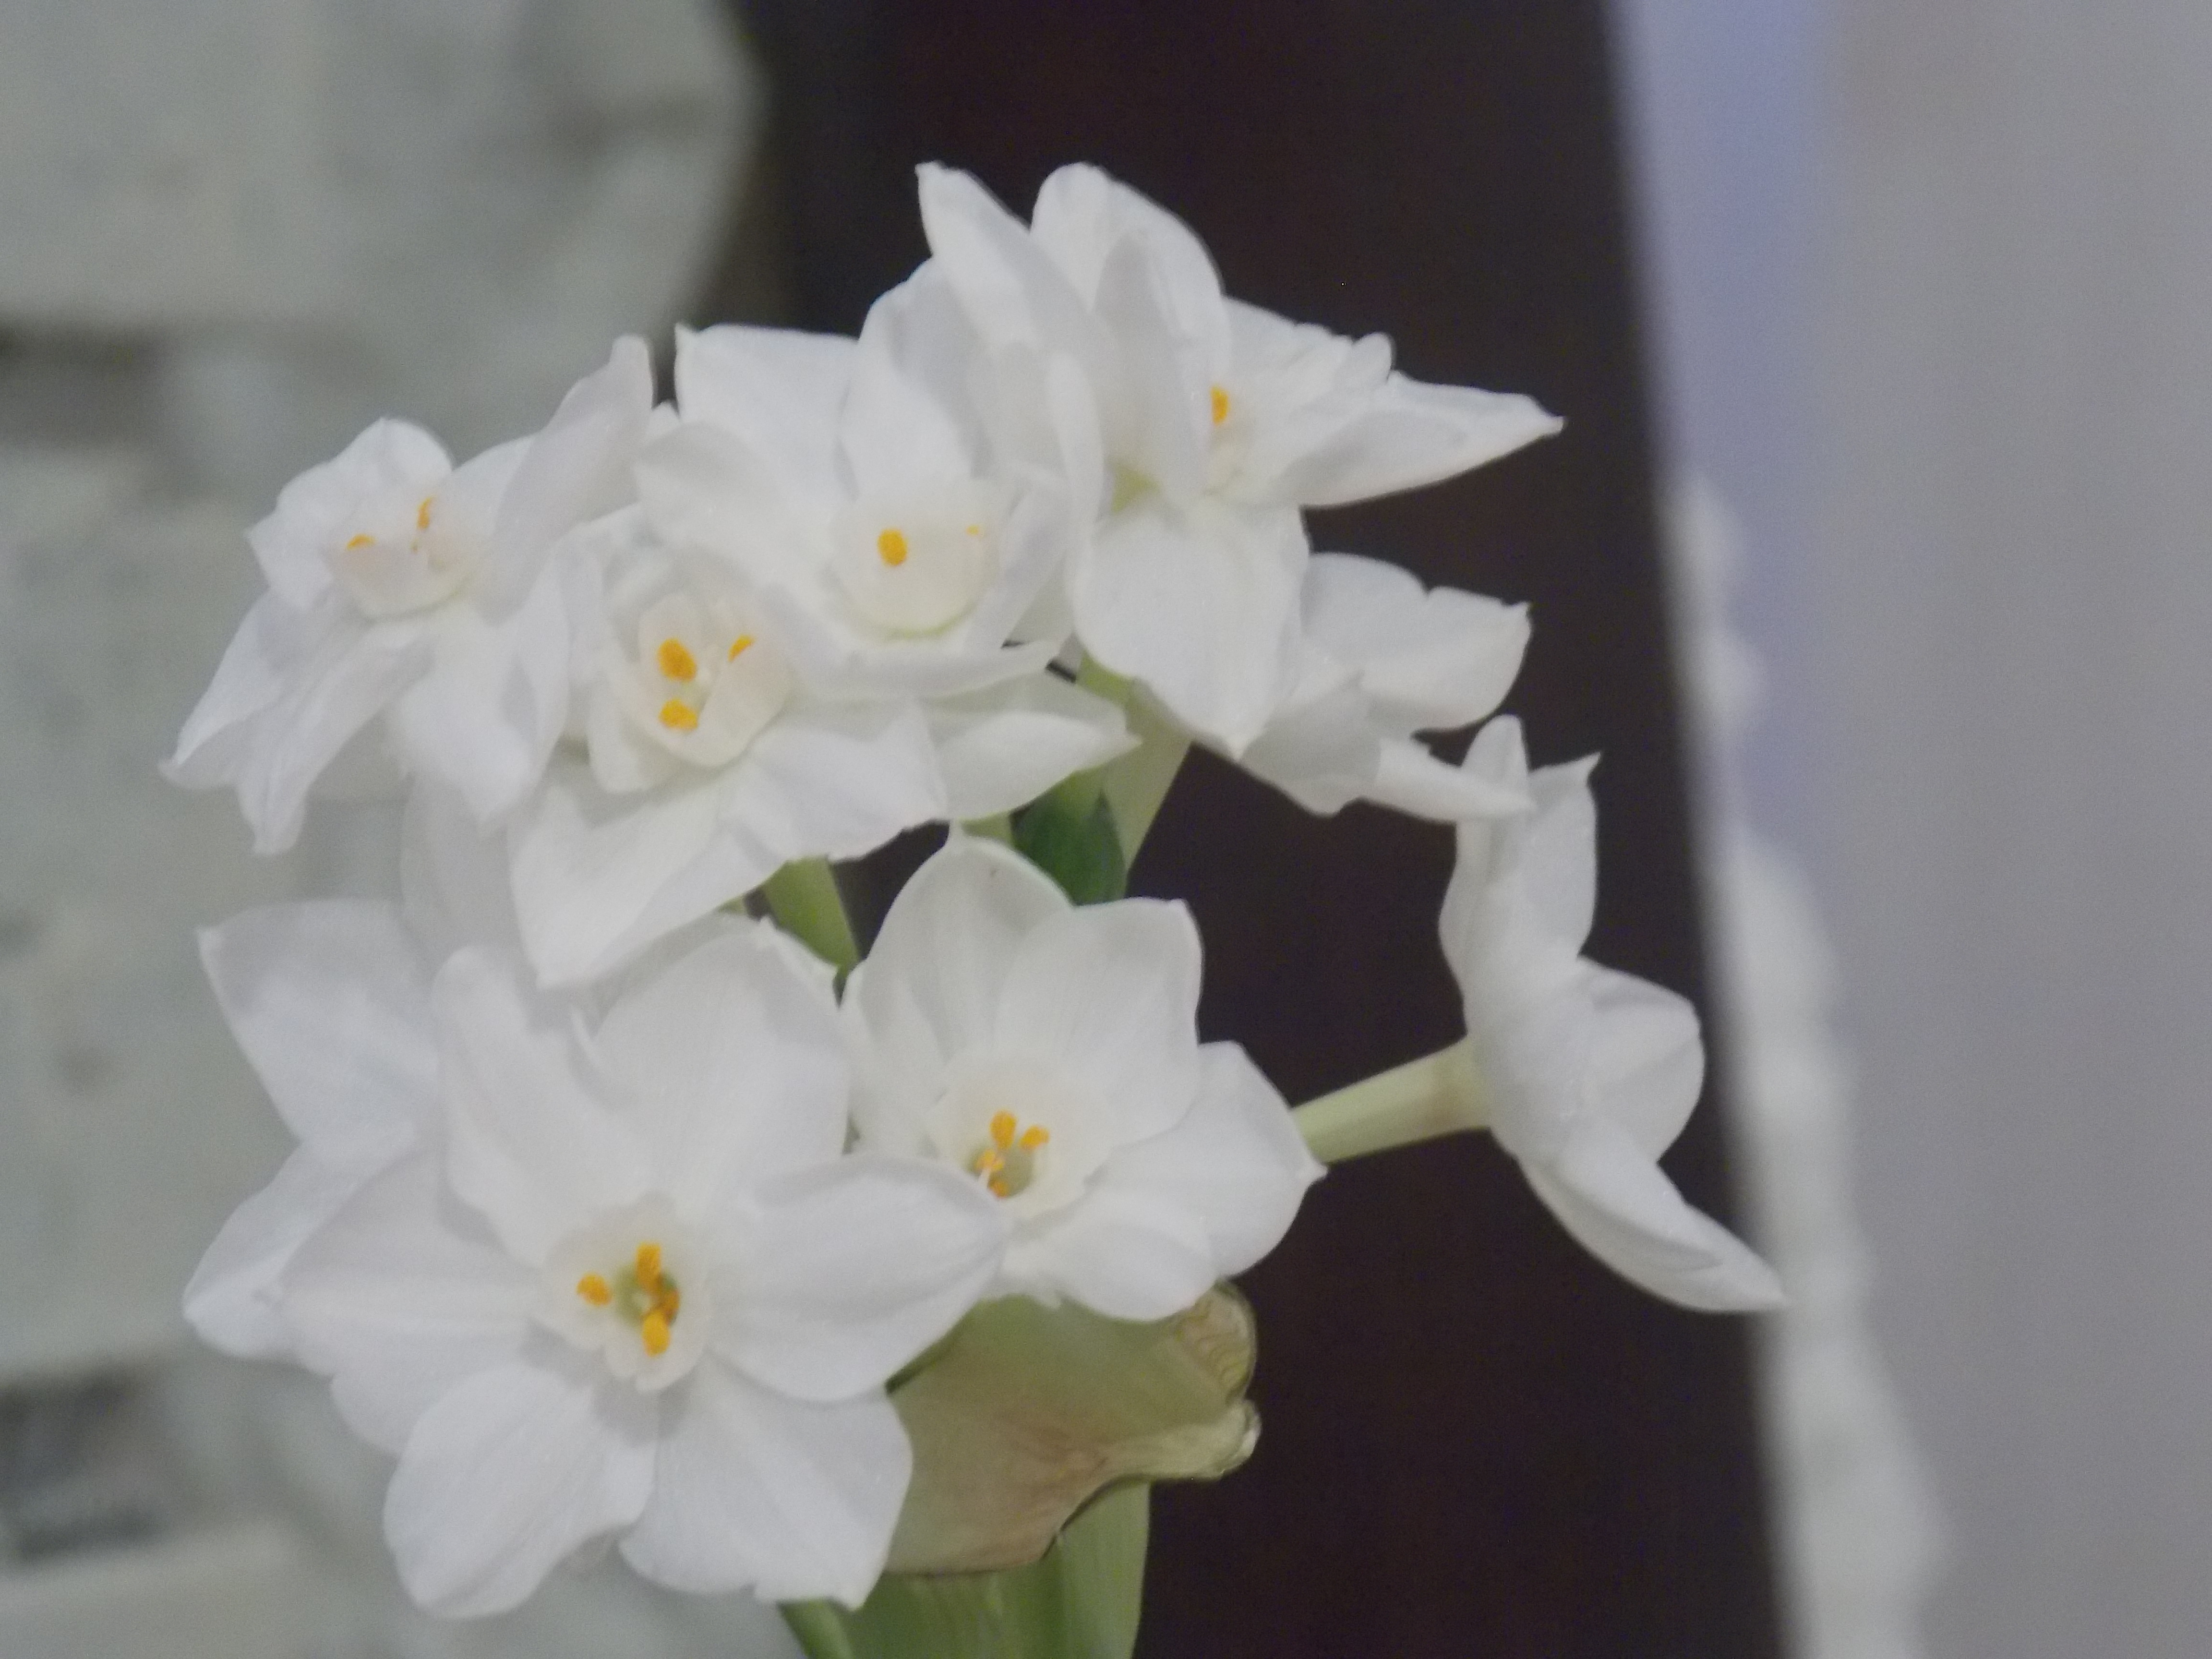
We also used a old ceramic planter filled with dead branches from the bushes behind our house. We steadied them in the pot by filling the pot with old wine corks. A few silver balls and some glittery gold birds decorate the bare branches.


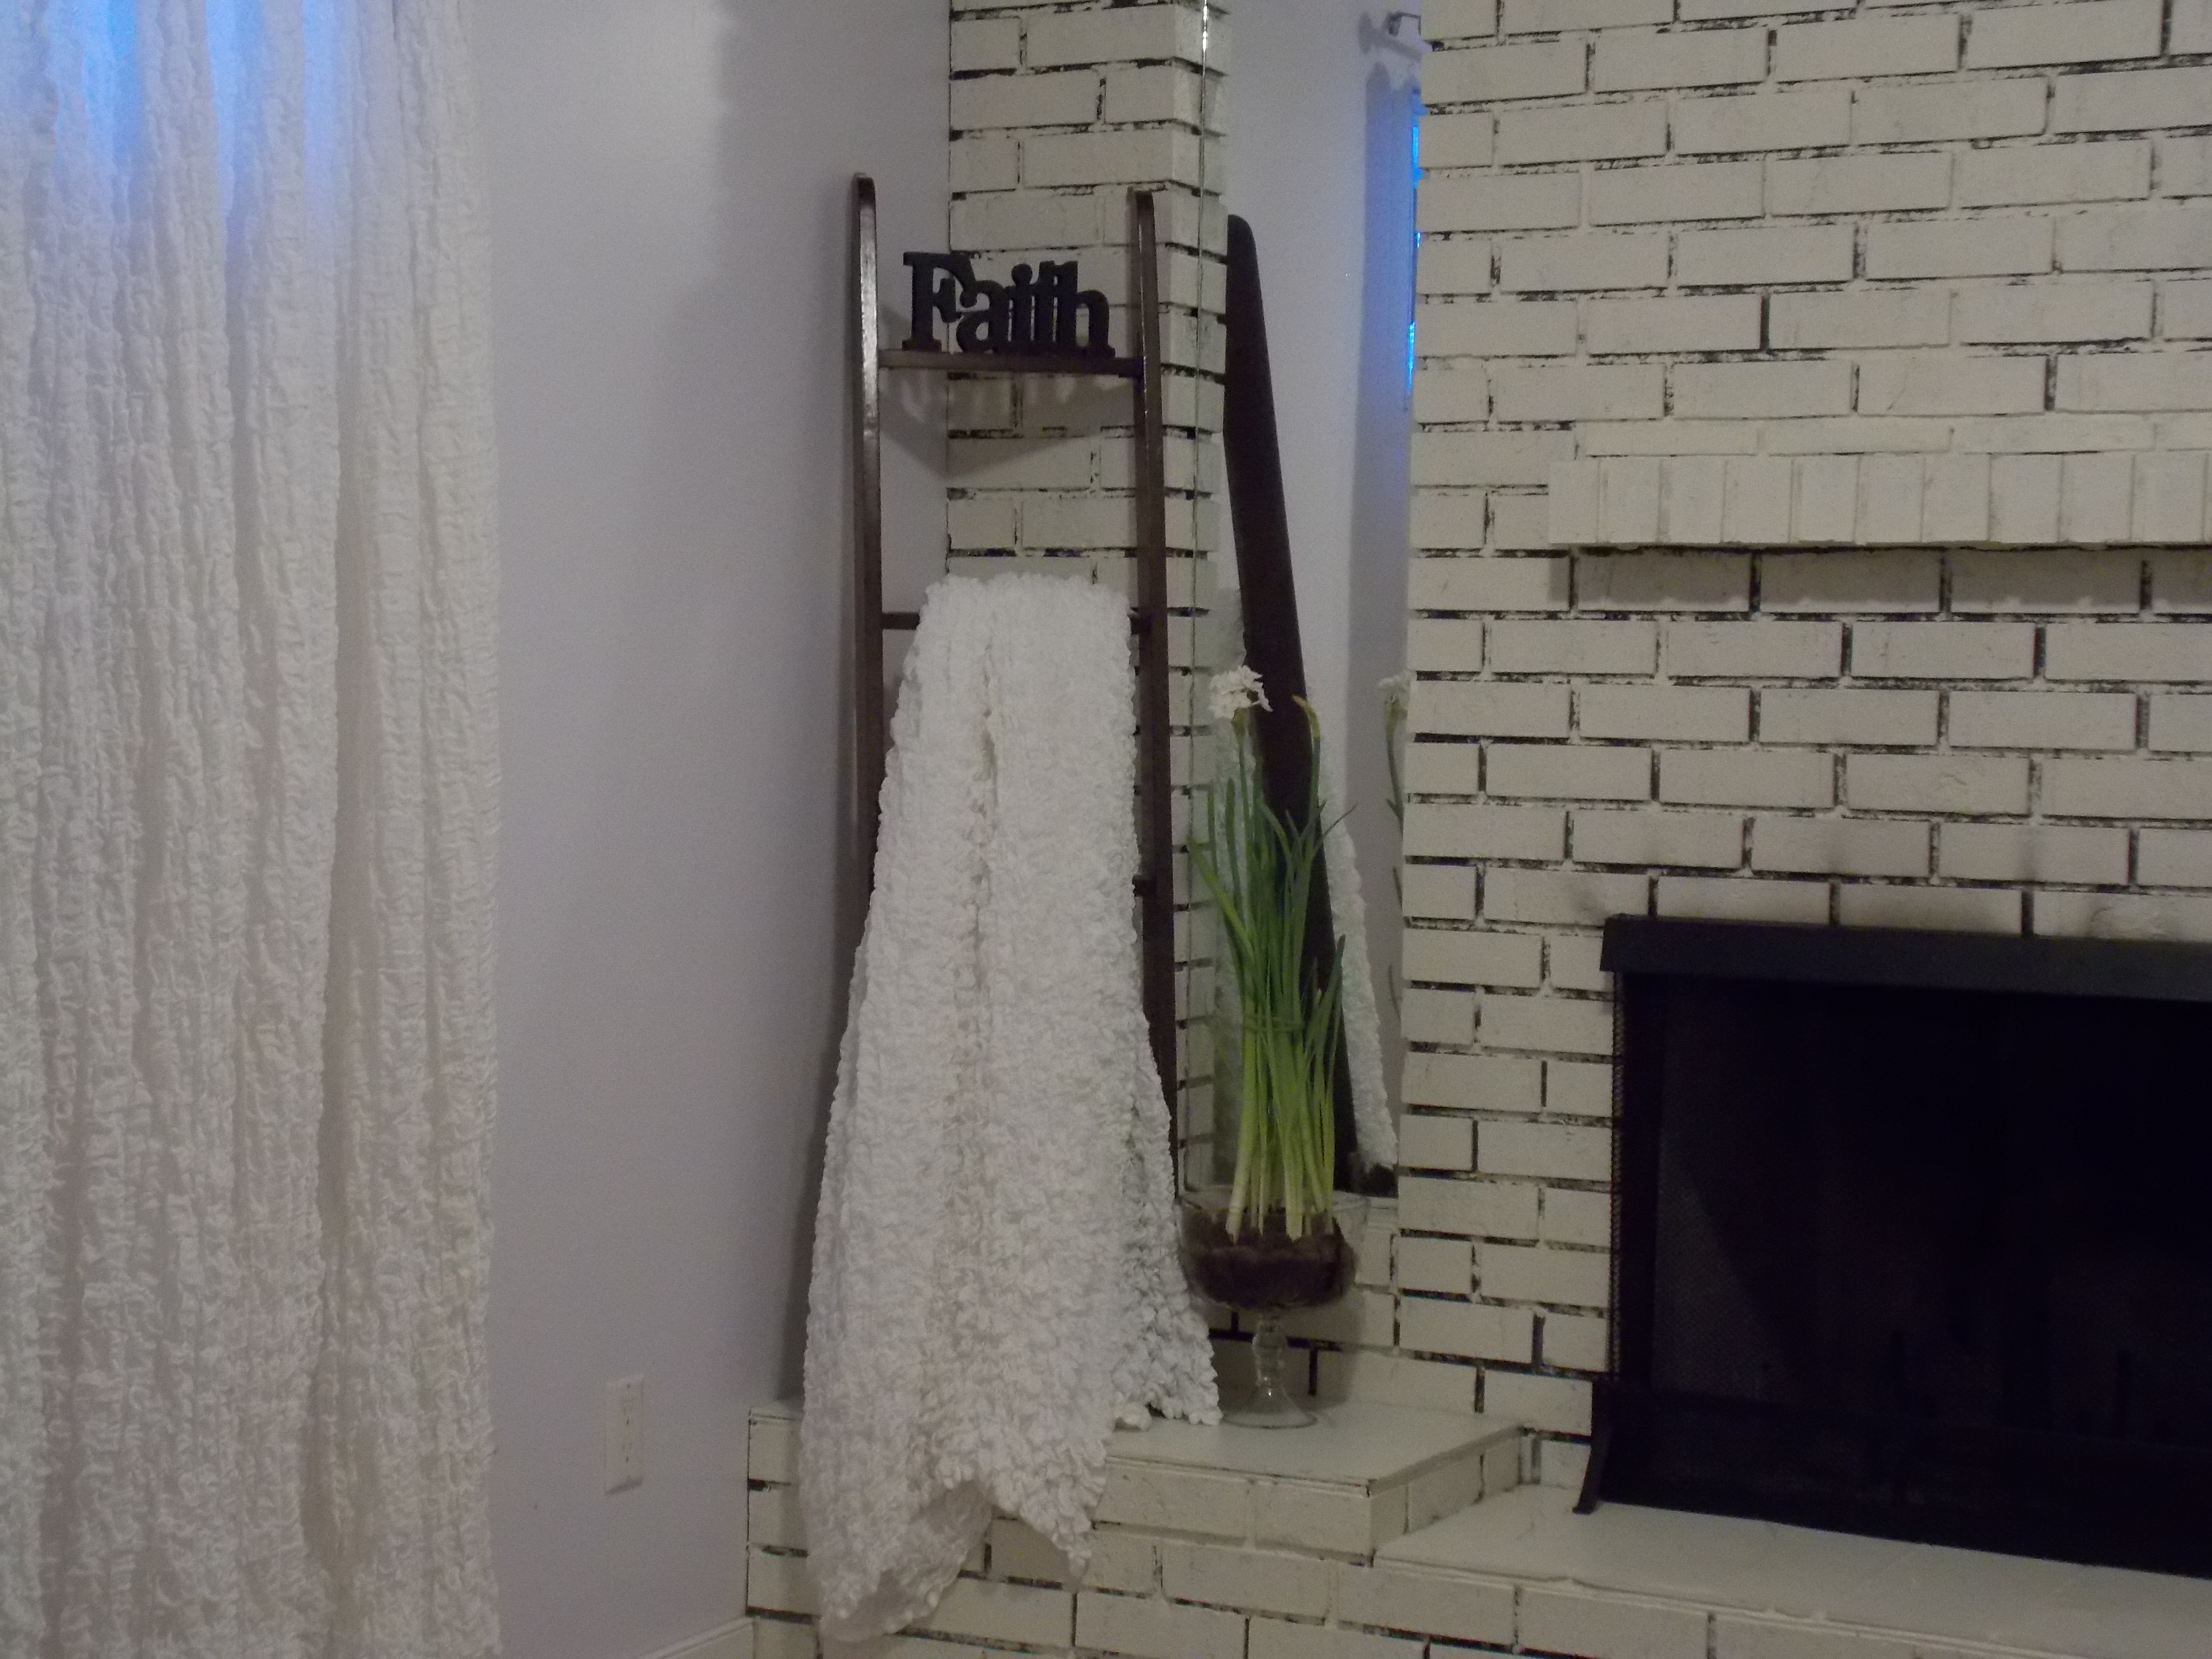
Left over throws were used to accent the bedding and one was draped over a old bunk bed ladder and adds a little more “softness to the overall look. The placement of the paper whites I grew for Christmas look pretty paired with the ruffled blanket.

This room looks so soft and serene. It is a relaxing place for her to come home to after a hard day at school or work. Every one wants to be in there now. It has gone from miss matchy to elegant and grown up and classy! The only cost was for the bedding set for $119.00 at Home Sense. Everything else we had in the house or in the garage…
After…


By unifying the colors in her room we were able to create a inviting space. We got rid of the clutter of sporty items and the collections of things like a pop bottle with her name on it etc. … She still has those things, she just doesn’t decorate her room with them anymore… YEAY!!! Oops! Did I just type that out loud? :0)
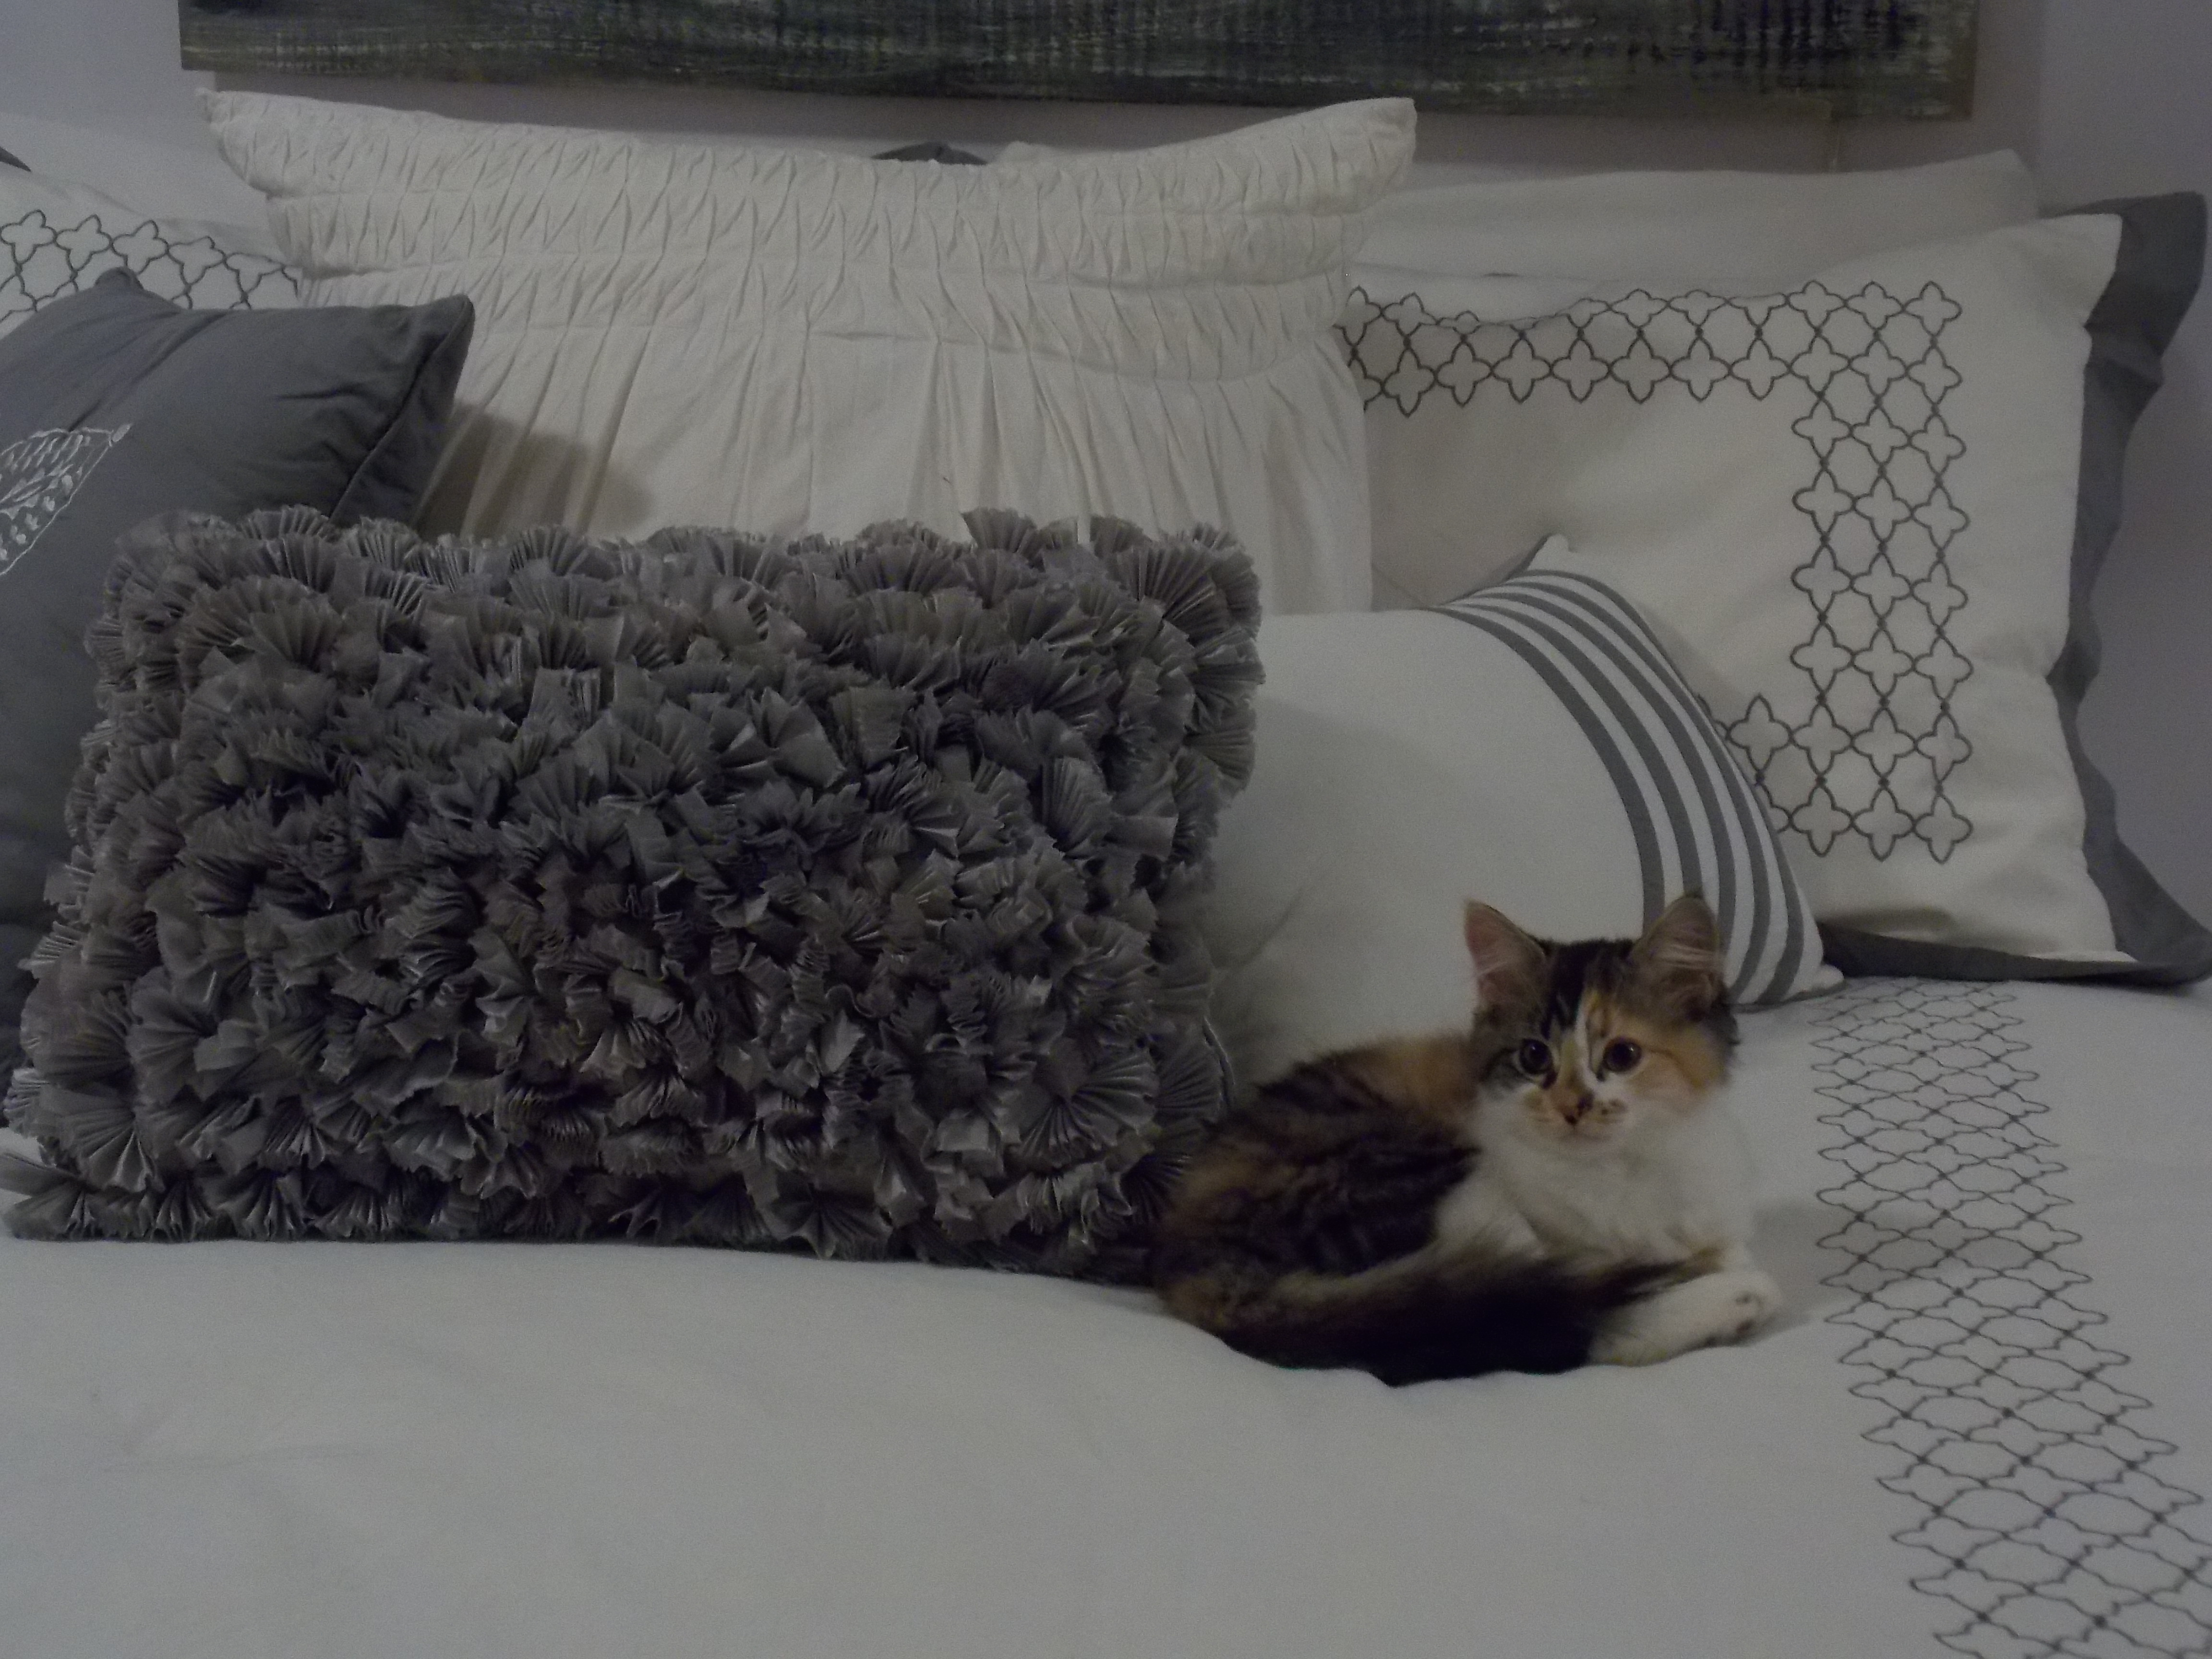
As with most of my posts there is usually at least one photo bomber…
I Love that this room barely cost anything to make over. All I had to do was look around our own home and re purpose a few things and the results were awesome! It’s amazing what a little paint can do. We did not paint the pale lavender walls but I think it works with the room. Of course she is still a teenaged girl and hasn’t quite mastered the entire concept of neatness…
This is one tiny corner of the room that still houses a bit of the past… but the make over for this desk is for another post…

All this decorating is exhausting!

I hope you have an amazing week!
Smiles!
Terry
Linking up to:
Miss Mustard Seed’s Furniture Feature Friday
Stephanie Lynn’s Sunday Showcase


Nicely done and way to pass the torch!
LikeLike
Why thank you! After all the sanding and buffing she says to me “Mom, I don’t know how you do this all the time!” I think she’s done for a while :0)
LikeLike
That sounds about right, lol!
LikeLike
I love this room, i’d have loved that room when i was 15, who am i kidding… I’d love it NOW! I’ll take the cat too please… Have a good week.
LikeLike
Thank you for the nice compliments! I’d love her room as well… pretty bad when a 15 year old has a nicer room than their parents lol!
Smiles!
Terry
LikeLike
Very very nice and good odea for including her in the process!!
LikeLike
This is great! Thank you for sharing!
LikeLike
Thank you, and thank you for stopping by. I hope you visit again :0)
Have a nice weekend!
Smiles!
Terry
LikeLike
Beautiful job! It is so nice that your daughter had a part in creating the space. You are teaching her well!
LikeLike
Thank you Jamie! I really enjoyed the bonding time with her. Thank you for stopping by and for hosting the party each week, I look forward to seeing all the inspiration posted :0)
Smiles!
Terry
LikeLike