It Was Time To Lighten Up! | 70’s China Cabinet Makeover
11August 4, 2015 by Terry

H E A V Y ! … outdated, dark and damaged.
I believe the previous owner was using it at one time as a media center rather than a china cabinet. Hence all the poorly drilled holes in the back of it.
I purchased this piece from a neighbor that was moving. They had a yard sale one weekend that was actually opened to their entire house. Just go in, browse, find something you liked and make an offer. I told my neighbor that if the cabinet hadn’t sold by the time her sale was finished that I would purchase it from her … clearly it didn’t sell.
This piece is probably the largest and heaviest cabinet I have made over. I started by removing all the doors and hardware. Gave it a good sanding and cleaning and removed the back cover panel. Then I started with painting the hutch.
I chose Milk Paint in the color Marzipan (MMS Milk Paint)
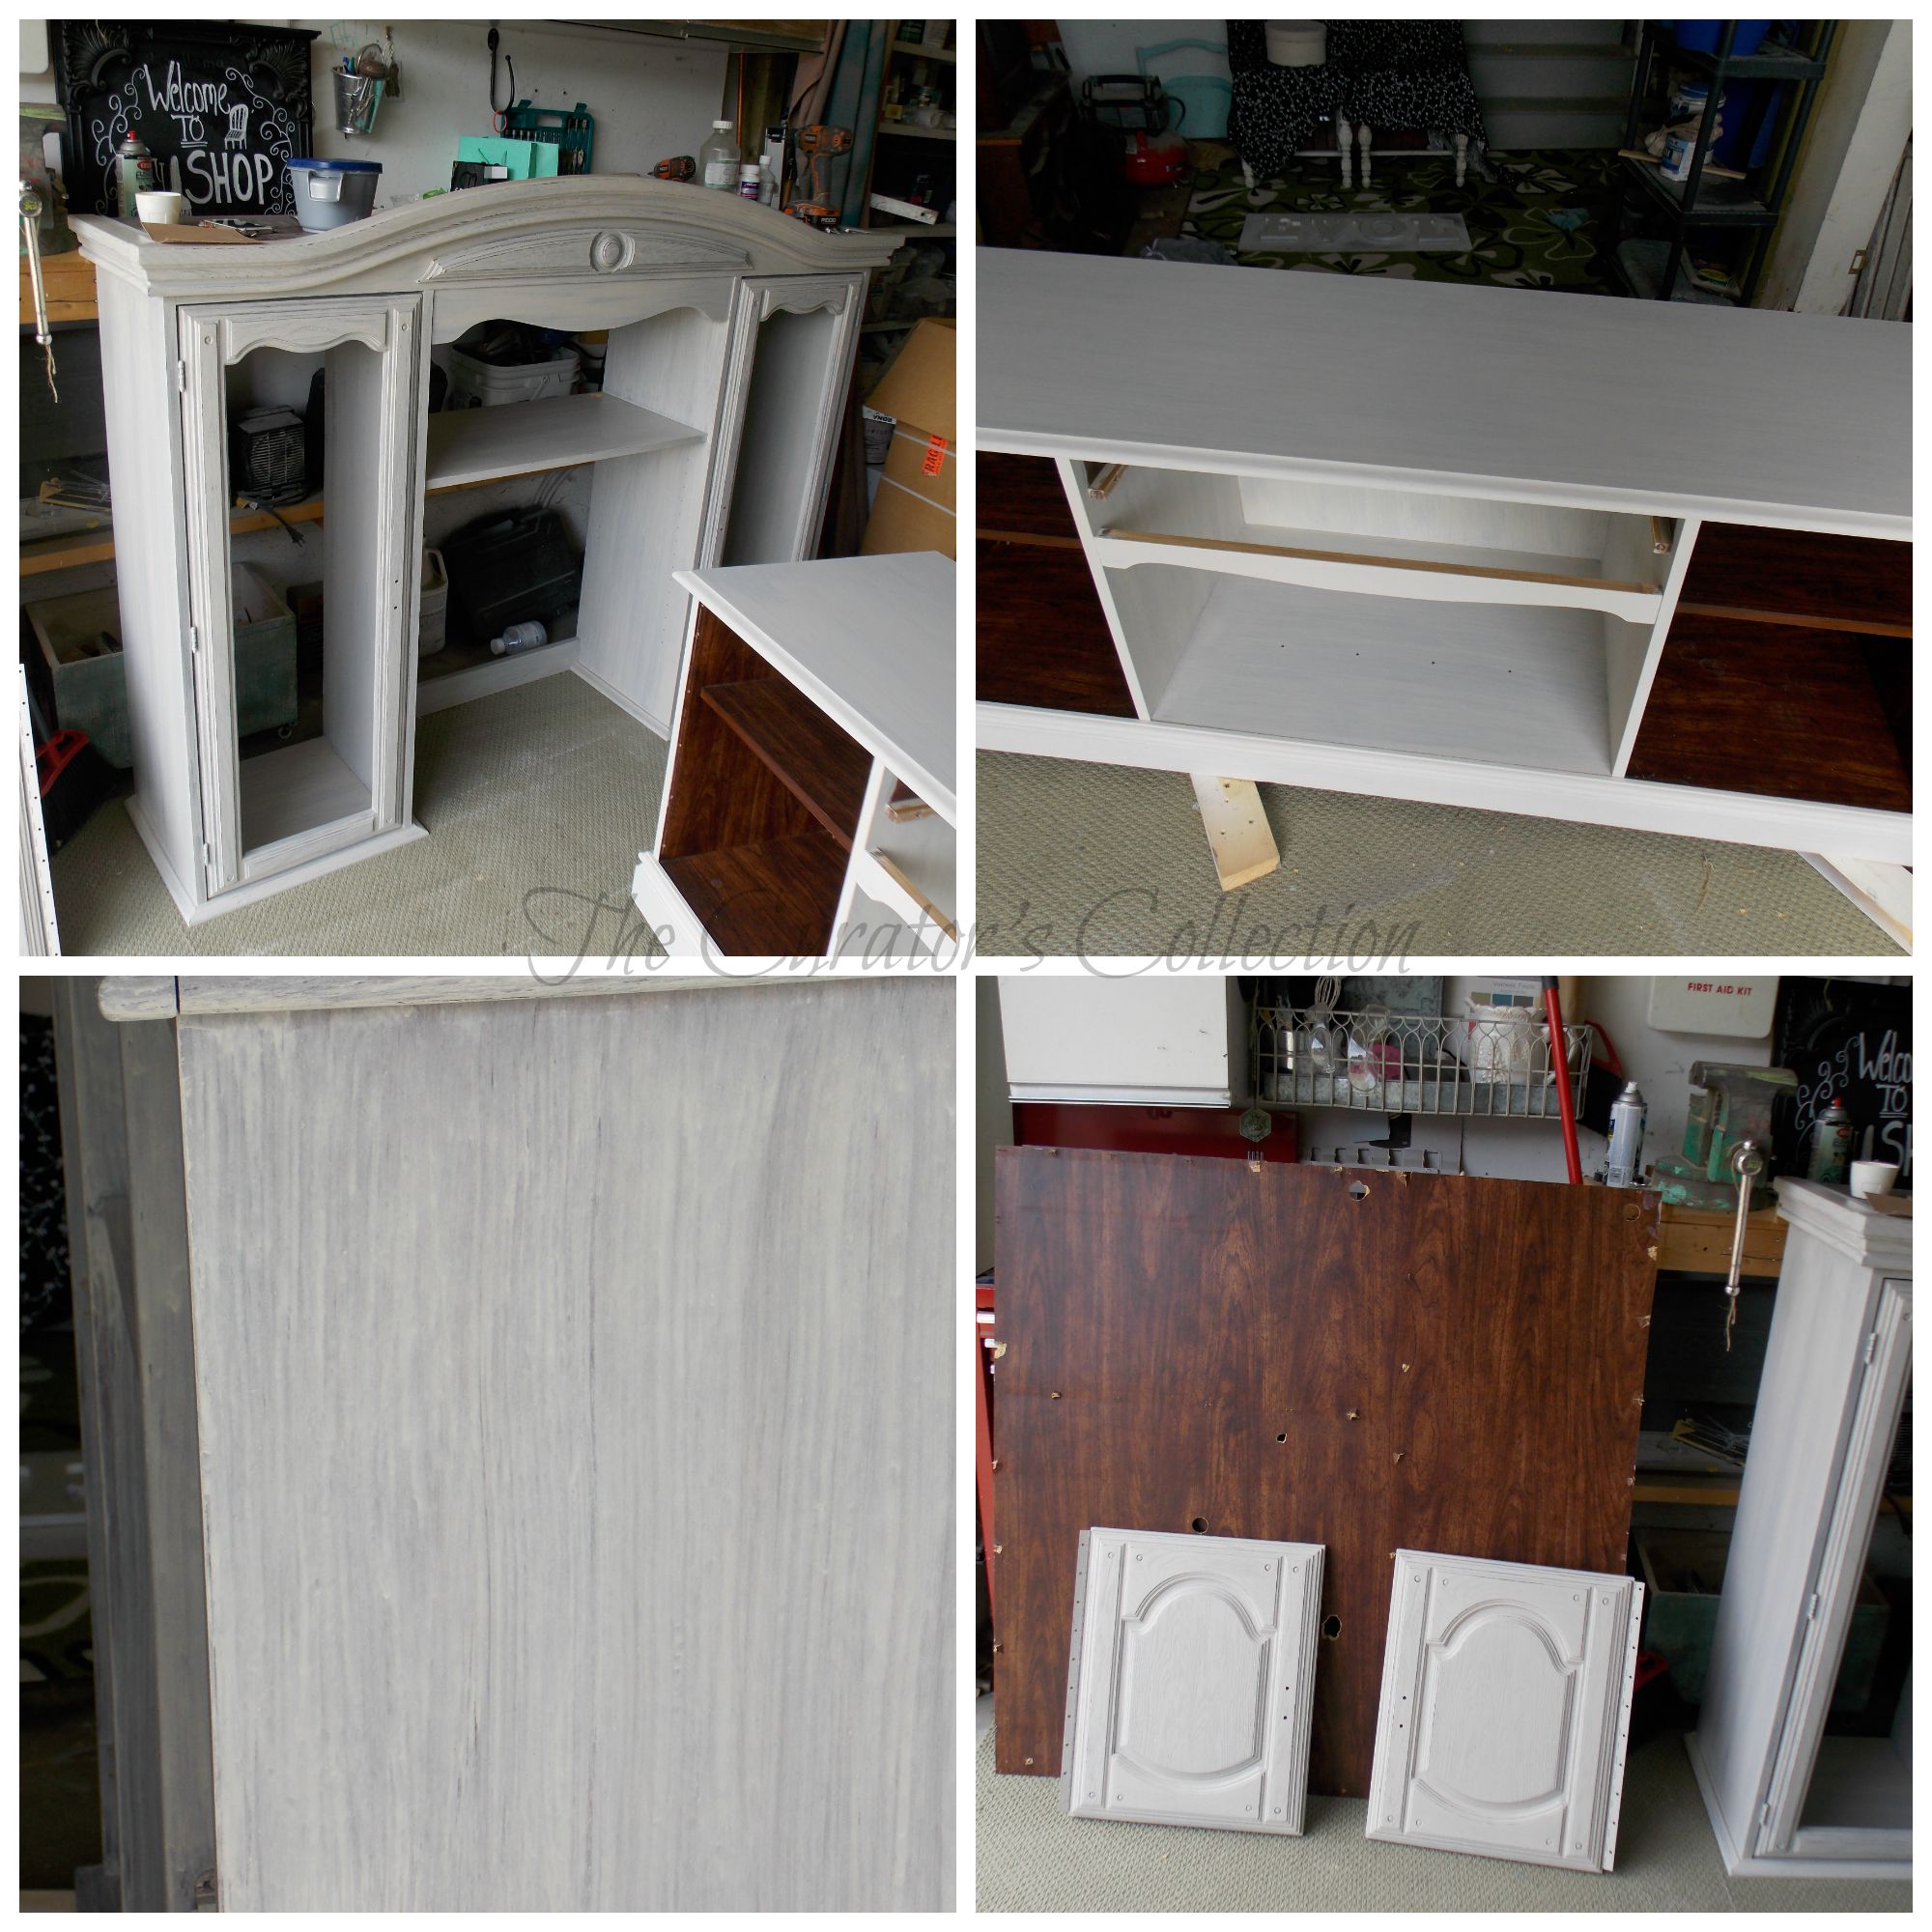 I decided that this was not a style of furniture that could pull off the chippy paint look so I did add bonding agent to the paint when mixing it. This way I could distress it just along the edges of any raised details on the piece.
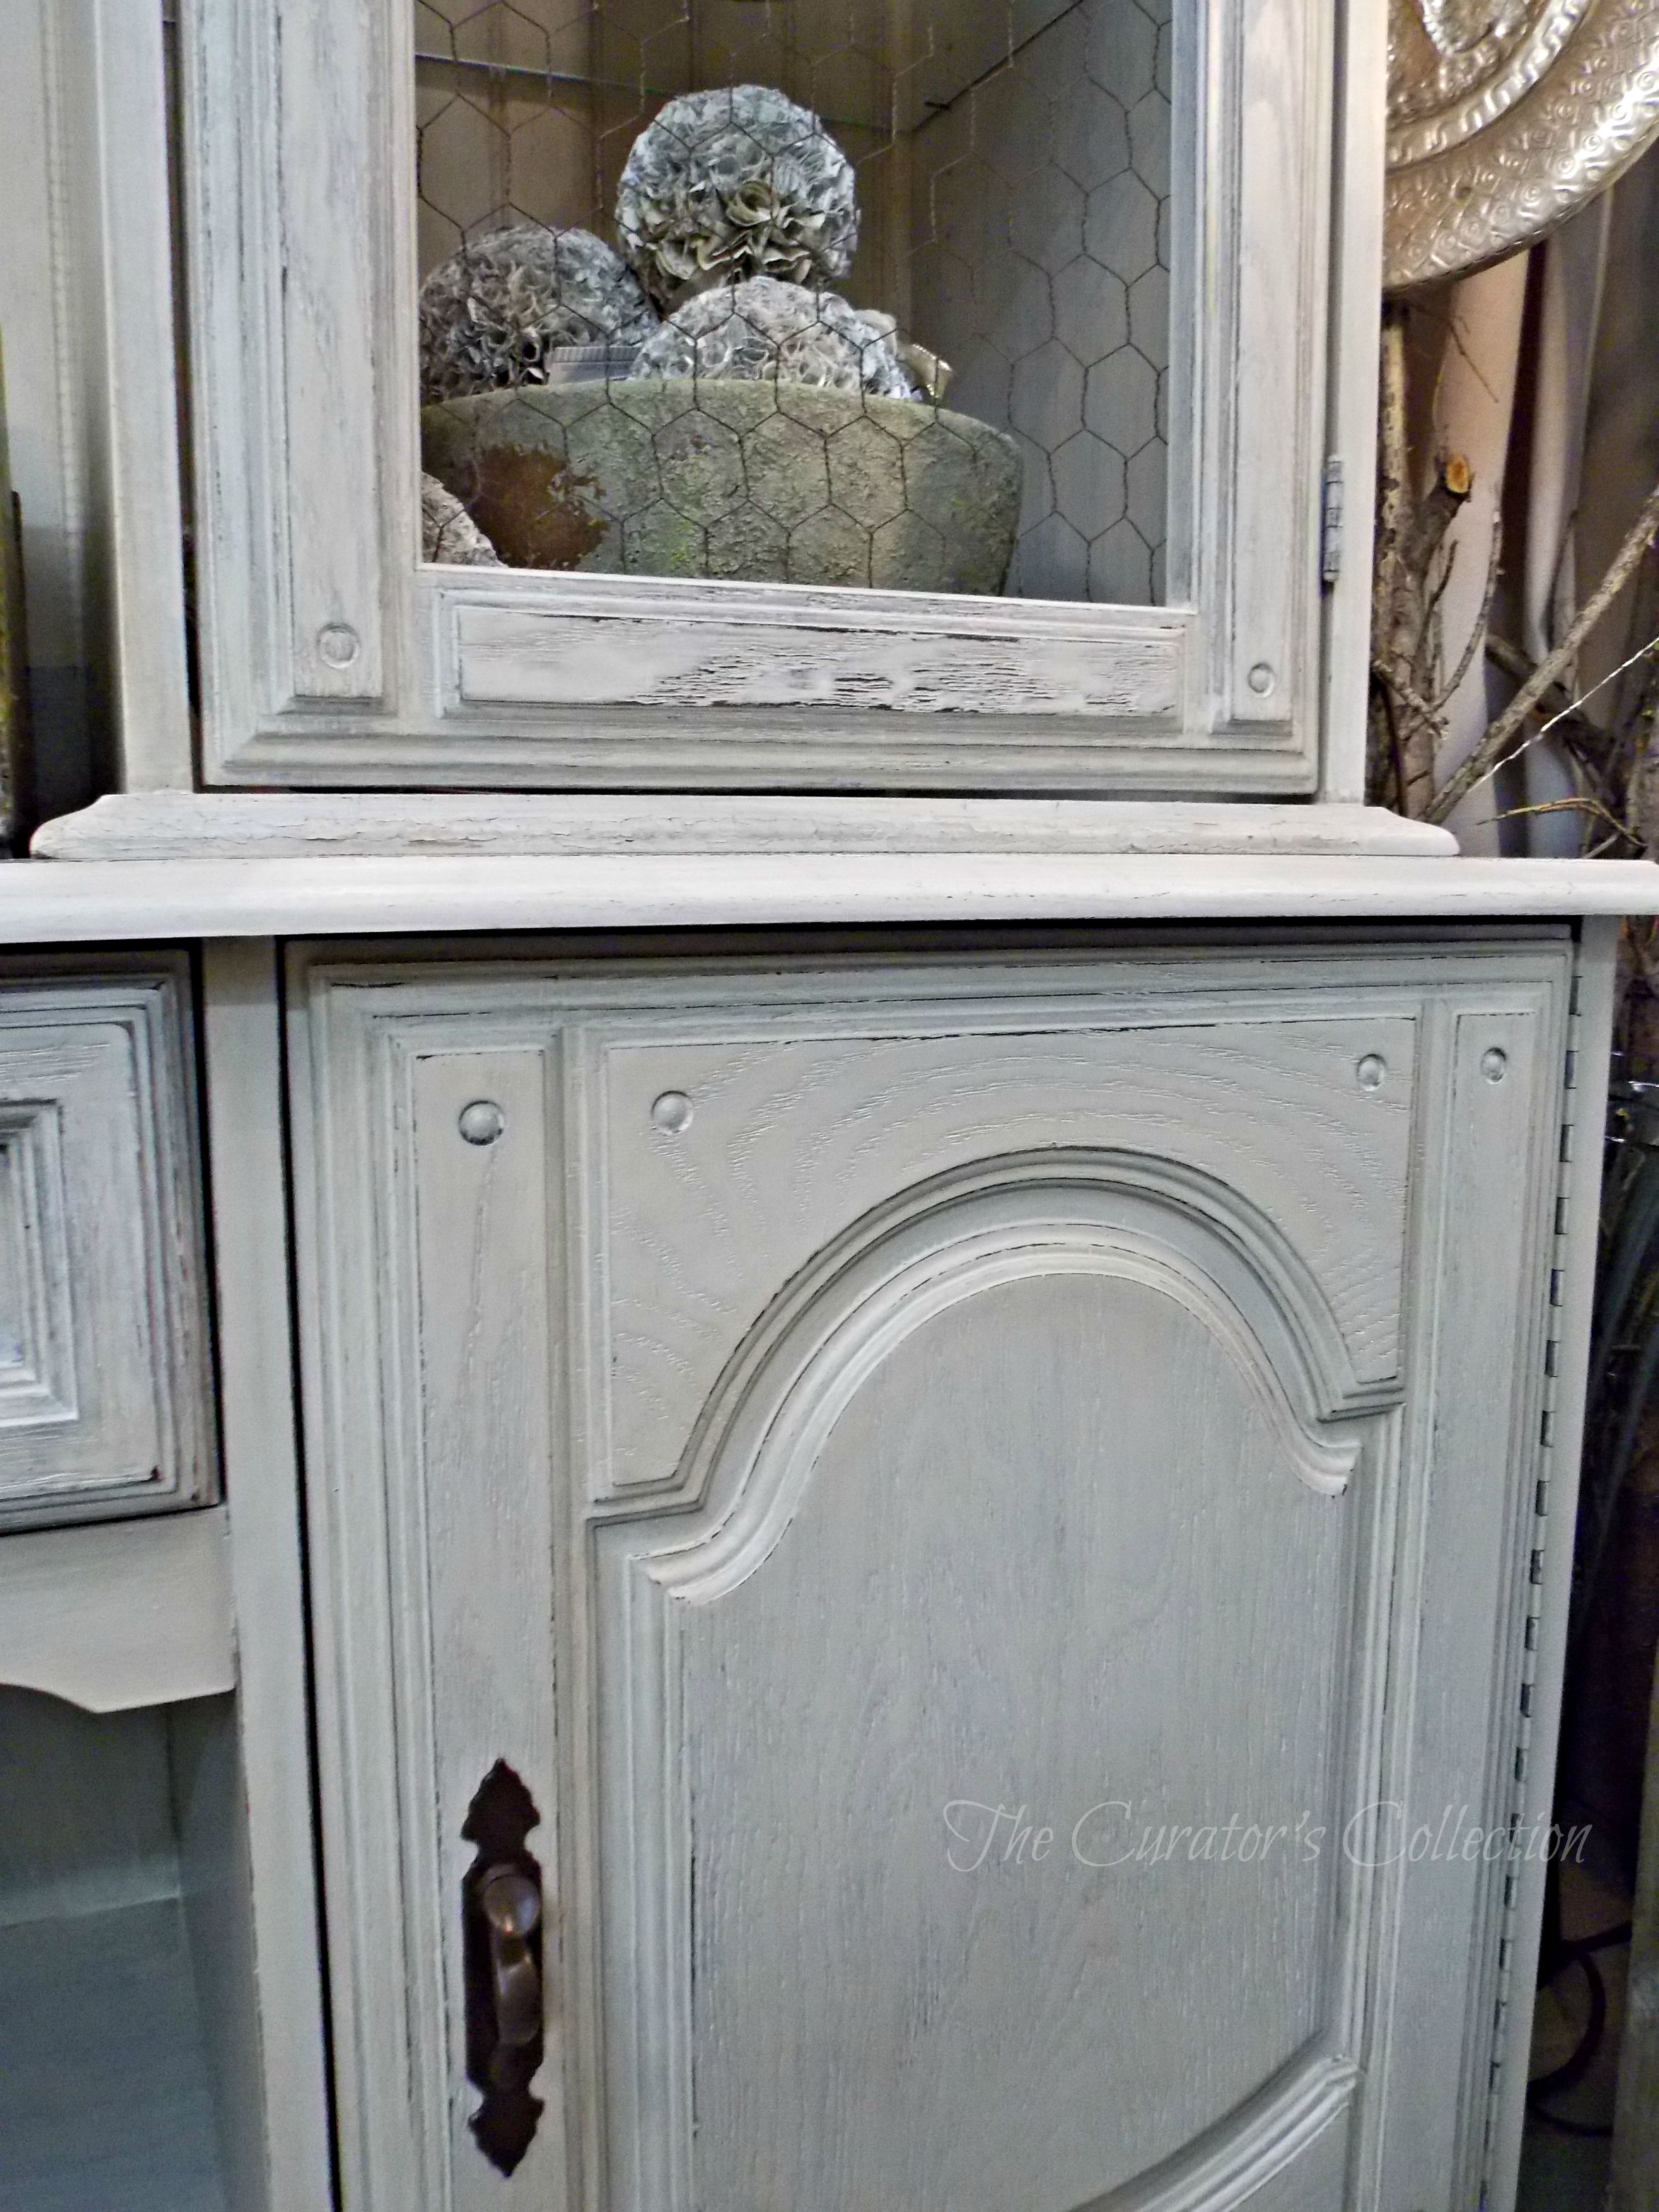
After it was all painted I went over the entire piece with 400 grit sandpaper making it silky smooth. Then I wiped the whole cabinet down with hemp oil. I let it sit overnight and wiped it down again with a soft cloth to absorb any excess oil. Then I went over it again with a hint of antiquing wax to compliment the distressed edges and bring out the dark tones from the original finish.
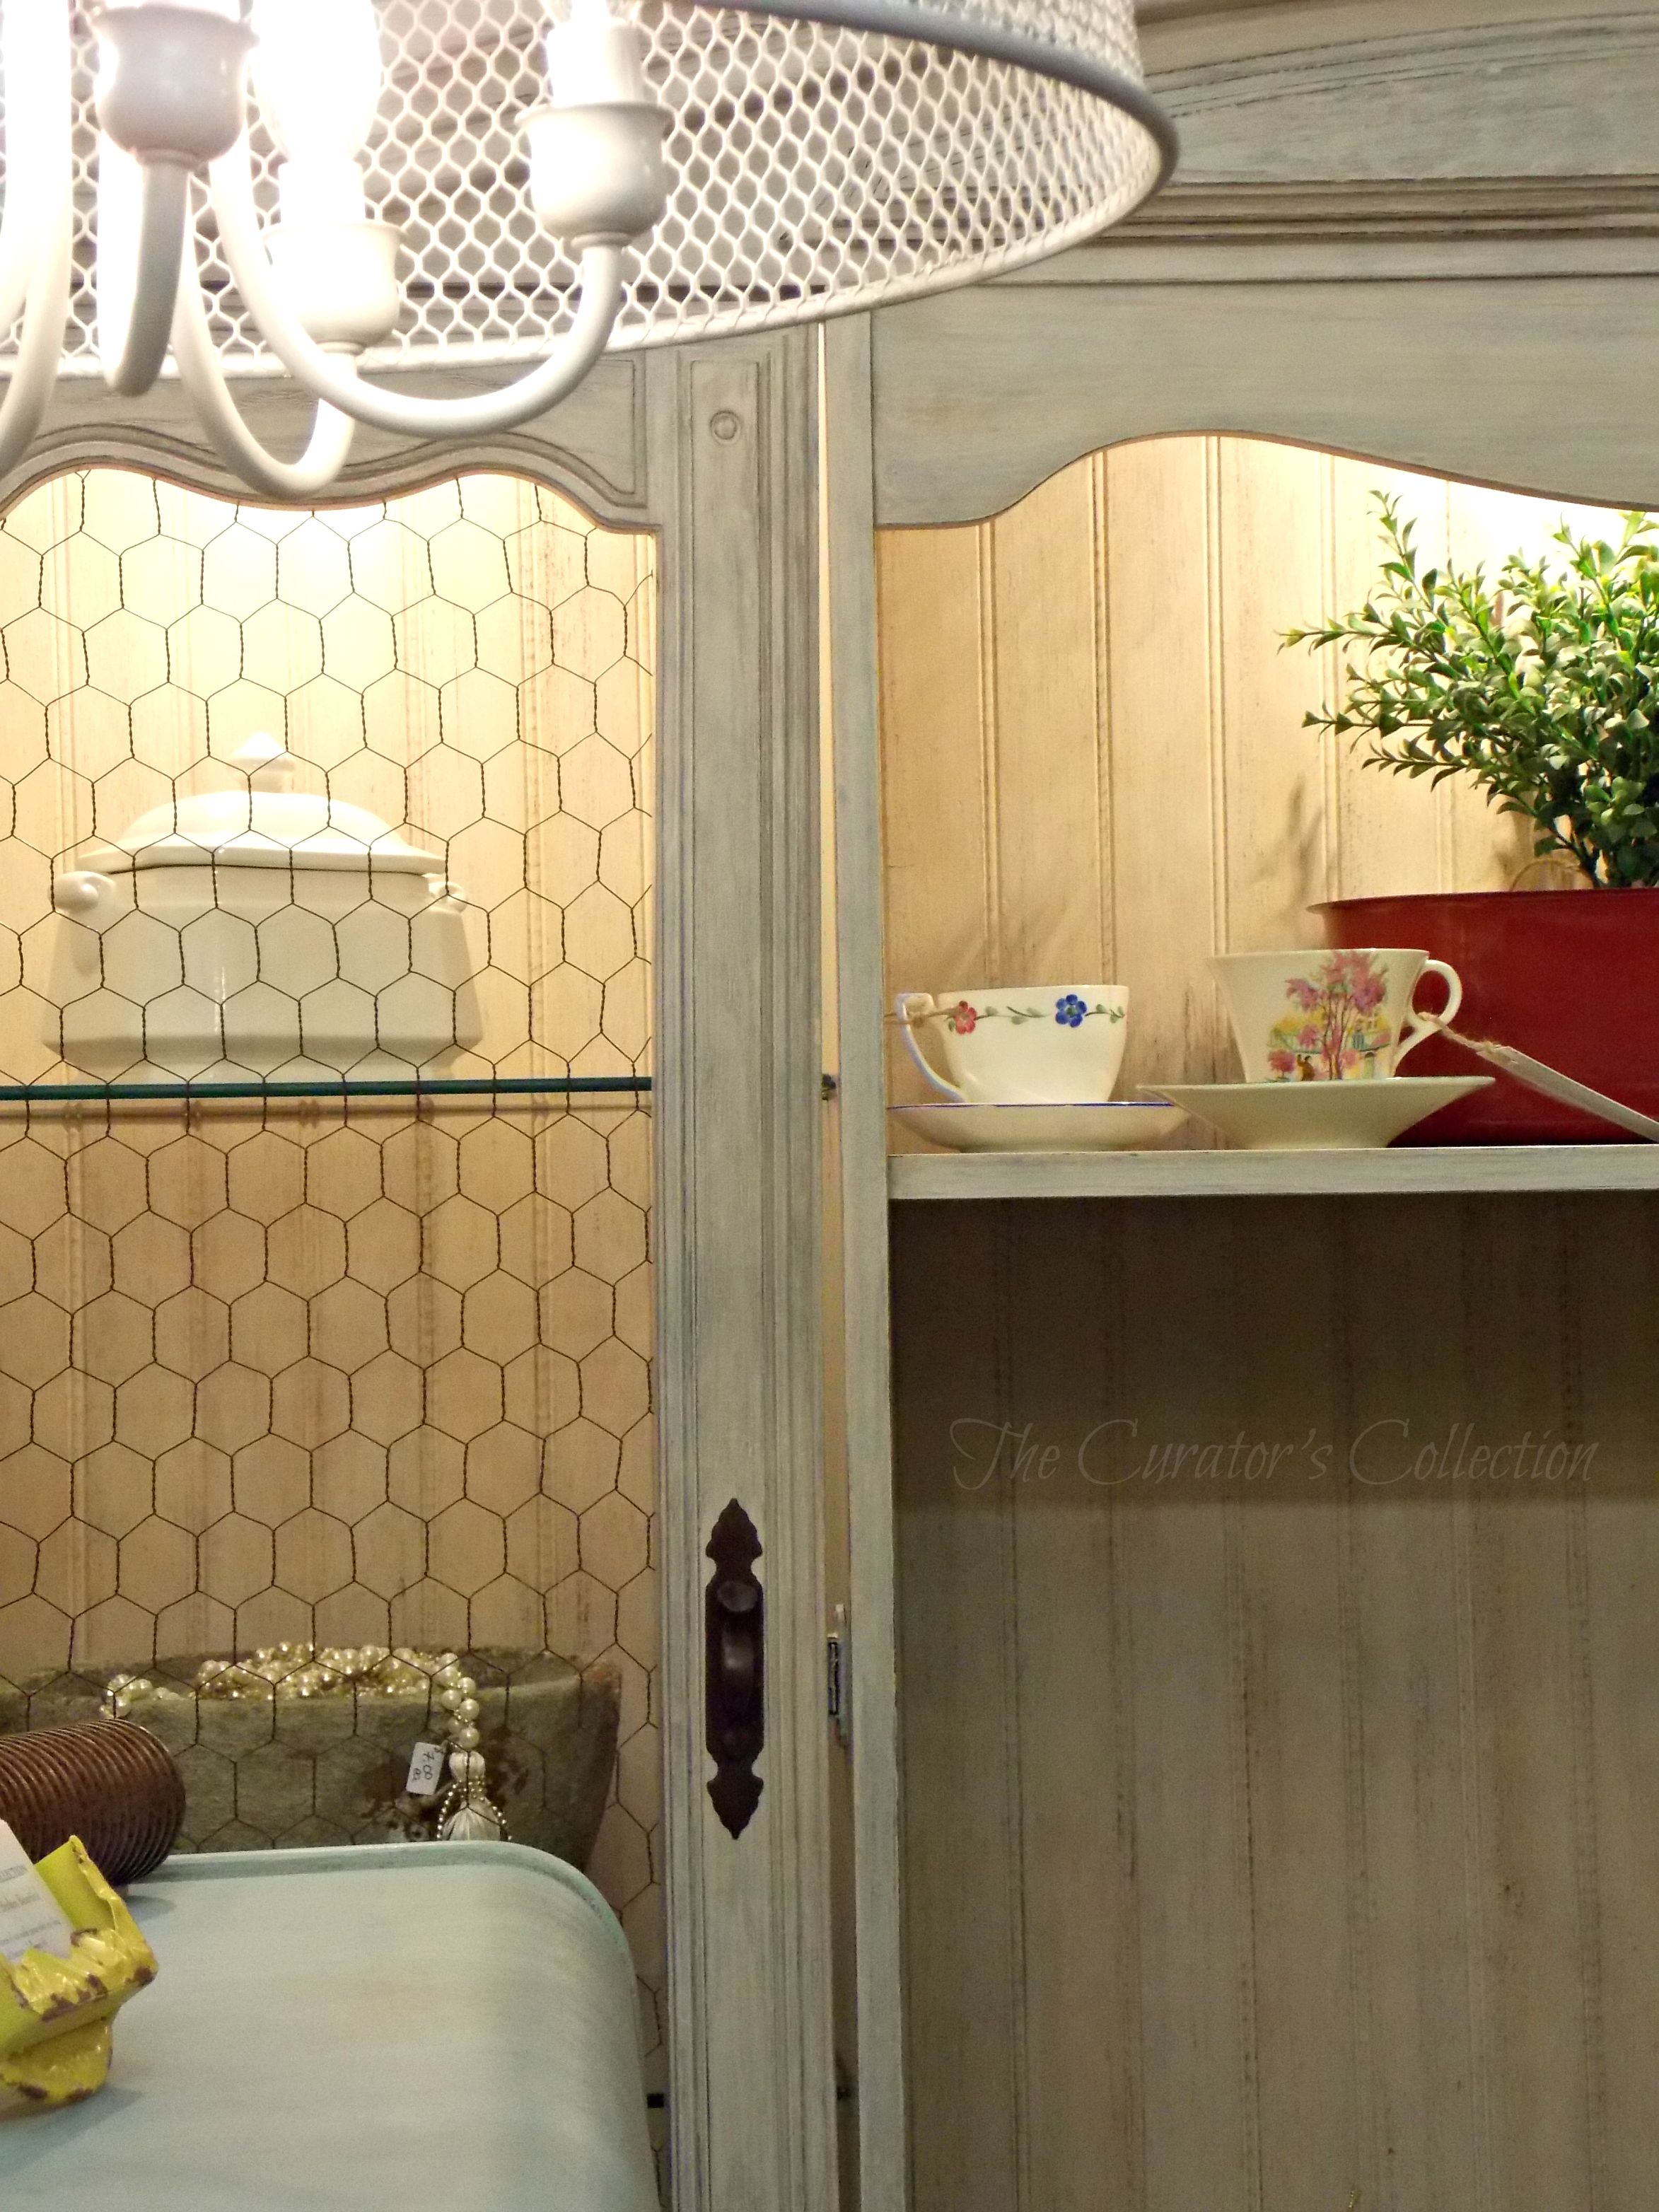
The glass was replaced with chicken wire painted in espresso paint. Rather than replace the original handles (mostly because I couldn’t find new ones that were “just right”) they also got a new look by painting them with the same espresso paint as the wire.
 I gave the piece a new back that I made out of pine beadboard. I whitewashed it with watered down marzipan milk paint and followed it with a hint of antiquing wax brushed on and smoothed in with a soft cloth. I also drilled new proper holes for the cords to run through. ( I think I forgot to mention it is a lighted cabinet)
Because my help for moving this cabinet to my booth was going to be leaving, I was unable to stage this pretty piece and take proper pictures so I apologize for the poor pictures. Here it is in my booth. The lighting is not the best but at least you can see it finished :0)

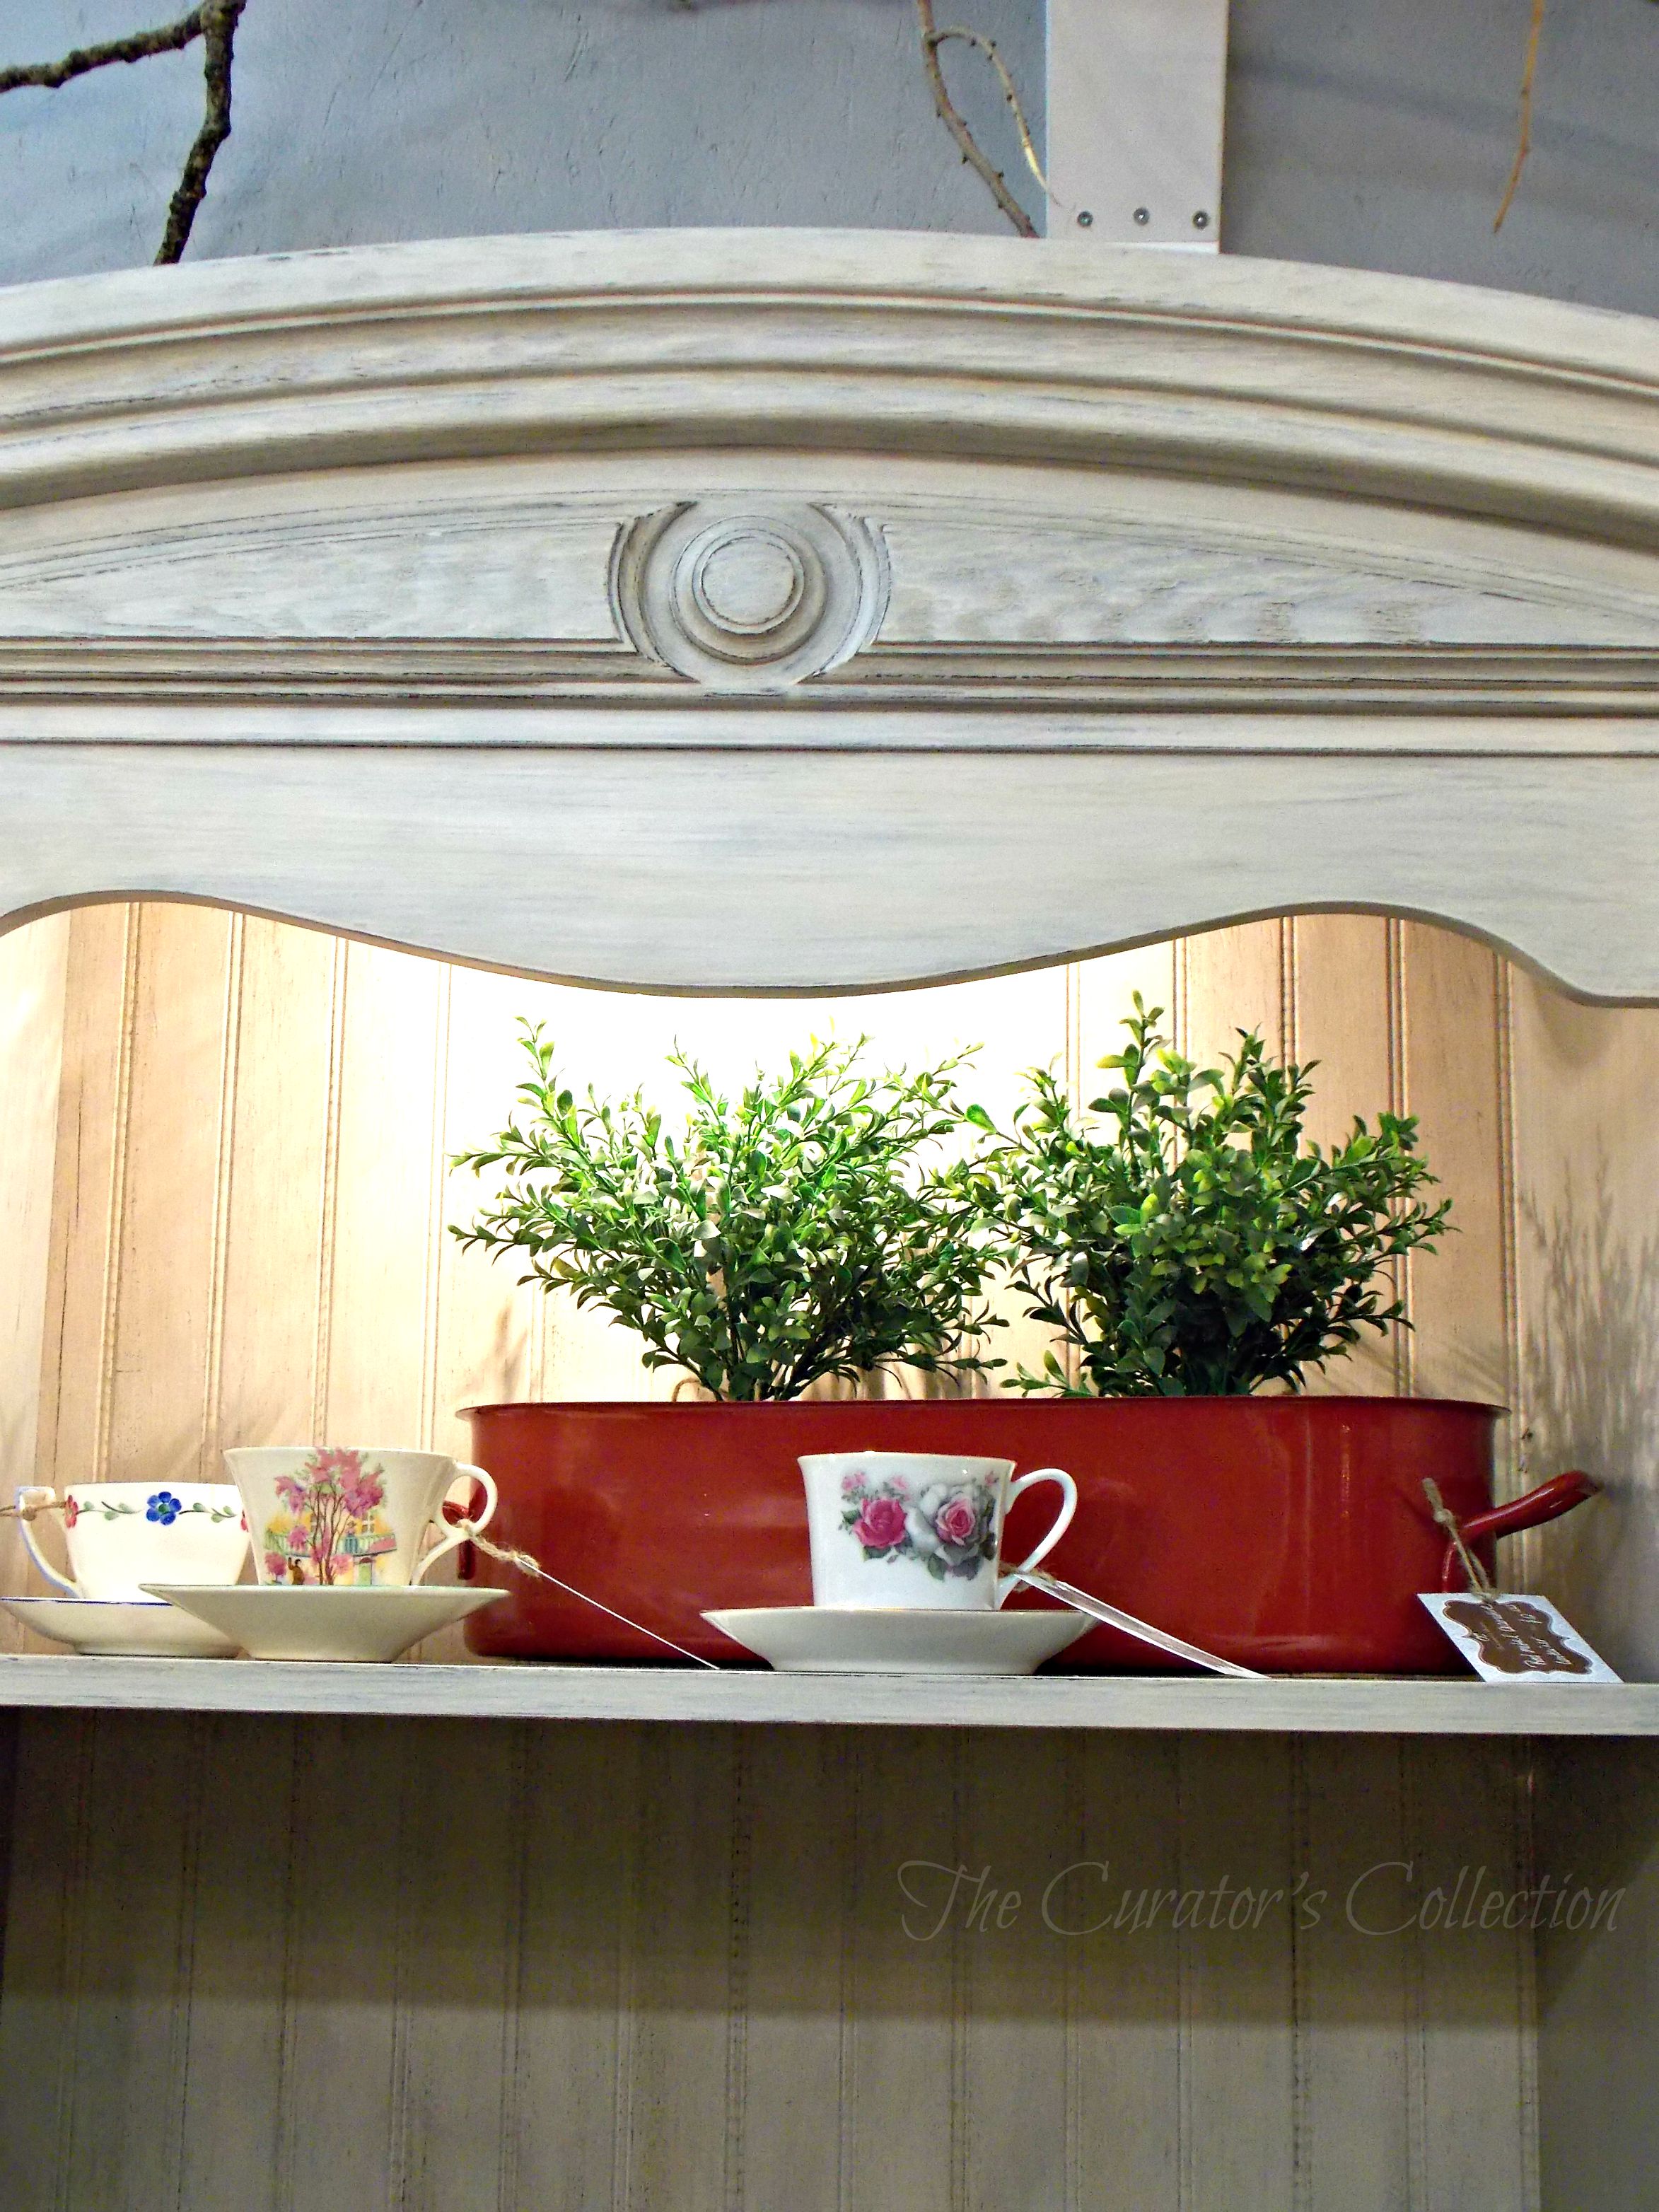
 The finish is so smooth on this piece that it really has a professionally finished feel. I am really pleased with how it turned out.
No more dark, heavy look. Just bright and light with a hint of country, shabby character!
… before and after …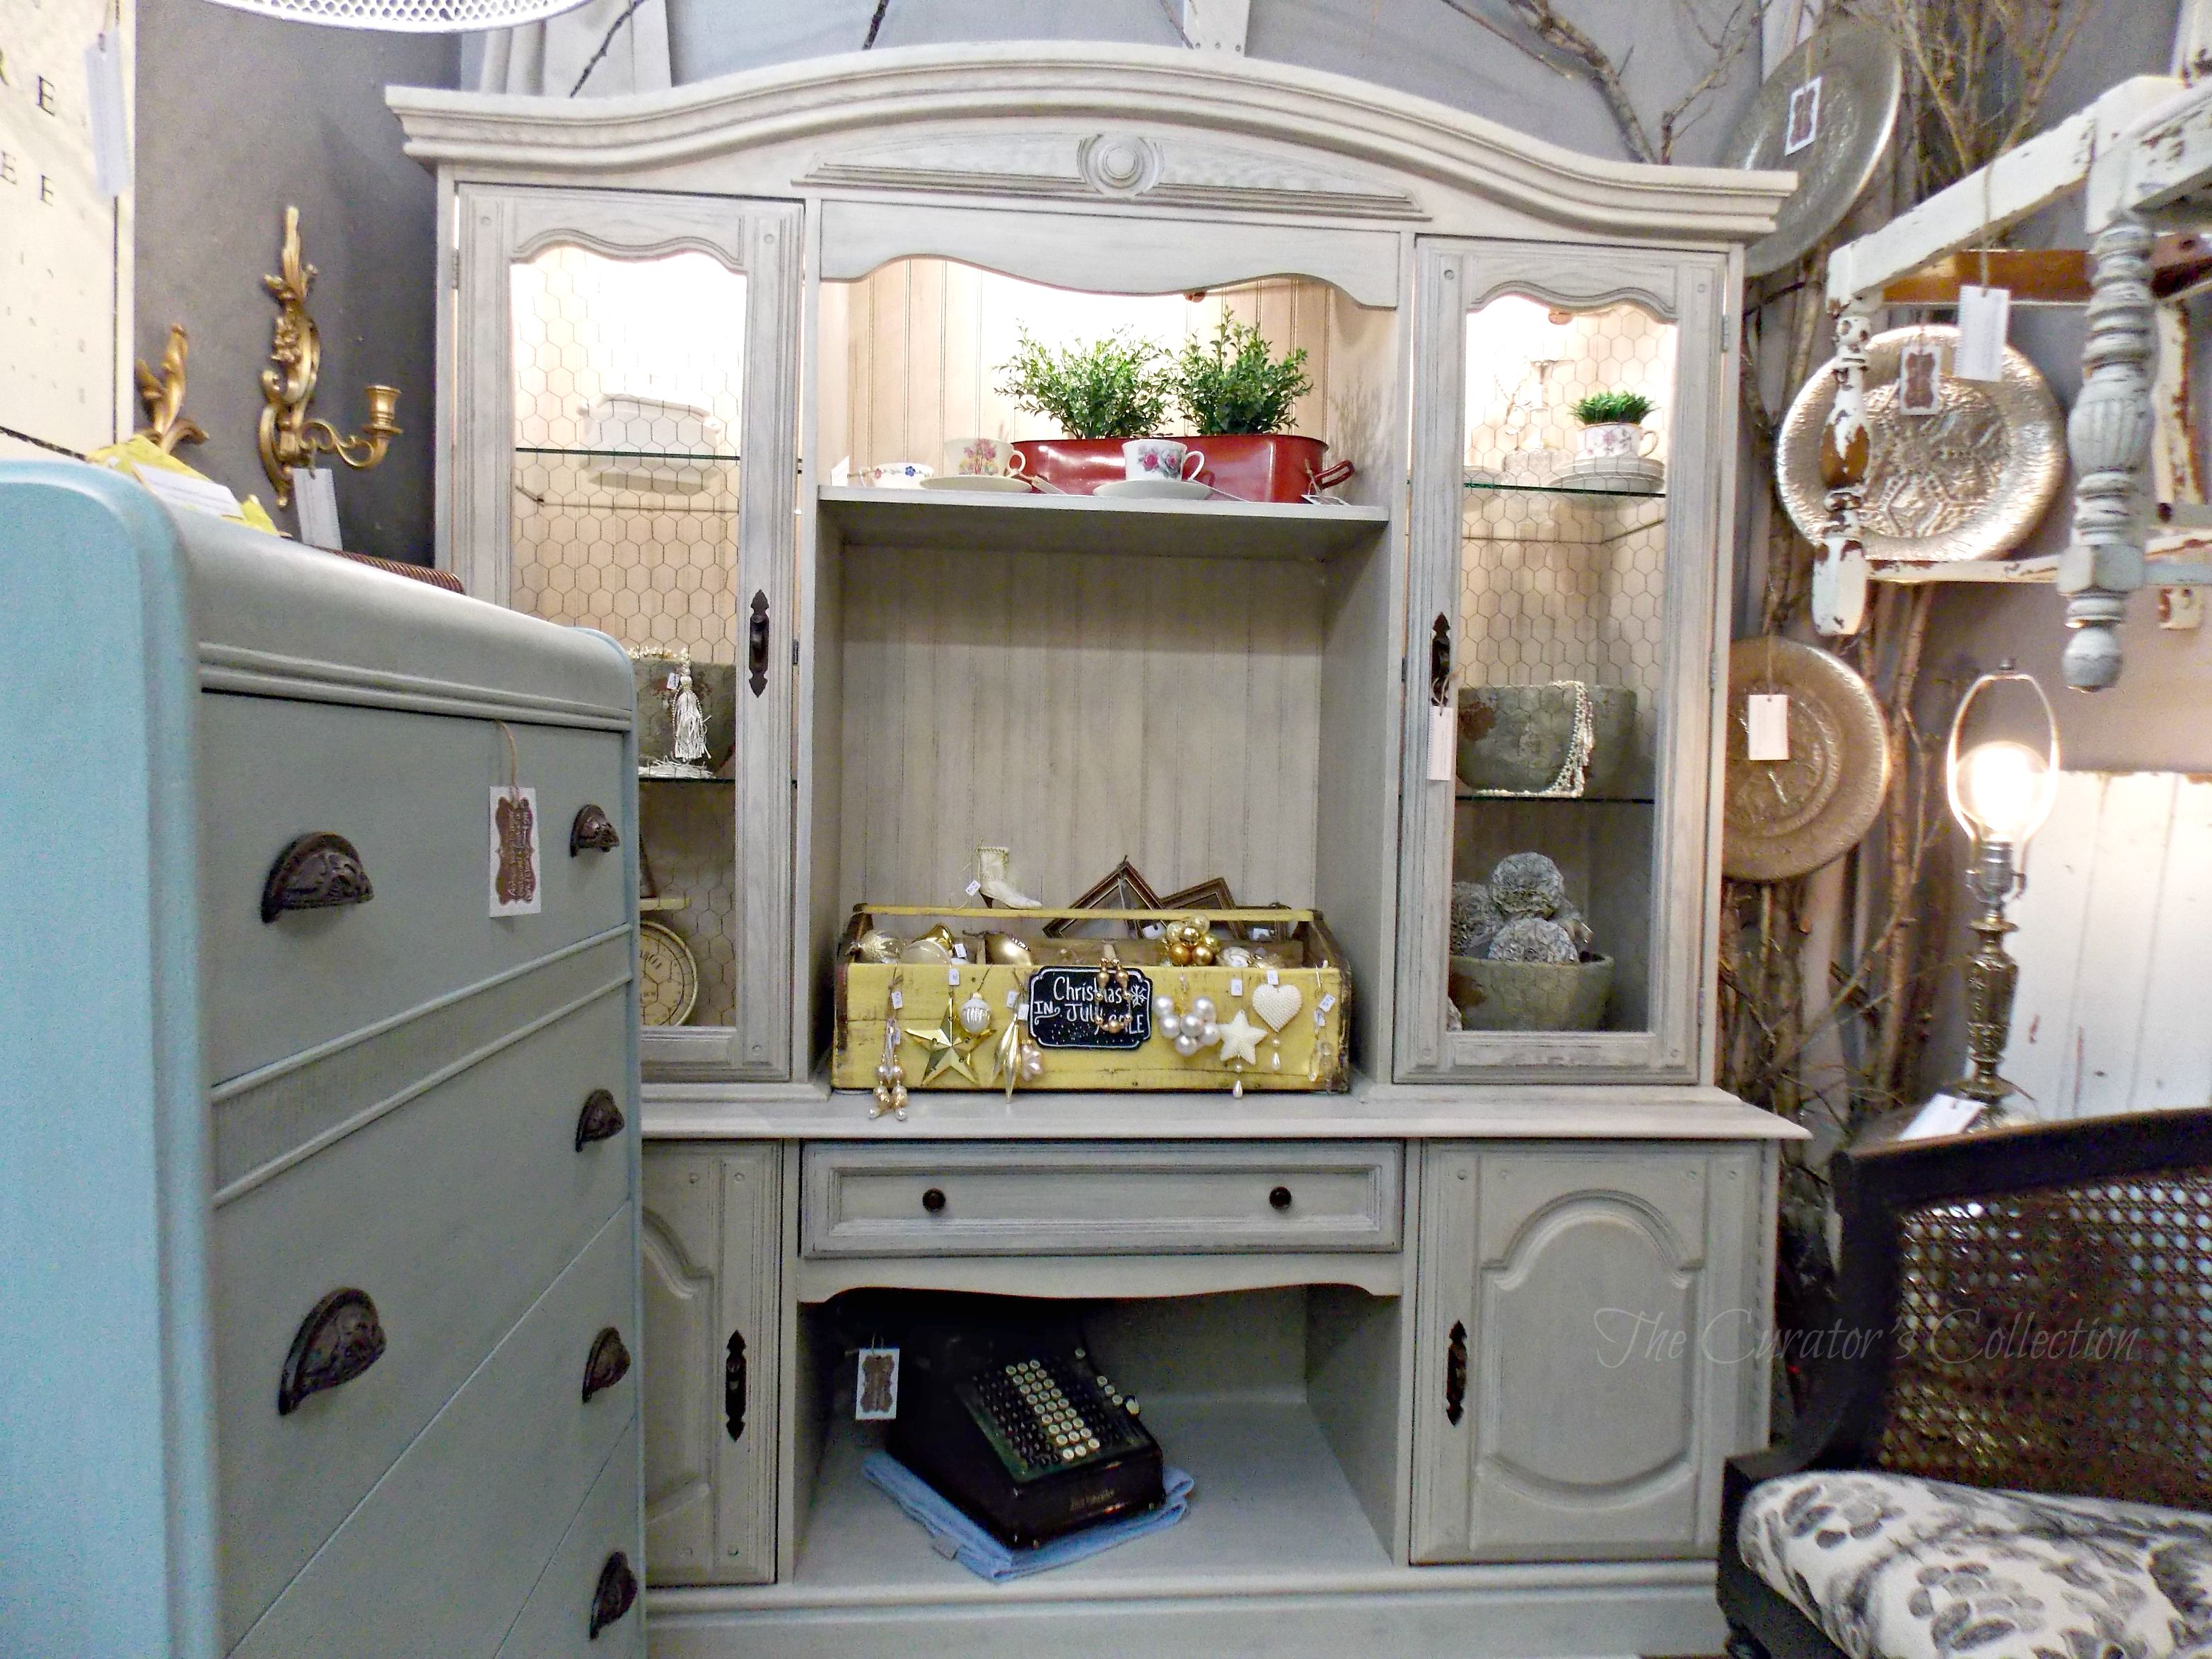
I hope you had a great long weekend!
Smiles!
Terry
Sharing at:


Nice job Terry !!!
You so have such a talent for that magical makeover creativity !!!
I love you so…..
LikeLike
Thank you for helping me haul that beast into my booth! The bruises on my legs are still healing! lol! I miss you! Come home safely!
Love you more!
LikeLike
What a huge undertaking to transform this piece of furniture and the results are perfect from choice of color to adding the chicken wire. It will be a very tempting piece to shoppers in your booth. How many coats of marzipan did you use?
LikeLike
Hello Kathy! Thank you for the kind comments! I used two thin coats of Marzipan as I wanted a bit of the original dark finish to show through for depth and a bit of richness. It’s difficult to see on these photos but it is quite noticeable in person. I hope it sells soon :0) Thank you for taking the time to read and comment!
Smiles!
Terry
LikeLike
This looks great, what a transformation, big cheers for your work!
LikeLike
Thank you so much for taking the time to comment! This was a rather large project for me but I’m happy it turned out so well. I just wish I could have had the usual pretty pictures to show it’s full potential. There was no way I was hauling this piece one more place though … my back is still feeling it! ha ha
Smiles for a great day!
Terry
LikeLike
Wowiewowwow!
LikeLike
You did a fantastic job. Begone, heavy and outdated; hello, refreshing and contemporary. I can appreciate what a big project this was, but it looks terrific. I saw your link at the Feathered Nest Friday party.
LikeLike
Thank you for taking the time to pop over and leave such a nice comment!! I would like to invite you to join in on my Broken Made Beautiful Furniture Party this weekend if you are able! Submissions are open until Saturday evening at 6:00pm (MST)
Thank you again!
Smiles!
Terry
LikeLike
Hi Terry, you did a fabulous job transforming this 70’s China Cabinet – wow! Looks like a fine antique after you put your creative talents on it. I’m pinning it onto our DIY Sunday Showcase Talent Board.
LikeLike
Thank you so much Marie!!! I am absolutely honoured!!! Please join in on my Broken Made Beautiful Furniture party! Your Stuff Rocks!!!! Thank you again!
Smiles for a great weekend!
Terry
LikeLike