Upholstering an Antique Chair | Part 1 | Deconstruction
1October 1, 2015 by Terry

Because this is a long post I have broken it into two parts. The first part is the deconstruction process.
——————————————–
So this little Channel Back Chair was brought home for me this past summer by my husband. Unfortunately, he tied it to the top of his vehicle and every bug from Prince George, British Columbia to our little town in Alberta is plastered all over the one side of it! Ewe!
This chair is lovingly referred to as the “bug chair”.

This little chair was in rough condition outside of the issue of the bug guts covering the whole side of it. It was stained and it looked as though a cat had taken to the corners on the front of it.
I started by collecting my tools I’d need. A flat head screwdriver, needle nose pliers and a staple remover. I prefer to use a small flathead screwdriver though as the edge is sharper and I can dig out the staples easier with it. The pliers are for pulling out the staples that don’t come out all the way with just the screwdriver.

Next I started by removing the cover underneath the seat of the chair. This exposes all the staples from underneath. Then I removed the nailheads on the back of the chair and removed the fabric. I recommend taking the pieces off carefully and label each piece with tape stating what it is. This way you can use it as a pattern for your new fabric.
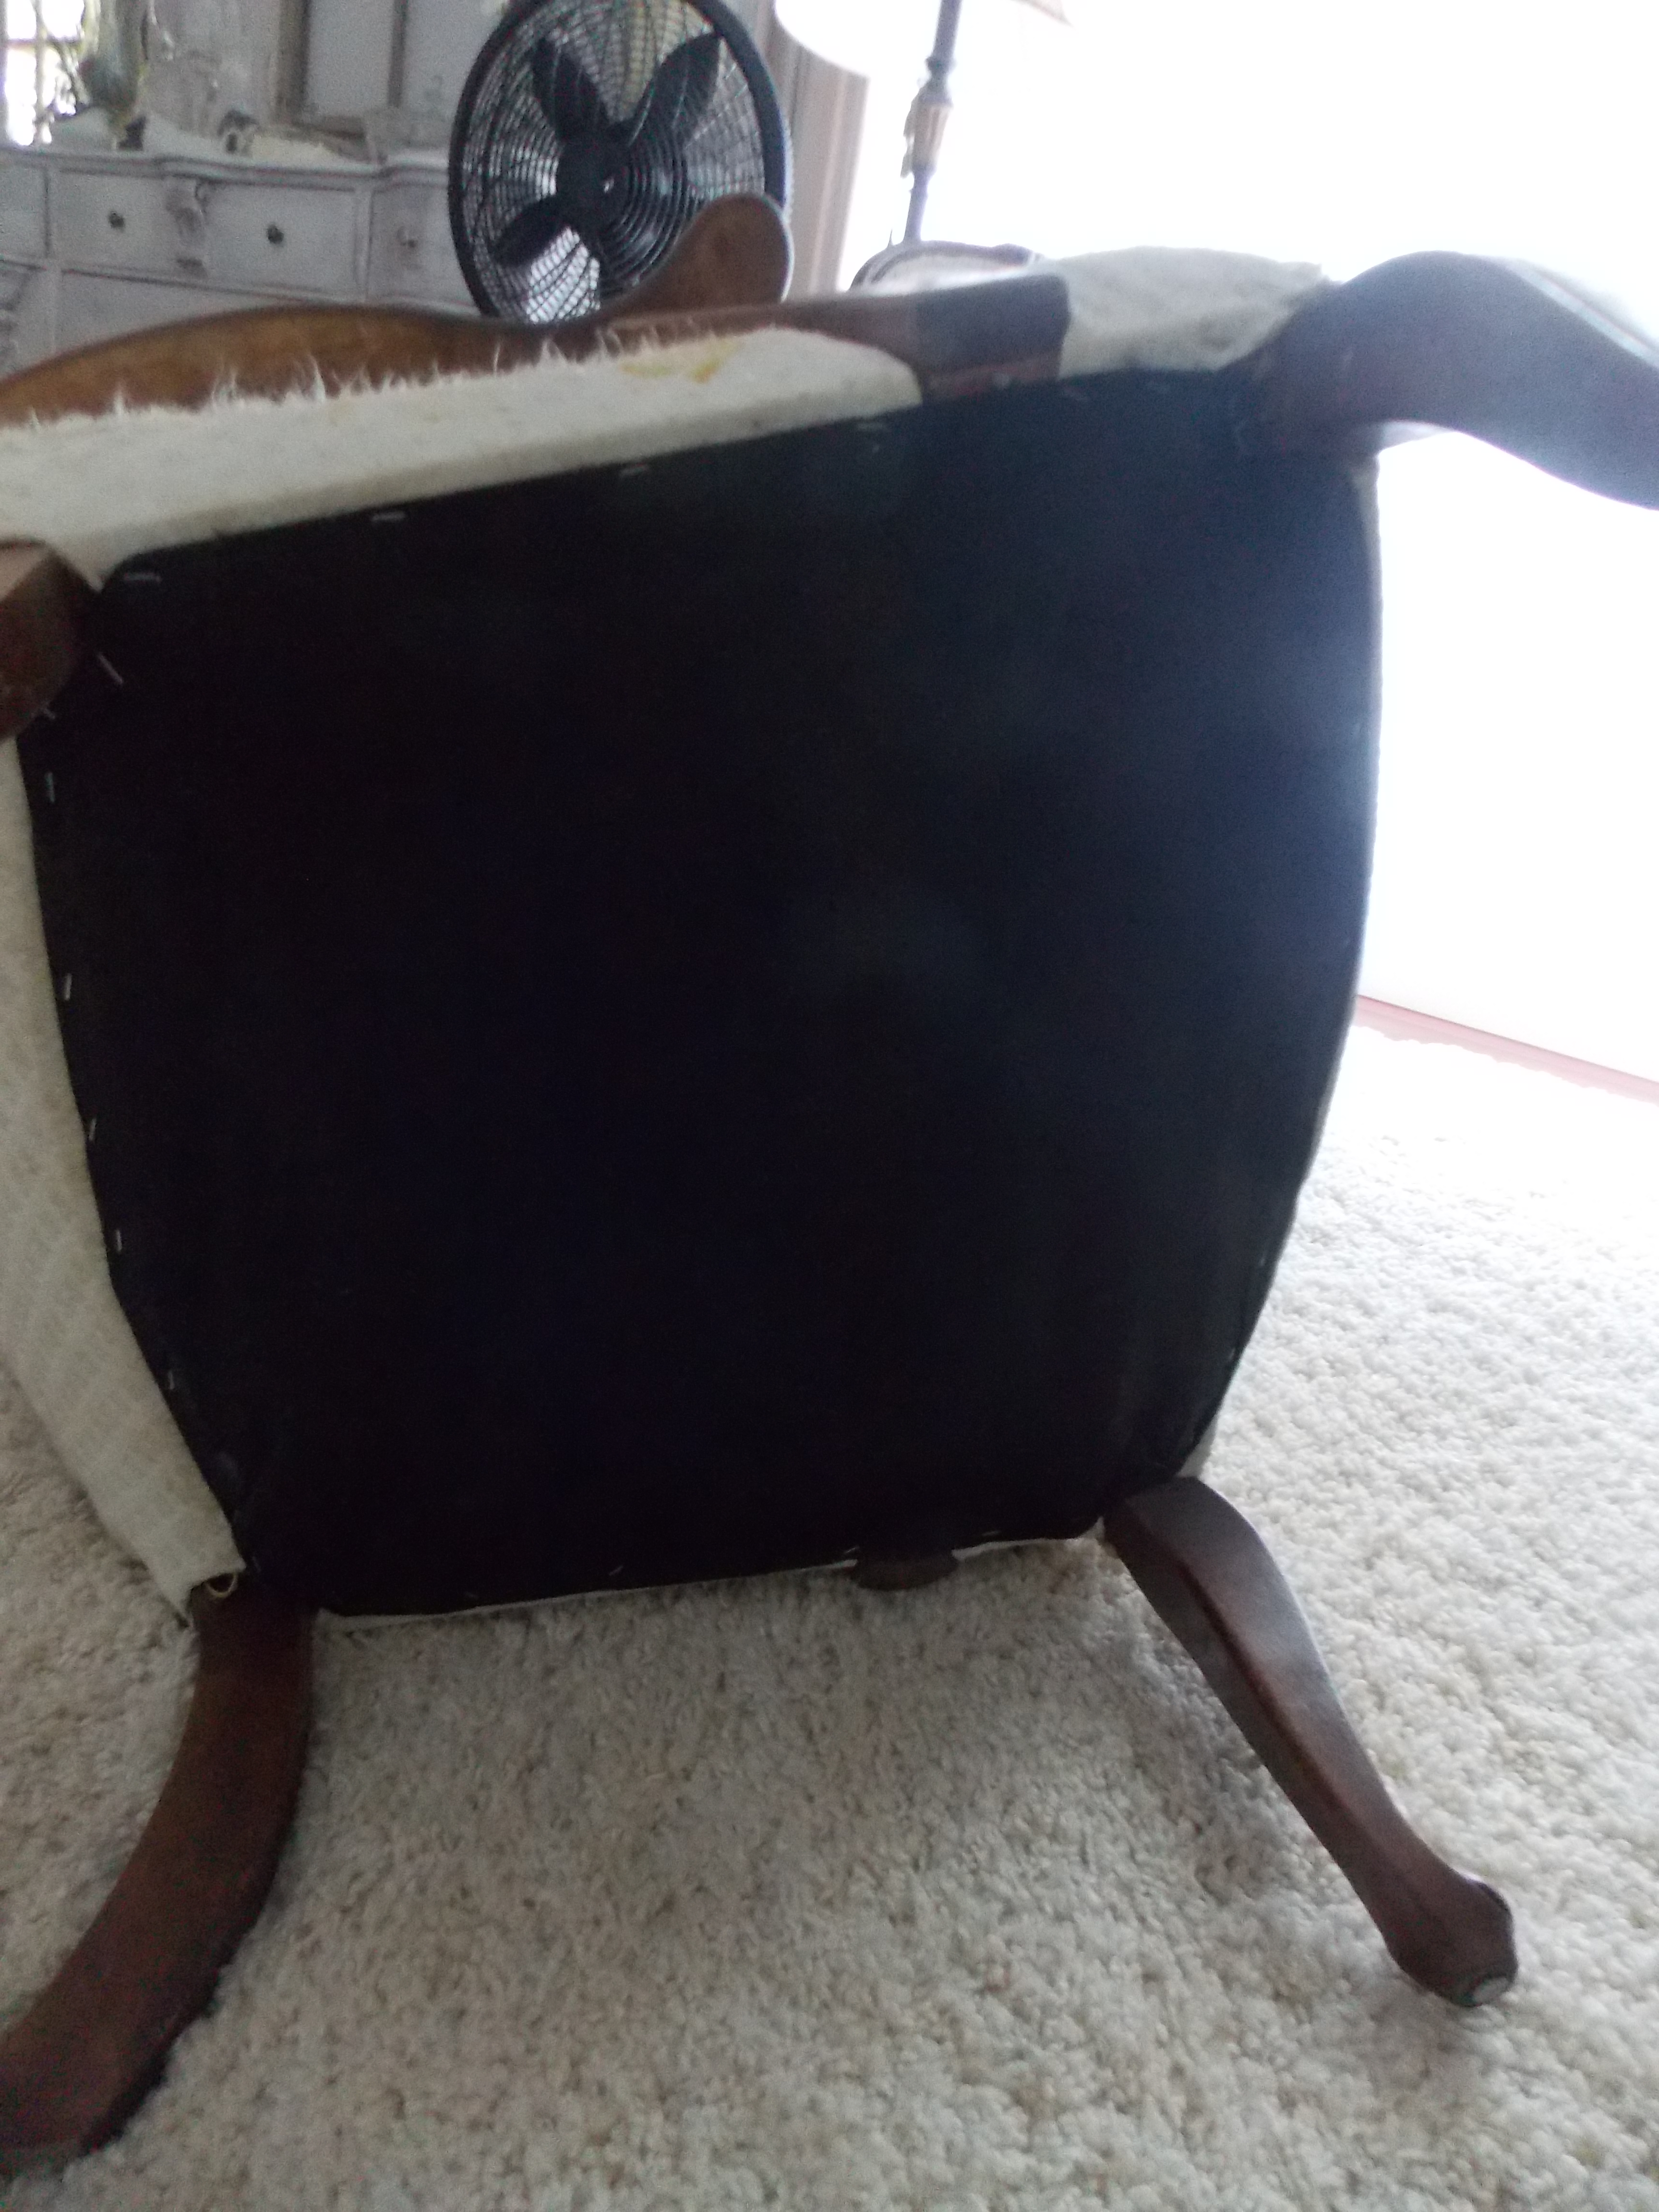

This is the bottom view of the chair before I removed the cover and the back after I removed the fabric.
Now you can continue on around the back again and remove the material that covers the front side as well. Because mine is a channel back chair it is stuffed and the padding came off with it as well. This is okay. I kept the padding and fluff as I will reuse it with the new material. Set it aside and label it. Sometimes it helps to take pictures of your project throughout to help you remember how it goes back together if you aren’t able to get to it right away. You can also label each piece 1, 2, 3, 4, 5 … etc. as these pieces will be put back together the reverse of how they were disassembled.
(channel back piece and padding)

This is how the top half of the chair looks with all materials removed.
 Moving on, I then flipped over the chair to start removing the staples holding the seat fabric on. Once again, if you plan to use the old fabric as a pattern, be very careful not to rip it. I did not save mine as I had different plans for the design of the seat.
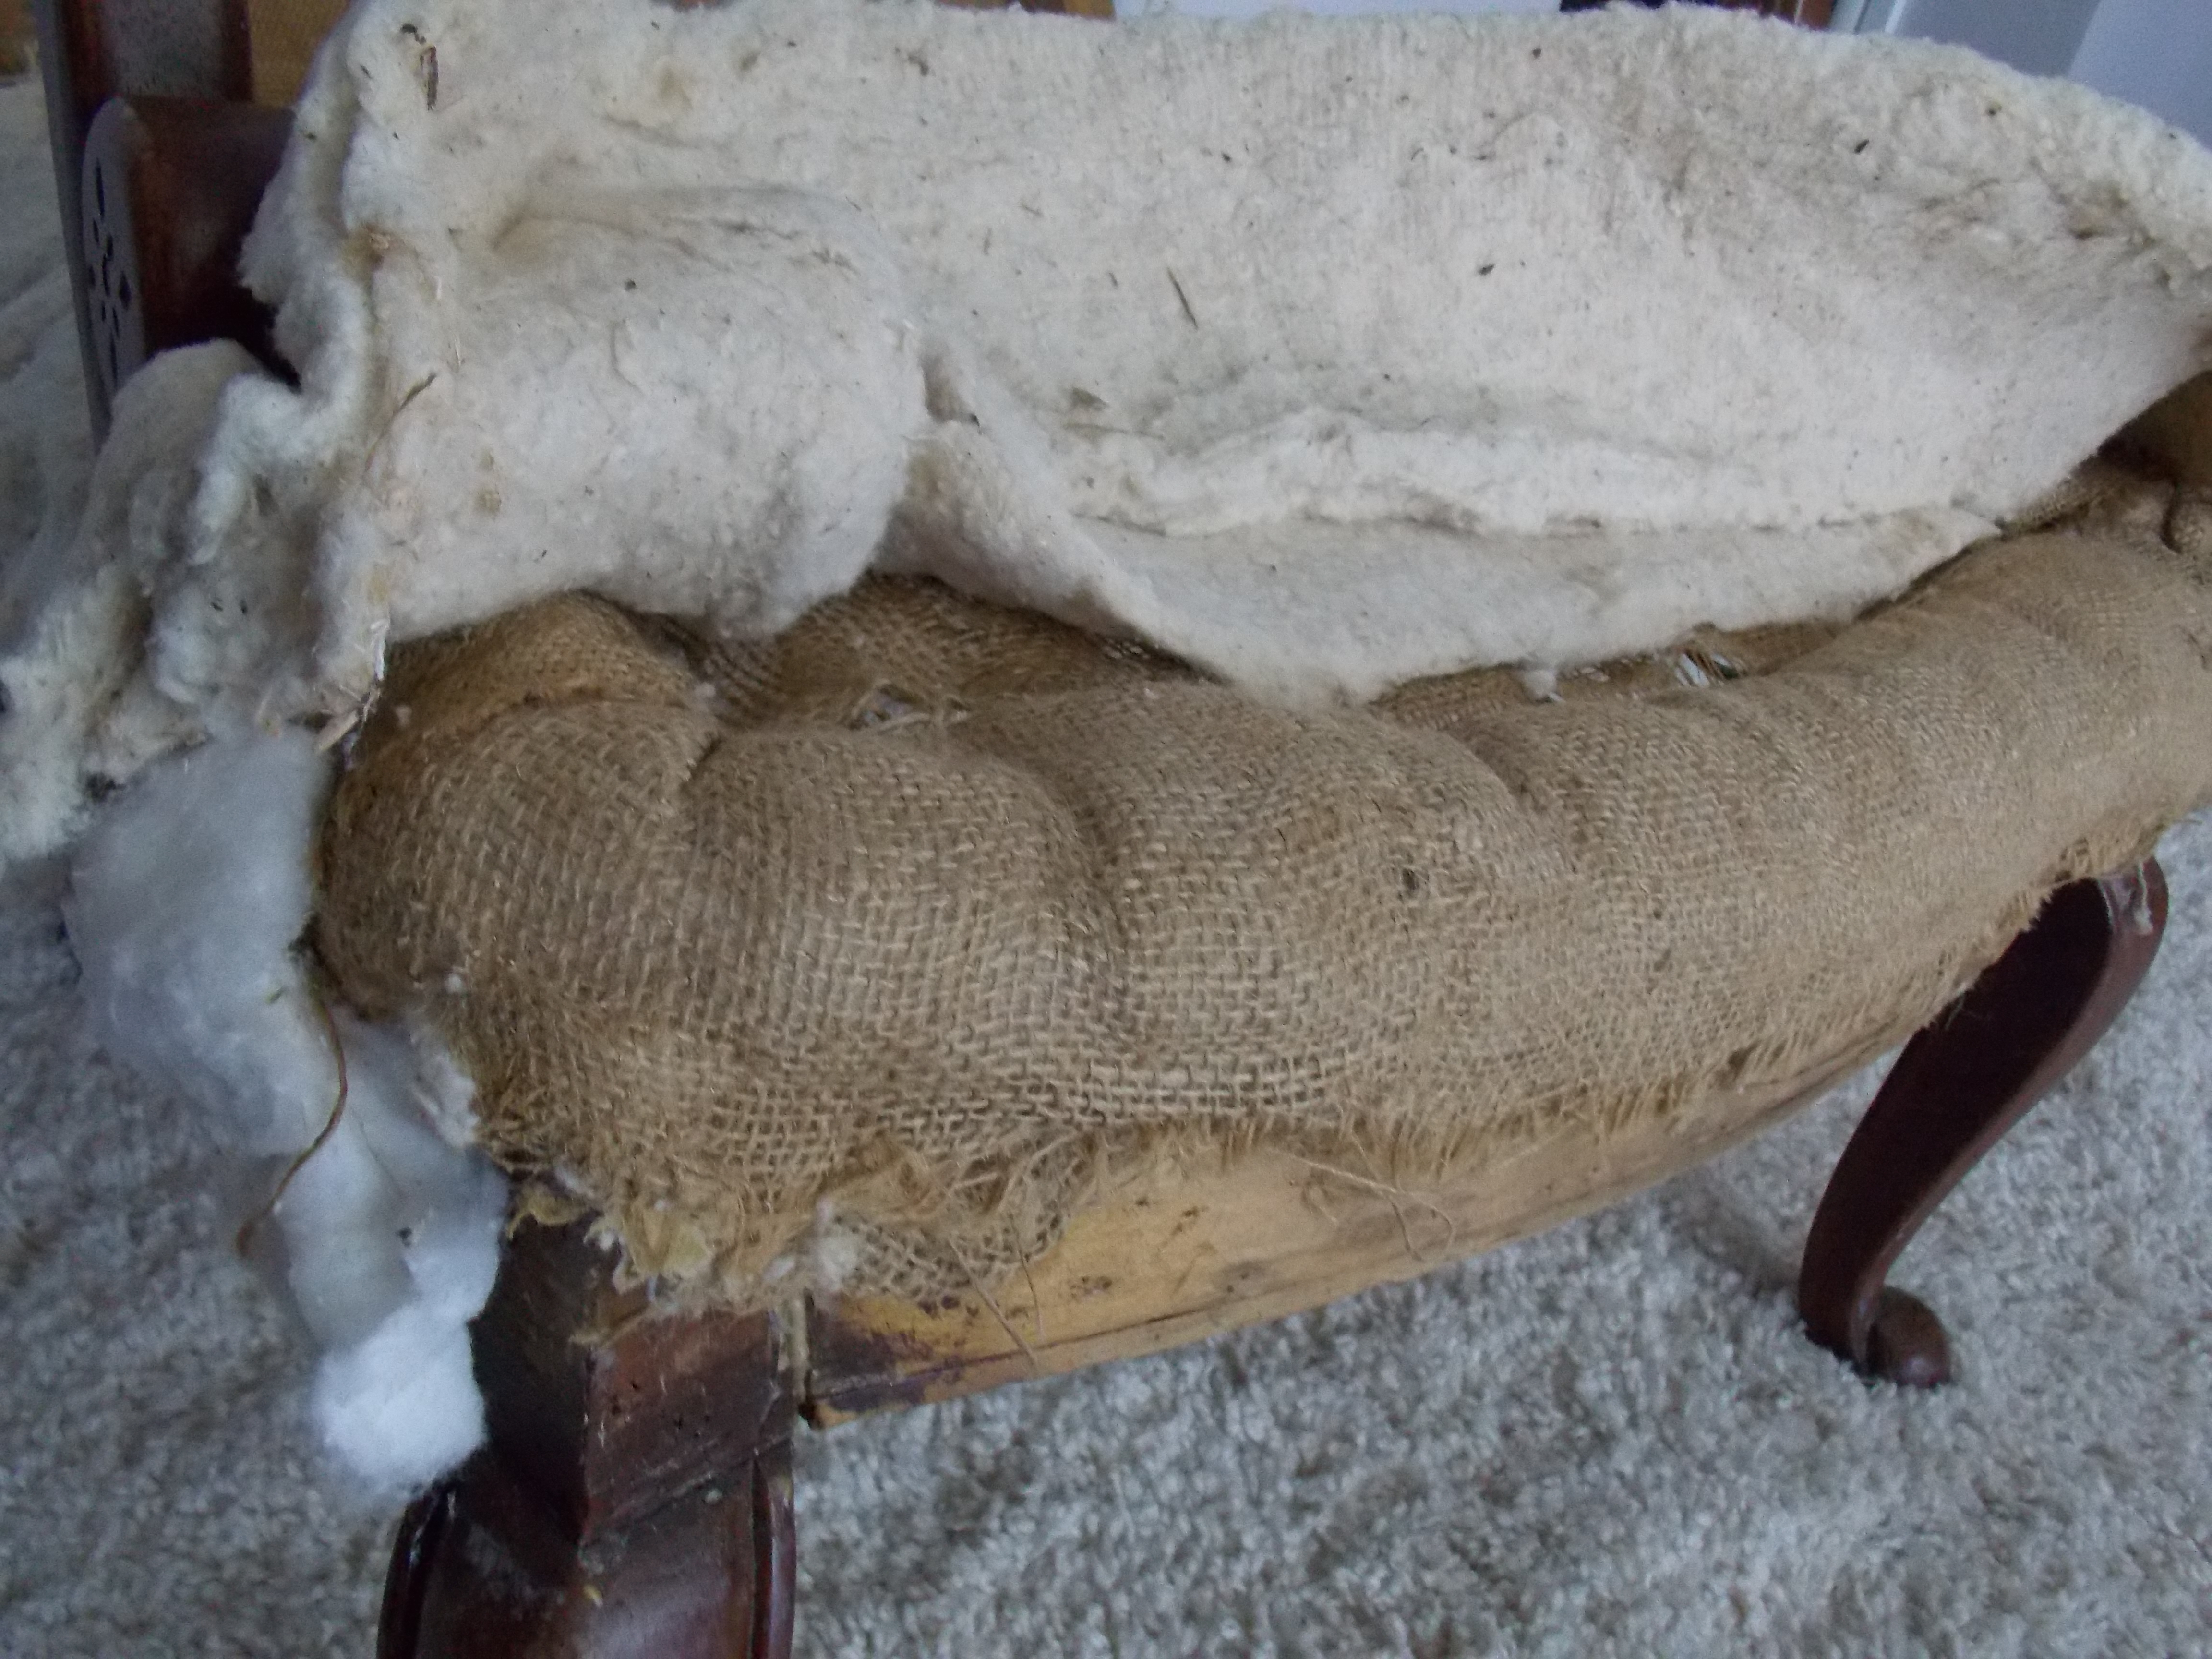
This is what the seat of my chair looked like without the fabric and just the padding on it. Sometimes the piece you’re working on is so old that you must throw out the inners but this one was in decent shape so I kept it all.

underneath all the batting is burlap and more stuffing as well as the springs
 now that everything is apart give your piece a quick once over and make sure you’ve removed all the staples. Removing all the staples ensures your new staples will go into the wood easily without hitting an old one.
Now that the chair has been deconstructed, I will take you through the process of redressing the chair in part 2 of this post.
Have a great day!
Don’t forget that the Making Broken Beautiful Party begins tonight at 6:00pm (MST) and submissions are open until 6:00pm on Saturday evening. Don’t miss joining in!

Smiles!
Terry
Sharing this post at:


[…] Today we are ready to redress this lovely little chair. (Click Here to see the deconstruction phase) […]
LikeLike